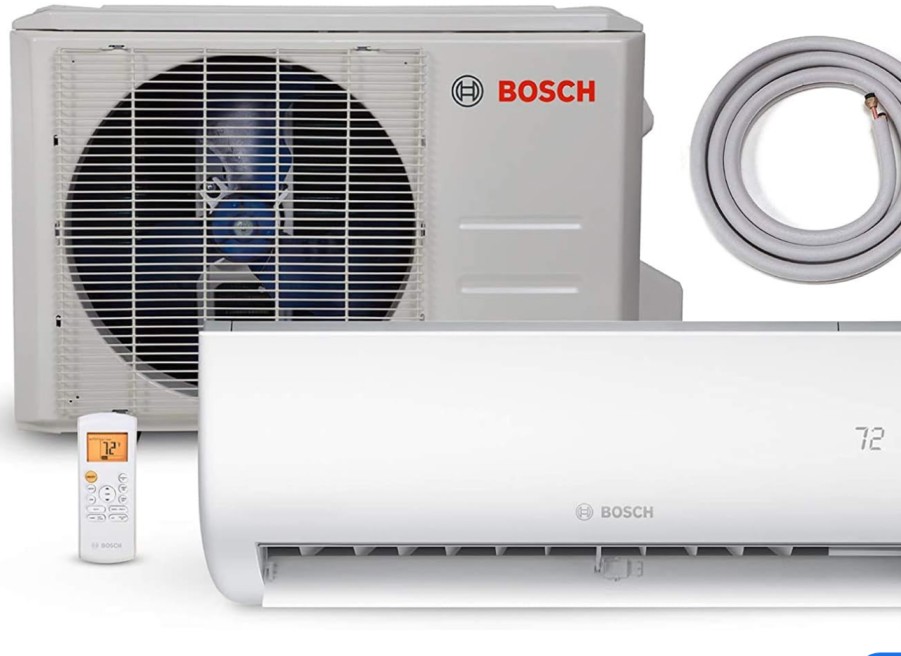
Maintaining the cleanliness of your Bosch mini split’s blower wheel is crucial for optimal performance and energy efficiency. This comprehensive guide will walk you through the step-by-step process of cleaning the blower wheel, ensuring your system runs smoothly and efficiently.
Accessing the Blower Wheel
- Removing the Front Cover: Begin by unscrewing the screws located at the bottom of the indoor unit’s front cover. Carefully remove the cover to gain access to the internal components.
- Lowering or Removing the Drain Pan: The drain pan, which is held in place by tabs on the bottom, left, right, and middle, may need to be lowered or removed for better access to the blower wheel. Exercise caution when handling the drain pan to avoid any potential leaks.
Loosening the Set Screw
 Identifying the Set Screw: Locate the set screw on the far right side of the blower wheel. This screw secures the blower wheel in place.
- Loosening the Set Screw: Using a screwdriver, gently loosen the set screw. Be careful not to remove it completely, as this may cause the blower wheel to become dislodged.
Removing the Evaporator Coil
- Locating the Screws: Identify the three screws on the left side of the evaporator coil that need to be removed.
- Removing the Screws: Using a screwdriver, carefully remove the three screws, taking note of their positions for proper reassembly.
- Lifting the Coil: Gently lift the evaporator coil out towards you, exposing the blower wheel.
- Removing the Blower Wheel: Grab the blower wheel and pull it out, being mindful of the bearing located on the left side.
Cleaning the Blower Wheel
- Avoiding Chemicals: It is recommended to avoid using harsh chemicals when cleaning the blower wheel. Instead, opt for a good old-fashioned water-based cleaning method.
- Using a Water Hose and Nozzle: Utilize a water hose and nozzle to thoroughly clean the blower wheel. Ensure that the water pressure is not too high, as this could potentially damage the delicate components.
- Inspecting the Bearing: During the cleaning process, be cautious not to lose or misplace the bearing located on the left side of the blower wheel.
Reassembling the Unit
- Reversing the Removal Steps: To reassemble the unit, simply reverse the steps you took to remove the blower wheel and the evaporator coil.
- Ensuring Proper Alignment: When reinstalling the blower wheel, make sure it is properly aligned and the set screw is tightened securely.
- Replacing the Drain Pan: If you had to remove the drain pan, carefully replace it, ensuring that the tabs on the bottom, left, right, and middle are properly secured.
- Reinstalling the Front Cover: Finally, replace the front cover of the indoor unit and secure it with the screws you removed earlier.
By following this comprehensive guide, you can effectively clean the blower wheel on your Bosch mini split, ensuring optimal performance and energy efficiency. Remember to always prioritize safety and consult the manufacturer’s instructions if you have any doubts or concerns during the process.
