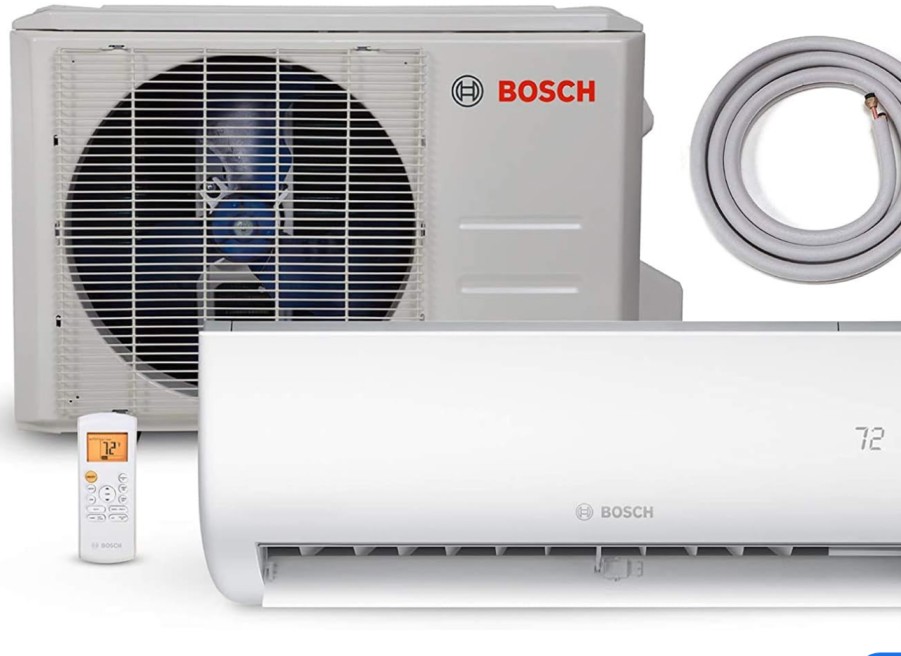
Removing the blower wheel from a Bosch mini split can be a delicate task, but with the right approach and attention to detail, it can be accomplished successfully. This comprehensive guide will walk you through the step-by-step process, providing technical insights and expert-level advice to ensure a smooth and efficient blower wheel removal.
Preparing for Blower Wheel Removal
- Power Down the Unit: Before beginning any disassembly, it is crucial to ensure that the power to the Bosch mini split unit is completely turned off from the main power supply. This is a critical safety measure to prevent any electrical hazards.
- Gather the Necessary Tools: Ensure that you have the following tools readily available: a Phillips head screwdriver, a bucket or container to catch any water drainage, and a set of pliers or a wrench to loosen the set screw.
Removing the Front Panel Assembly
 Detach the Vanes: Using a Phillips head screwdriver, remove the screws that secure the vanes behind the front panel. This will provide better access to the internal components.
- Access the Drain Plug: Locate the right-hand side corner slot and remove it to gain access to the drain plug.
- Disconnect the Front Panel: Gently pull on the bottom of the front panel to unhook it from the box assembly. Then, push on the clips located at the top of the panel to completely detach the panel assembly from the box.
Accessing the Blower Wheel
- Remove the Electrical Box Cover: This step will give you better access to work with the blower and its surrounding parts.
- Unplug the Interconnecting Wires: Carefully unplug the interconnecting wires to make it easier to maneuver around the blower and its components.
- Detach the Receiver Board: Carefully remove the separate receiver board, taking care not to damage any of the inner connecting wires.
- Remove the Drain Pan: Lift out the drain pan, which is not physically attached or secured to the unit but rather held in place by tabs on the bottom left, right, and middle.
- Drain the Water: Remove the drain plug and have a bucket ready to catch any water that may be present in the pan.
Loosening the Blower Wheel
- Locate the Set Screw: The set screw that holds the blower wheel onto the blower motor is located on the far right side of the blower wheel. You may need to spin the wheel to find the opening where you can insert your screwdriver.
- Loosen the Set Screw: Using the appropriate screwdriver, loosen the set screw that secures the blower wheel to the blower motor.
Removing the Blower Wheel
- Lift the Coil: Once the set screw is loosened, you can carefully lift the coil out towards you.
- Extract the Blower Wheel: Grab the blower wheel and gently pull it out, taking care not to damage any surrounding components.
Cleaning the Blower Wheel
- Avoid Chemicals: When cleaning the blower wheel, it is recommended to use water and a water hose with a nozzle, rather than harsh chemicals.
- Preserve the Bearing: Be mindful not to lose the bearing located on the left side of the blower wheel, as it is an essential component.
- Reassemble the Blower: When putting the blower back together, simply reverse the steps you took to remove it. Remember that the set screw has no dedicated spot or flat spot on the blower motor, making the reassembly process more straightforward.
By following these detailed steps and adhering to the technical specifications, you can successfully remove the blower wheel from your Bosch mini split unit. This comprehensive guide provides the necessary information to ensure a safe and efficient blower wheel removal process.
