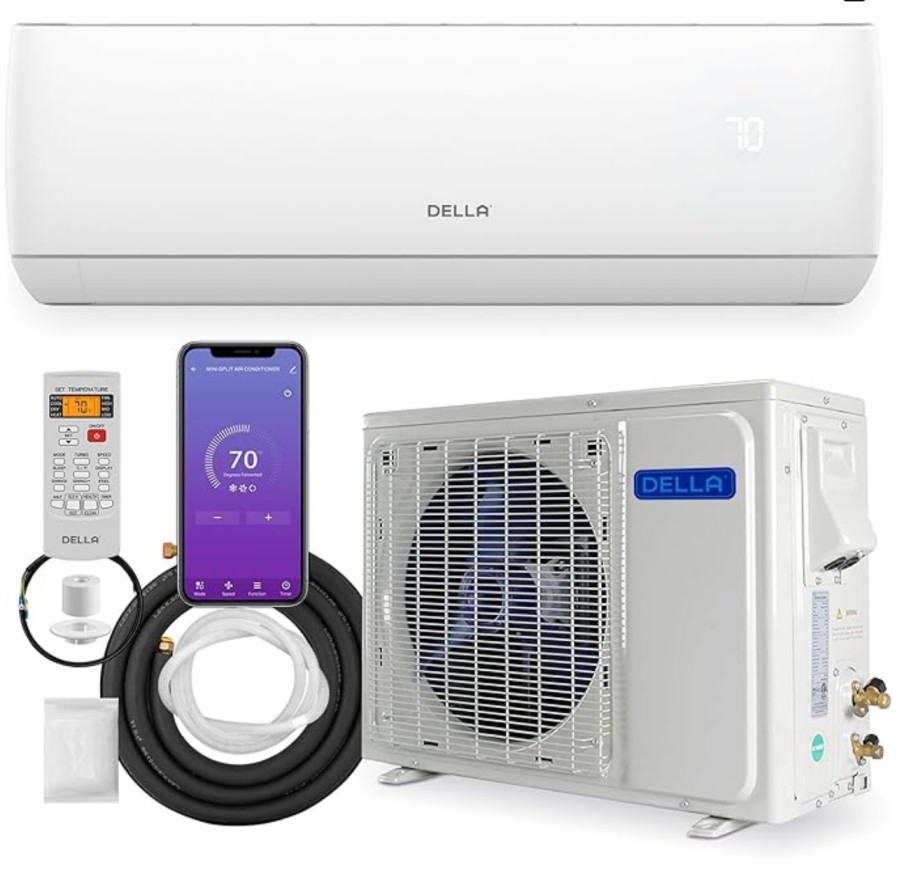
Maintaining the cleanliness of your DELLA mini split’s blower wheel is crucial for optimal performance, energy efficiency, and prolonged system lifespan. This comprehensive guide will walk you through the step-by-step process of cleaning the blower wheel, ensuring your HVAC unit operates at its best. From preparing the workspace to reassembling the components, we’ll cover every technical detail to help you tackle this task with confidence.
Preparation: Ensuring a Safe and Accessible Workspace
Before diving into the cleaning process, it’s essential to properly prepare the work area. Begin by turning off the power to the mini split at the circuit breaker or disconnecting the unit from the power source. This step is crucial for your safety, as it prevents any accidental electrocution or injury.
Next, remove the front cover of the indoor unit by unscrewing the screws located at the bottom. This will provide you with better access to the blower wheel and its surrounding components. Additionally, lower the drain pan to further enhance your reach and visibility during the cleaning process.
Accessing the Blower Wheel: A Delicate Procedure

Gaining access to the blower wheel requires a methodical approach. Locate the set screw that secures the blower wheel to the blower motor, which is typically situated on the far right side of the wheel. Using a screwdriver, carefully loosen this set screw, taking note of its position for proper reassembly.
Once the set screw is loosened, spin the blower wheel to identify the opening where you can insert your screwdriver. This will allow you to remove the three screws on the left side of the evaporator coil, enabling you to lift the coil out towards you. With the coil out of the way, you can now safely grab the blower wheel and pull it out, ensuring you don’t lose the bearing located on the left side of the wheel.
Cleaning the Blower Wheel: A Water-Based Approach
When it comes to cleaning the blower wheel, it’s best to avoid using harsh chemicals and instead opt for a water-based approach. Attach a nozzle to your water hose and use the water pressure to gently clean the blower wheel, taking care not to damage the bearing.
During the reassembly process, pay close attention to the set screw that holds the blower wheel onto the blower motor. This screw does not have a dedicated spot or flat surface on the blower motor, so aligning it correctly is crucial. By carefully locating the set screw’s position, you can ensure a secure and properly aligned reassembly.
Reassembling the Components: A Meticulous Approach
To complete the cleaning process, simply reverse the steps you took to remove the blower wheel. Start by carefully placing the blower wheel back onto the blower motor, ensuring the set screw is properly aligned. Secure the set screw tightly to prevent any future slippage or misalignment.
Next, lower the evaporator coil back into its original position and fasten the three screws on the left side. Finally, replace the front cover of the indoor unit, making sure all screws are securely tightened.
Supplementary Resources: Enhancing Your Understanding
For a more detailed walkthrough of the blower wheel cleaning process, we recommend the following video resources:
- Highwall Ductless Blower Wheel Cleaning – YouTube: This video provides a comprehensive guide to cleaning a blower wheel on a ductless mini-split system, specifically a Mitsubishi unit. It covers the removal and cleaning process in detail, including the use of a mild, safe cleaner like Refrigeration Technologies Viper EVAP+.
- Tech Tips: How to Remove the Blower Wheel (L) – YouTube: This video demonstrates how to remove the blower wheel from a Mitsubishi indoor unit, including the set screw that holds the blower wheel onto the blower motor.
- Deep Cleaning a Mini Split – YouTube: This video showcases the deep cleaning of a mini split with one of the dirtiest blower wheels, featuring the use of industry-leading tools like the Turbo Tank by Nu-Calgon and the Viper Coil Cleaner by Refrigeration Technologies.
Remember, safety should always be your top priority when working with HVAC systems. If you’re unsure about any step in the process or encounter any difficulties, don’t hesitate to consult a professional technician for assistance.
