
Maintaining the cleanliness of your Mitsubishi AC indoor unit is crucial for its efficient operation, energy-saving performance, and extended lifespan. This comprehensive guide will walk you through the step-by-step process of thoroughly cleaning your Mitsubishi AC indoor unit, ensuring it continues to provide optimal cooling and air quality in your home or office.
Unplug the Unit and Prepare for Cleaning
Before you begin the cleaning process, it is essential to ensure the safety of the operation. Start by unplugging the Mitsubishi AC indoor unit from the power source. This step is crucial to prevent any risk of electrical shock during the cleaning procedure.
Next, locate the front cover of the indoor unit. Gently lift the cover until it clicks, then carefully pull it off by holding the hinges. This will provide you with full access to the internal components of the unit, allowing you to clean them effectively.
Clean the Filters
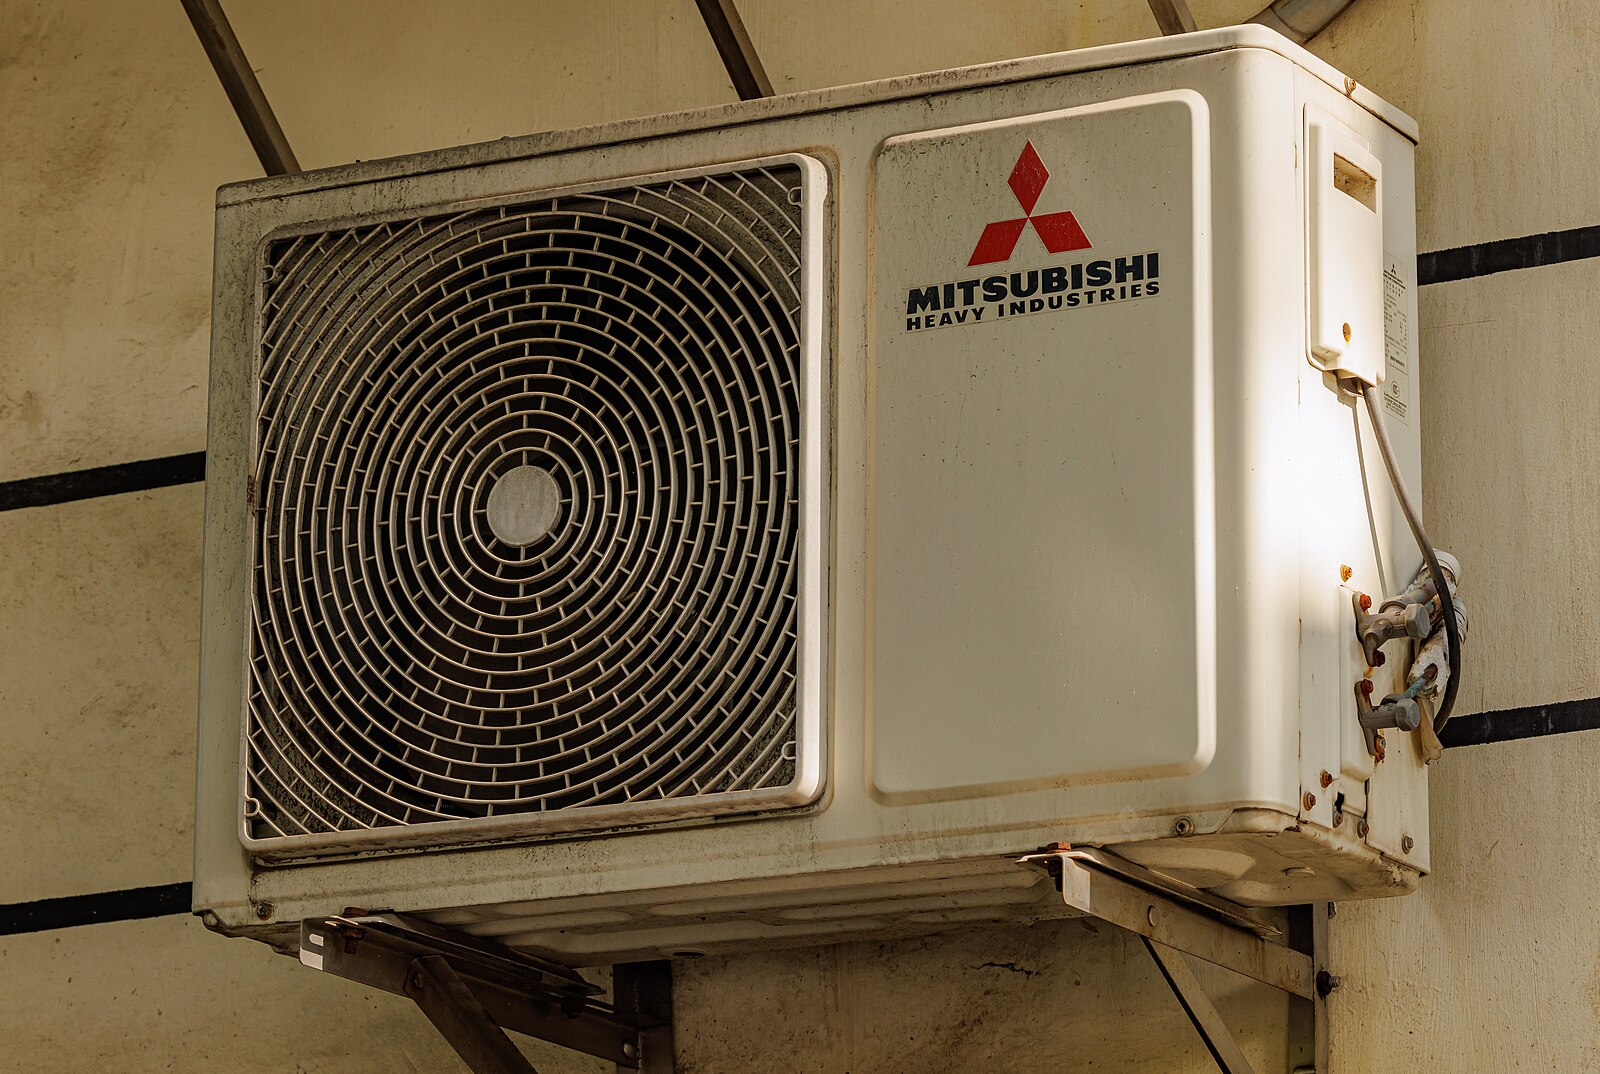 Image source: Mitsubishi ac By Dinkun Chen
The air filters in your Mitsubishi AC indoor unit play a vital role in maintaining indoor air quality and the overall efficiency of the system. To clean the filters, follow these steps:
-
Removal: Carefully remove the filters from the indoor unit. Refer to the manufacturer’s instructions for the proper removal technique, as the filter design may vary across different Mitsubishi models.
-
Washing: Wash the filters in the sink using a mild soap and warm water. Gently scrub the filters to remove any accumulated dust, dirt, or debris. Avoid using harsh chemicals or abrasive materials, as they can damage the filter media.
-
Drying: Allow the filters to air dry completely before reinstalling them. Ensure that the filters are completely dry to prevent any water damage to the internal components of the indoor unit.
-
Reinstallation: Once the filters are dry, carefully place them back into the indoor unit, following the manufacturer’s instructions for the proper orientation and placement.
For quick filter cleanings, you can also use a vacuum cleaner with a soft brush attachment to gently remove any surface-level dust or debris.
Clean the Heat Exchanger
The heat exchanger is a critical component of the Mitsubishi AC indoor unit, responsible for transferring heat between the refrigerant and the air. To clean the heat exchanger, follow these steps:
-
Preparation: Before cleaning the heat exchanger, ensure that the indoor unit has been turned off for at least 5 hours. This will allow the heat exchanger to cool down, making the cleaning process safer and more effective.
-
Vacuum Cleaning: Use the vacuum cleaner’s brush attachment to gently and vertically vacuum along the heat exchanger fins. Avoid running the vacuum cleaner horizontally, as this can potentially damage the delicate fins.
-
Fin Straightening: If you notice any bent or damaged fins on the heat exchanger, you can use a fin comb or a specialized tool to carefully straighten them. This will help maintain the optimal airflow through the heat exchanger.
-
Coil Cleaning: For a more thorough cleaning, you can use a coil cleaner solution specifically designed for HVAC systems. Apply the solution to the heat exchanger coils, let it sit for the recommended duration, and then rinse it off with a gentle water spray. Ensure that the area is completely dry before reassembling the unit.
Clean the Blower and Coil
The blower and coil are also essential components that require regular cleaning to maintain the efficiency and performance of your Mitsubishi AC indoor unit. Follow these steps to clean them:
-
Blower Cleaning: Use a soft cloth and a mild, soapy water solution to gently wipe down the blower. Avoid using any abrasive materials or harsh chemicals, as they can damage the blower’s delicate components.
-
Coil Cleaning: Similar to the heat exchanger, you can use a coil cleaner solution to clean the indoor unit’s coil. Apply the solution, let it sit for the recommended duration, and then rinse it off with a gentle water spray. Ensure that the area is completely dry before reassembling the unit.
Clean the Drain Pan
The drain pan is responsible for collecting any condensation that forms during the cooling process. Over time, this pan can accumulate debris and buildup, which can lead to issues with water drainage and potential water damage. To clean the drain pan, follow these steps:
-
Inspection: Visually inspect the drain pan for any debris or buildup. If you notice any, proceed to the next step.
-
Cleaning: Use a soft cloth and a mild, soapy water solution to gently wipe down the drain pan, removing any debris or buildup. Ensure that the drain line is also clear and unobstructed.
-
Drying: After cleaning, thoroughly dry the drain pan to prevent any water damage to the indoor unit’s components.
Reassemble and Restart the Unit
Once you have completed all the cleaning tasks, it’s time to reassemble the Mitsubishi AC indoor unit. Carefully replace the filters and the front cover, ensuring that they are properly aligned and secured in place.
Finally, plug the indoor unit back into the power source and turn it on. Verify that the unit is operating correctly and that all the components are functioning as intended.
By following this comprehensive guide, you can effectively clean your Mitsubishi AC indoor unit and ensure its continued efficient operation, improved indoor air quality, and extended lifespan. Regular maintenance and cleaning are essential for the optimal performance of your Mitsubishi air conditioning system.