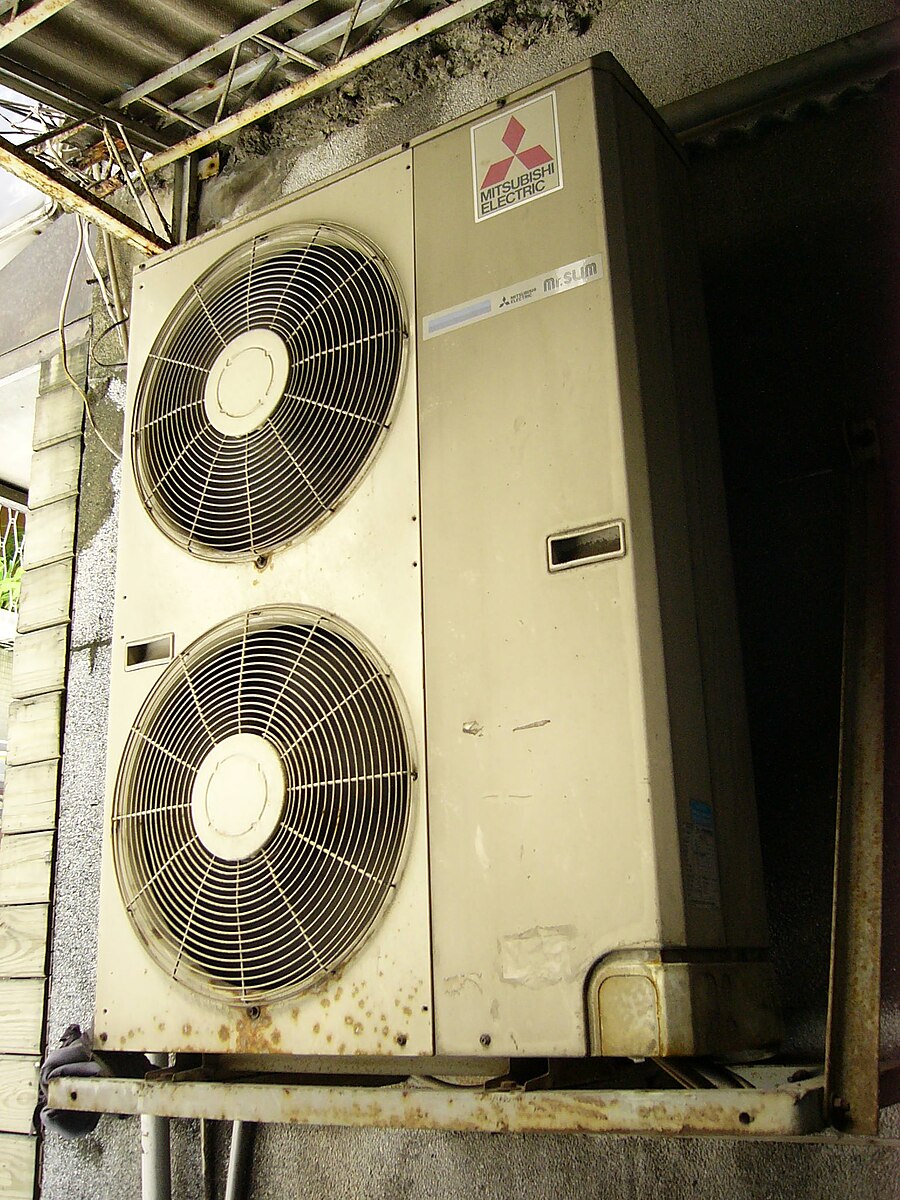
Removing the drain pan on a Mitsubishi air conditioning unit is a crucial maintenance task that helps ensure the proper functioning and longevity of your system. This comprehensive guide will walk you through the step-by-step process, providing advanced technical details and expert-level insights to help you tackle this project with confidence.
Preparation: Gathering the Necessary Tools
Before you begin, ensure that you have the following tools on hand:
- Screwdriver set (both flathead and Phillips head)
- Nut driver set
- Soft-bristle brush
- Mild detergent
- Towels or rags
- Flashlight (optional, for better visibility)
Additionally, make sure to turn off the power to the unit at the breaker box to ensure your safety during the removal process.
Accessing the Cover
 Image source: Mitsubishi ac By Solomon203
- Locate the Front Panel or Grille: The first step is to remove the front panel or grille of the indoor unit. This is typically done by unscrewing the screws located at the top and bottom of the panel.
- Gently Remove the Panel: Once the screws are removed, carefully pull the panel away from the unit, taking care not to damage any of the components.
Identifying the Drain Pan
- Locate the Evaporator Coil: Inside the unit, you’ll find the evaporator coil, which is responsible for cooling the air.
- Locate the Drain Pan: Directly underneath the evaporator coil, you’ll find the drain pan. This pan collects the condensation that drips from the coil during the cooling process.
Removing the Drain Pan
- Identify the Securing Screws or Clips: Depending on the specific Mitsubishi model, the drain pan may be held in place by two to four screws or clips. The location and number of these fasteners can vary, so it’s important to inspect your unit carefully.
- Remove the Screws or Clips: Using the appropriate screwdriver or nut driver, carefully remove the screws or clips that are securing the drain pan in place.
- Lift Out the Drain Pan: Once the fasteners have been removed, gently lift the drain pan out of the unit, taking care not to spill any accumulated water.
Cleaning the Drain Pan
- Prepare the Cleaning Solution: Mix a mild detergent with warm water to create a cleaning solution.
- Scrub the Drain Pan: Use a soft-bristle brush to gently scrub the drain pan, removing any dirt, debris, or mineral buildup.
- Rinse Thoroughly: Ensure that you rinse the drain pan thoroughly to remove all traces of the cleaning solution.
- Allow to Dry Completely: Before reinstalling the drain pan, make sure it is completely dry to prevent any water from dripping back into the unit.
Reassembling the Unit
- Reinstall the Drain Pan: Carefully place the clean and dry drain pan back into its original position, making sure to align it correctly.
- Secure the Drain Pan: Reattach the screws or clips that were previously removed, ensuring that they are tightened securely.
- Reinstall the Front Panel or Grille: Carefully replace the front panel or grille, aligning it correctly and securing it with the screws.
Inspecting the Drainage System
- Check the Drain Line: While the drain pan is removed, take the opportunity to inspect the drain line for any blockages or signs of damage.
- Clean the Drain Line: If necessary, use a flexible drain line cleaner or a wet/dry vacuum to remove any debris or buildup in the drain line.
- Inspect the Condensate Pump: If your Mitsubishi unit has a condensate pump, check the filter and clean it if needed. Also, ensure that the pump is functioning correctly.
By following these detailed steps and incorporating the advanced technical information, you’ll be able to successfully remove, clean, and reinstall the drain pan on your Mitsubishi air conditioning unit. Remember to always prioritize safety and take your time to ensure a proper and thorough job.
Reference:
– Ductless Mini Split Cleaning And Maintenance (Complete Tear Down) – YouTube
– Ductless Mini-Split: How to Take Apart & Clean DIY (Mitsubishi FH High Wall Series) – YouTube
– HOW TO CLEAN AND SERVICE MITSUBISHI SPLIT AIR CONDITIONER – YouTube
