
Maintaining the cleanliness of your Panasonic AC indoor unit is crucial for its efficient operation, improved indoor air quality, and extended lifespan. This comprehensive guide will walk you through the step-by-step process of cleaning your Panasonic AC indoor unit, ensuring it runs at its best.
Prepare the Workspace
Before you begin the cleaning process, ensure that you have the necessary tools and equipment ready. This includes:
- Soft-bristled brush or vacuum cleaner attachment
- Mild detergent or AC coil cleaner
- Garden hose or spray bottle
- Microfiber cloth
- Protective gloves and eyewear
Additionally, make sure to turn off the power to the AC unit at the circuit breaker or disconnect switch to ensure your safety during the cleaning process.
Remove and Clean the Filters
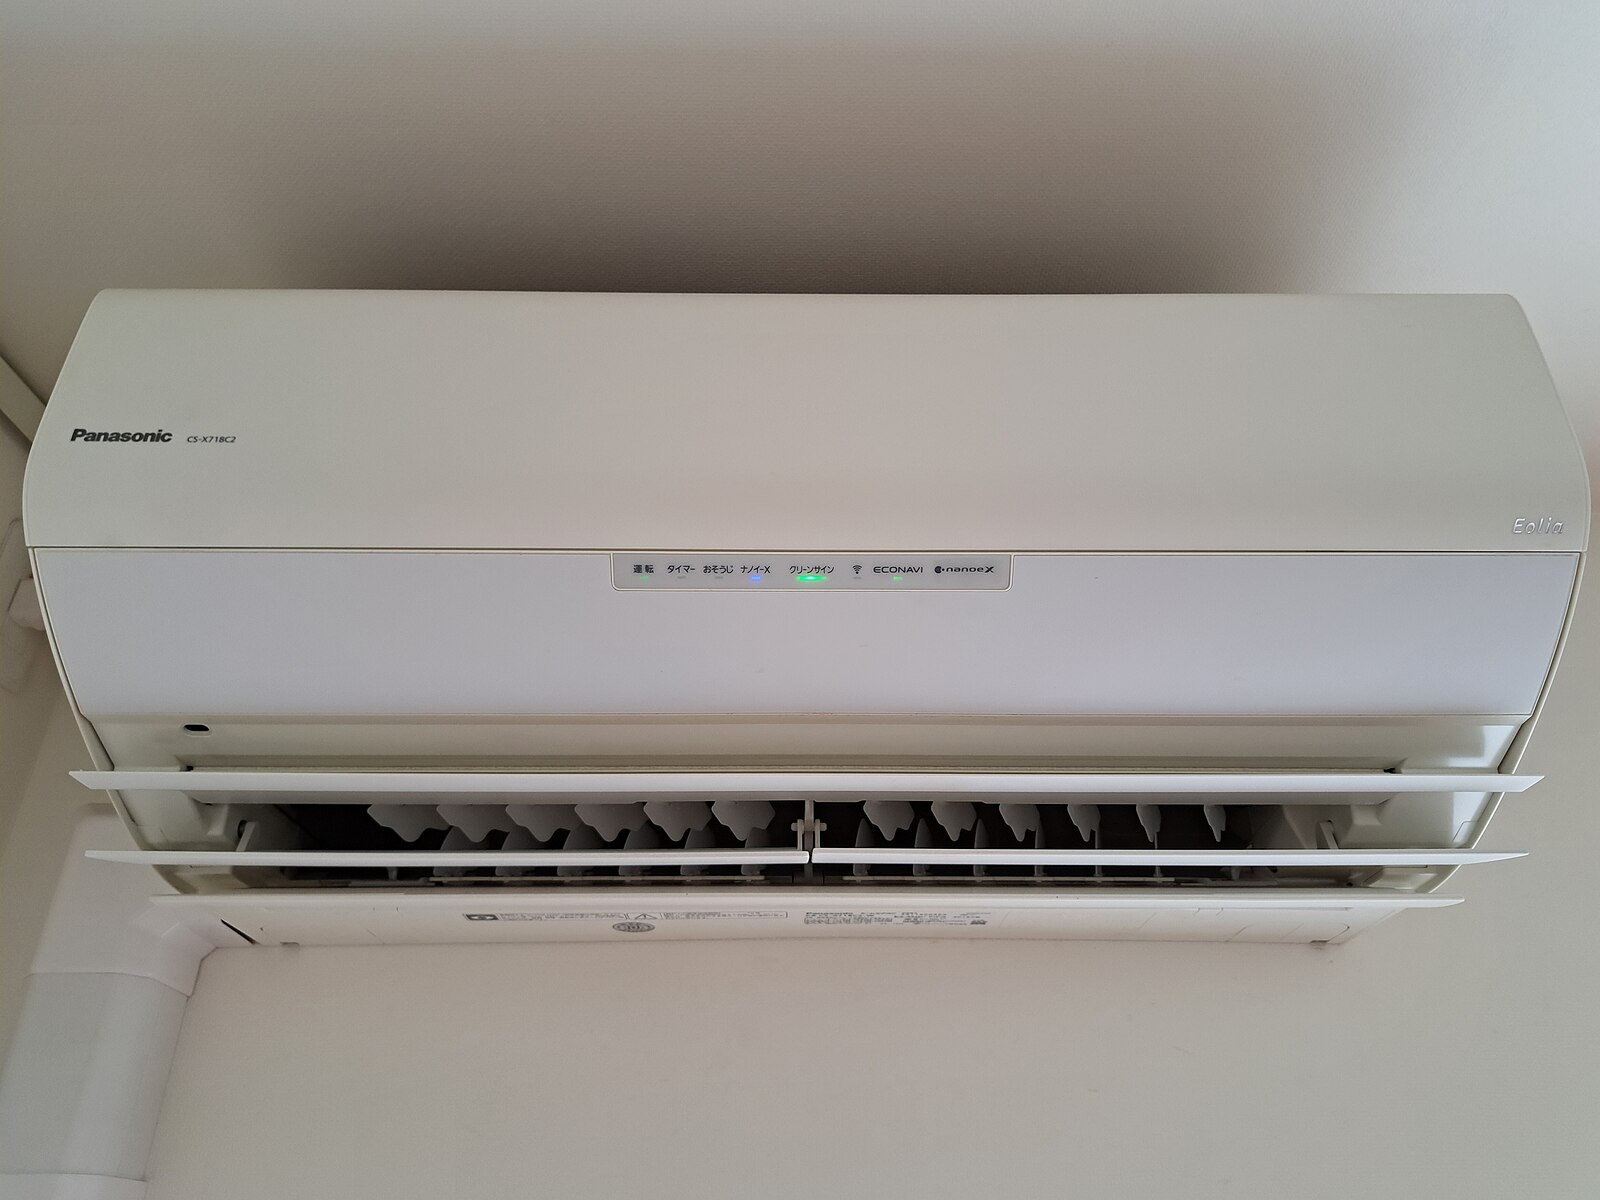 Image source: Panasonic Ac by RuinDig
- Locate the Front Panel: Locate the front panel of your Panasonic AC indoor unit. This panel is typically secured with clips or screws on the left and right sides.
- Release the Front Panel: Gently release the clips or unscrew the screws to swing the front panel open.
- Remove the Filters: Carefully lift out the air filters from the indoor unit. These filters are typically made of a fine mesh material and may be rectangular or square in shape.
- Clean the Filters: Use a soft-bristled brush or a vacuum cleaner attachment to remove any visible dust or debris from the filters. If the filters are heavily soiled, you can soak them in a mild detergent solution or use a dedicated AC coil cleaner, following the manufacturer’s instructions. Rinse the filters thoroughly with clean water and allow them to air dry completely before reinstalling.
- Reinstall the Filters: Once the filters are dry, slide them back into the indoor unit, ensuring they are properly aligned and secured in place.
Clean the Condenser Coil
- Locate the Condenser Coil: The condenser coil is typically located at the back or side of the indoor unit, behind a removable panel or grille.
- Disconnect the Power: For safety reasons, turn off the circuit breaker or disengage the unit’s pull-out switch to cut power to the AC unit.
- Access the Condenser Coil: Carefully remove the panel or grille to access the condenser coil.
- Clean the Coil: Use a soft-bristled brush or a vacuum cleaner attachment to gently remove any visible dust or debris from the condenser coil. Avoid using excessive force, as this can damage the delicate fins.
- Rinse the Coil: Gently hold down the condenser coils and let water run down the coils to wash away any remaining dirt or debris. Avoid using high-pressure water, as this can also damage the coil.
- Dry the Coil: Use a microfiber cloth to gently wipe down the condenser coil and remove any excess moisture.
- Reassemble the Unit: Once the condenser coil is clean and dry, replace the panel or grille and secure it in place.
Wipe Down the Exterior
- Inspect the Exterior: Visually inspect the exterior of the Panasonic AC indoor unit for any accumulated dust or dirt.
- Wipe Down the Surfaces: Use a damp microfiber cloth to gently wipe down the exterior surfaces of the indoor unit, including the front panel, vents, and any visible areas.
- Avoid Moisture Intrusion: Be careful not to allow any excess moisture to enter the indoor unit, as this can potentially damage the internal components.
Test the AC Unit
- Restore Power: Turn the circuit breaker or unit pull-out switch back on to restore power to the AC unit.
- Turn on the AC: Turn on the Panasonic AC indoor unit and check for proper operation, ensuring that the airflow, temperature, and other functions are working as expected.
- Monitor Performance: Observe the AC unit’s performance over the next few days to ensure it is running efficiently and providing the desired cooling or heating.
Maintain Regular Cleaning
To keep your Panasonic AC indoor unit in top condition, it’s recommended to clean the filters and condenser coil on a regular basis, typically every 1-3 months, depending on the frequency of use and the local environment. Regular maintenance will help ensure your AC unit operates efficiently, maintains healthy indoor air quality, and prevents a spike in your electricity bills.