Removing the Panasonic drain pan can be a crucial task for maintaining the efficiency and longevity of your air conditioning unit. This comprehensive guide will walk you through the advanced steps with detailed technical specifications, ensuring a seamless and successful drain pan removal process.
Prepare the Work Area
Before beginning the drain pan removal, ensure that you have the necessary tools and equipment ready. This includes a screwdriver set, a vacuum cleaner, a coconut brush, and a clean, well-lit work area. It’s also essential to turn off the power to the air conditioning unit and allow it to cool down completely to avoid any potential safety hazards.
Remove the Screw Cover and Screw
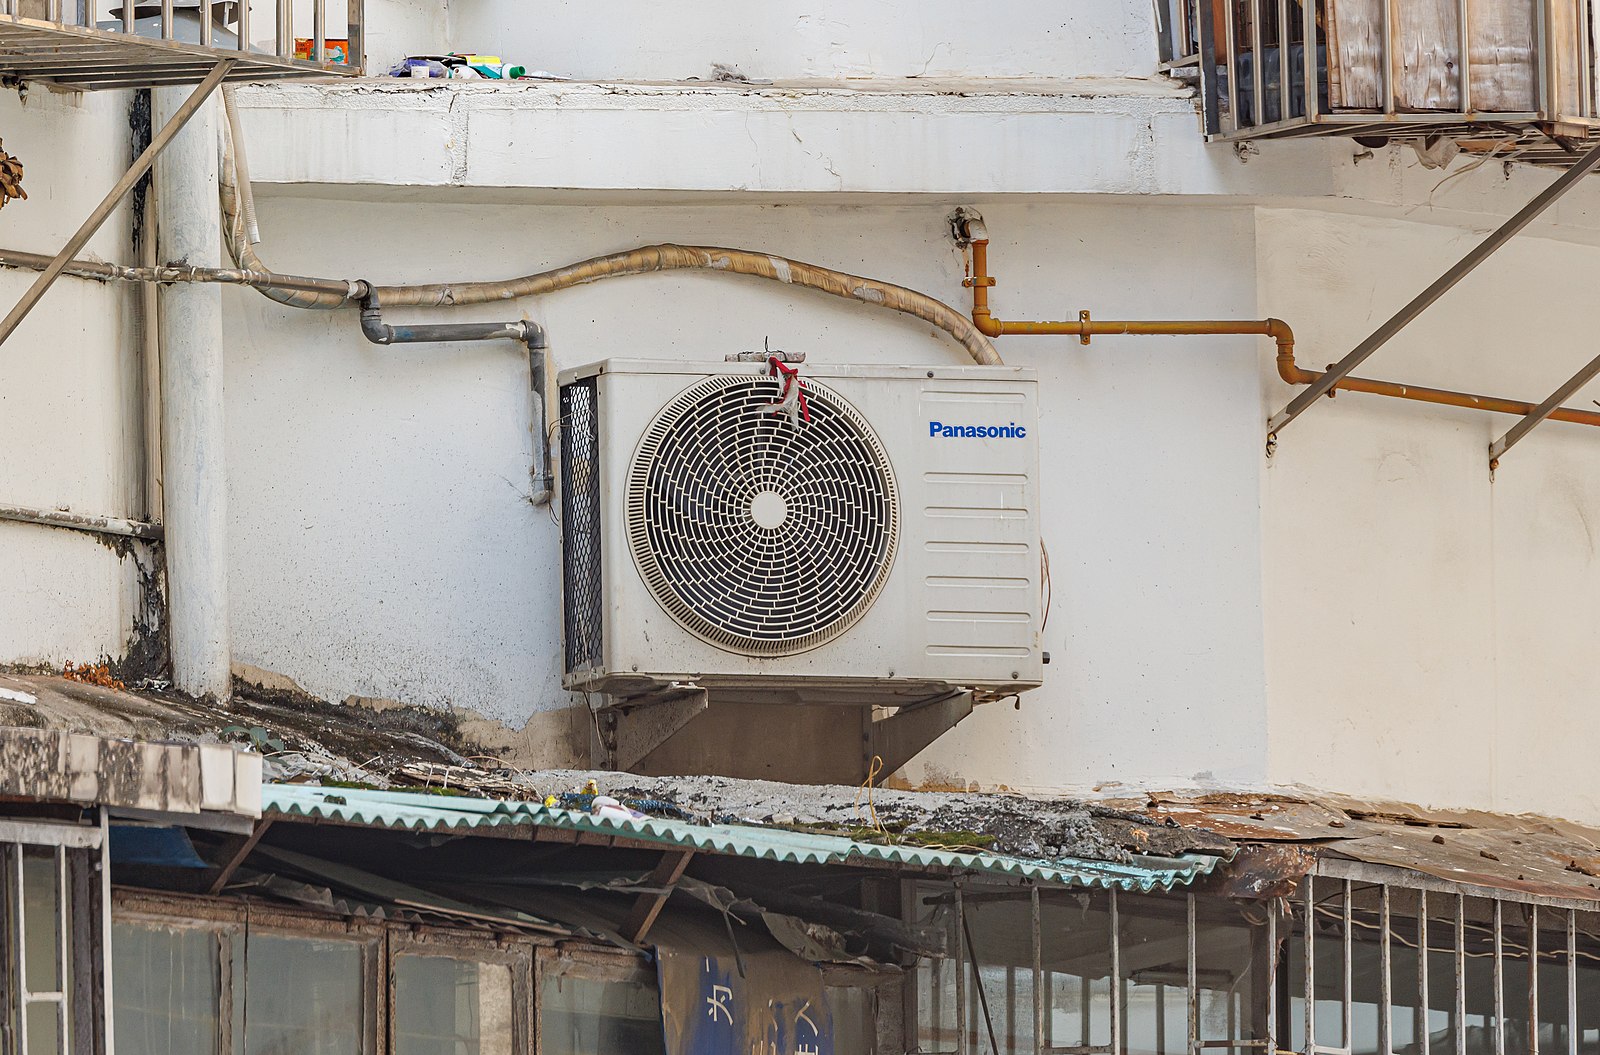
 Image source: Panasonic Ac by Dinkun Chen
- Locate the screw cover on the air conditioning unit. This is typically found near the bottom of the unit, either on the front or side panel.
- Using a flathead or Phillips screwdriver, gently pry open the screw cover to expose the screw underneath.
- Remove the screw using the appropriate screwdriver. Make sure to keep the screw in a safe place for later reassembly.
Remove the Front Cover
- After removing the screw, carefully lift and remove the front cover of the air conditioning unit. This will provide access to the internal components, including the drain pan.
- Take note of the orientation and positioning of the front cover to ensure proper reinstallation later.
Disconnect the Drain Pipe
- Locate the drain pipe that is connected to the drain pan. In the specific Panasonic model, the drain pipe is connected to the left-hand side, but this may vary depending on the model.
- Gently disconnect the drain pipe from the drain pan, taking care not to damage the pipe or the connection point.
Remove the Drain Pan
- With the drain pipe disconnected, you can now proceed to remove the drain pan. Start by removing the drain pan from the left-hand side first.
- Carefully lift and tilt the drain pan to the right-hand side, ensuring that the stepping motor is removed before pulling the drain pan out completely.
- Inspect the drain pan for any debris, buildup, or damage, and clean it thoroughly if necessary.
Check the Blower Alignment
- Before removing the blower wheel, it’s crucial to ensure that the blower is aligned properly to avoid any damage to the components.
- Visually inspect the blower wheel and its positioning within the air conditioning unit. Make note of any misalignment or potential issues.
Remove the Evaporator Coil Screw
- Locate the screw that secures the evaporator coil in place.
- Using the appropriate screwdriver, unscrew the evaporator coil and remove it from its position.
- Observe that there is a clip on top of the evaporator coil that needs to be pulled up before the coil can be removed.
Remove the Blower Wheel
- Unscrew the blower wheel using a minus screwdriver.
- Carefully pull out the bearing housing and the blower wheel from the right-hand side to the left-hand side.
Clean the Components
- Use a vacuum cleaner and a coconut brush to thoroughly clean the evaporator coil, the FCU base, the front cover, the air filter, the blower wheel, and the drain pan.
- Ensure that all components are completely dry before reassembling the air conditioning unit.
Vacuum the Drain Pipe
- Use a vacuum cleaner to clean the drain pipe and remove any blockages or debris that may have accumulated.
- This step helps to ensure that the drain system is clear and functioning properly.
Reassemble the Components
- After cleaning and drying all the components, begin the reassembly process in the reverse order of removal.
- Ensure that all screws are tightened properly, and the blower wheel and evaporator coil are aligned correctly.
- Reconnect the drain pipe to the drain pan, making sure the connection is secure.
- Reinstall the front cover, taking care to align it correctly, and replace the screw cover.
By following these advanced steps with detailed technical specifications, you can successfully remove the Panasonic drain pan and maintain the optimal performance of your air conditioning unit. Remember to always prioritize safety and consult the manufacturer’s instructions or a professional if you encounter any difficulties during the process.
