
Removing the Panasonic mini split cover is a crucial step in maintaining and cleaning your air conditioning unit. This comprehensive guide will walk you through the advanced and critical steps required to successfully remove the cover, ensuring your unit operates at peak efficiency. Whether you’re a seasoned DIY enthusiast or a first-time homeowner, this step-by-step manual will provide you with the necessary technical details and expert-level insights to tackle this task with confidence.
Remove Screw Cover and Screw
Begin by locating the screw cover on the unit. Gently pry it off using a flat-head screwdriver or a small pry tool. Once the cover is removed, use a Phillips-head screwdriver to unscrew the screw that secures the front cover in place.
Remove Front Cover
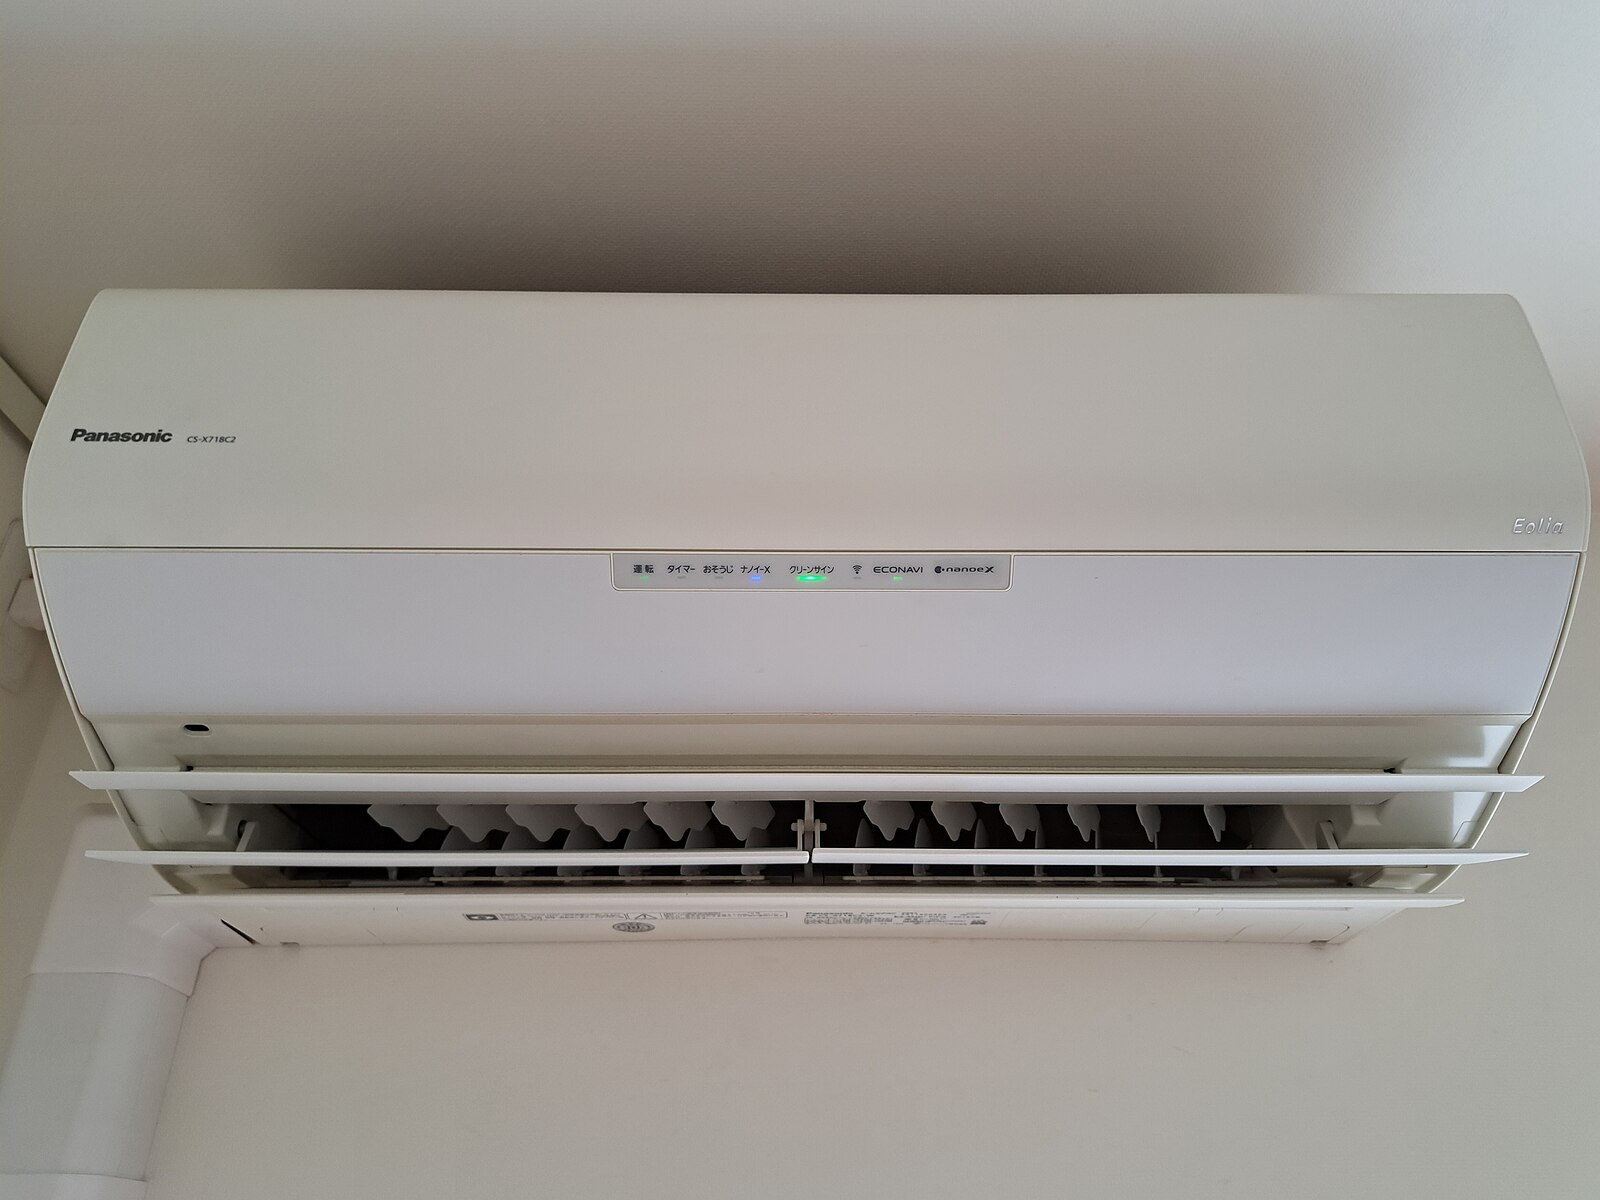 Image source: Panasonic Ac by RuinDig
Carefully grasp the front cover and gently pull it away from the unit. Be mindful of any clips or tabs that may be holding the cover in place, and slowly work it free to avoid damaging the components.
Remove Drain Pipe (Flexible Hose)
Locate the drain pipe, also known as the flexible hose, and disconnect it from the drain pan. This will provide you with better access to the internal components of the unit.
Remove the Drain Pan
On the left-hand side of the unit, you will find the drain pan. Carefully remove this component, ensuring that any remaining water is properly drained.
Remove the Stepping Motor
Gently disconnect the stepping motor from the unit, taking note of its orientation and position for proper reinstallation later.
Check Blower Alignment
Before removing the blower wheel, ensure that it is properly aligned. This will make the reassembly process much smoother.
Remove Evaporator Coil Screw
Locate the screw that secures the evaporator coil in place and remove it using a Phillips-head screwdriver.
Pull Up the Evaporator Coil
Carefully pull up the evaporator coil, being mindful of any clips or tabs that may be holding it in place. Avoid applying excessive force to prevent damage to the coil.
Remove Bearing Housing
Locate the bearing housing and remove it from the unit, taking note of its orientation and position.
Remove Blower Wheel Screw
Using a minus screwdriver, remove the screw that secures the blower wheel in place.
Pull Out Blower Wheel
Gently pull out the blower wheel from the right to left-hand side of the unit, taking care not to damage the components.
Clean the Evaporator Coil
Use a vacuum cleaner and a soft-bristle coconut brush to thoroughly clean the evaporator coil, removing any accumulated dust or debris.
Clean the FCU Base
Ensure that the FCU (Fan Coil Unit) base is clean and free from any debris or obstructions.
Wash the Front Cover, Air Filter, Blower Wheel, and Drain Pan
Carefully remove and wash the front cover, air filter, blower wheel, and drain pan using a mild detergent and warm water. Allow these components to dry completely before reassembly.
Vacuum the Drain Pipe
Use a vacuum cleaner to clean the drain pipe, removing any accumulated debris or blockages.
Fix Back Blower Wheel
Carefully reinsert the blower wheel back into its original position, ensuring that it is properly aligned.
Check Blower Alignment
Verify that the blower wheel is correctly aligned before tightening the screws.
Tighten the Blower Wheel Screw
Securely tighten the blower wheel screw using a minus screwdriver.
Fix Back Bearing Housing
Reattach the bearing housing, ensuring that it is properly positioned and secured.
Clip and Fix the Evaporator Coil
Carefully clip the evaporator coil back into place and tighten the securing screw.
Fix Back the Stepping Motor
Reattach the stepping motor, ensuring that it is properly connected and oriented.
Fix Back the Drain Pan
Reinstall the drain pan, making sure that it is securely in place.
Fix Back Front Cover
Carefully replace the front cover, ensuring that it is properly aligned and all clips or tabs are engaged.
Tighten the Front Cover Screw
Use a Phillips-head screwdriver to tighten the front cover screw, securing the cover in place.
Fix the Screw Cover
Reattach the screw cover, ensuring that it is properly seated and secured.
By following these advanced and critical steps, you can successfully remove the Panasonic mini split cover for cleaning and maintenance. Remember to take your time, be gentle with the components, and double-check your work to ensure a proper reassembly. This comprehensive guide will provide you with the technical expertise and hands-on experience to tackle this task with confidence.