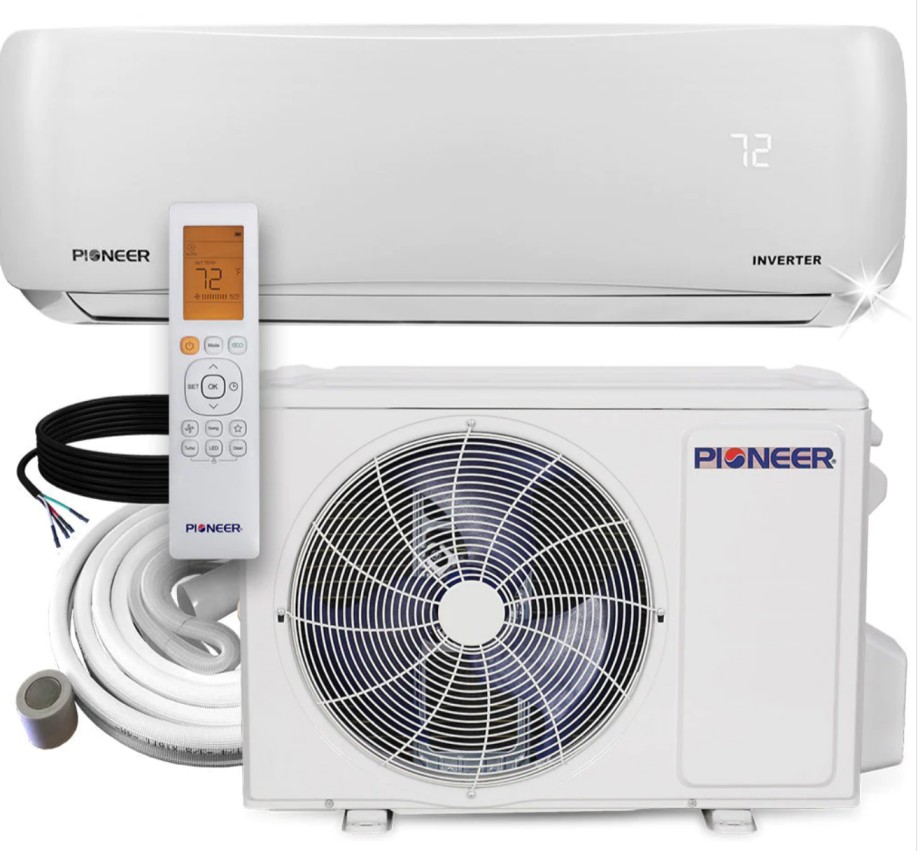
Maintaining the cleanliness of your Pioneer AC indoor unit is crucial for its optimal performance, energy efficiency, and longevity. This comprehensive guide will walk you through the advanced steps to thoroughly clean your Pioneer AC indoor unit, ensuring it operates at its best.
Gather the Necessary Supplies
Before you begin the cleaning process, make sure you have the following supplies on hand:
- Clean, damp cloth
- Clean, dry cloth
- Household cleaners (consult your owner’s manual for suggested products)
- Water hose
- Vacuum with brush nozzle attachment
- Coil cleaning tool (for a deeper clean)
- Cleaning brush (for a deeper clean)
- Spray bottle
- Condensate drain pump treatment (for a deeper clean)
- Condensate drain cleaner (for a deeper clean)
Having these tools and materials ready will ensure a smooth and efficient cleaning process.
Clean the Indoor Unit
-
Wipe Down the Exterior Surface: Begin by wiping down the exterior surface of the indoor unit with a damp cloth. Gently remove any dust, dirt, or debris from the surface. Dry the surface thoroughly with a clean, dry cloth.
-
Remove and Clean the Filter: Locate the mini-split filter by opening the front panel of the indoor unit. Carefully remove the filter and clean it with a mild detergent and water. Rinse the filter thoroughly and let it air-dry completely before reinstalling it.
-
Access and Clean the Evaporator Coil: To access the evaporator coil, you will need to remove the unit’s cabinet. Use a dry cloth or a cloth dampened with a coil cleaner to gently wipe away any dirt, mold, or particles that have accumulated on the coil. Be careful not to damage the delicate coil fins.
-
Clean the Condensate Pan and Drain: Inspect the condensate pan and drain for any buildup or debris. Clean the pan and drain with soapy water or a diluted bleach solution if necessary. Ensure the drain is clear and unobstructed.
-
Reassemble the Unit: After completing the cleaning, carefully replace the cabinet and front panel of the indoor unit, ensuring a proper and secure fit.
Clean the Outdoor Unit
-
Remove Debris: Begin by removing any twigs, leaves, or grass that may have accumulated around or on the outdoor unit.
-
Spray Down the Exterior: Use a garden hose or a coil cleaning tool to spray down the exterior of the outdoor unit, removing any dirt or grime.
-
Wipe Down the Housing: Gently wipe down the unit’s housing with a clean cloth to remove any remaining dirt or debris.
Deeper Cleaning Techniques
For a more thorough and deeper clean, consider using the following additional tools and techniques:
-
Coil Cleaning Tool: Use a coil cleaning tool to effectively remove stubborn dirt, mold, and other particles from the evaporator coil.
-
Cleaning Brush: Utilize a cleaning brush to gently scrub the coil, ensuring a more comprehensive cleaning.
-
Spray Bottle: Fill a spray bottle with a coil cleaner or a diluted bleach solution and use it to pre-treat the coil before wiping it down.
-
Condensate Drain Pump Treatment: Apply a condensate drain pump treatment to help maintain the cleanliness and proper functioning of the drain system.
-
Condensate Drain Cleaner: Use a condensate drain cleaner to remove any buildup or blockages in the drain line.
Remember to always consult your owner’s manual for specific cleaning instructions and recommended cleaning products for your Pioneer AC indoor unit.
Regular cleaning of your Pioneer AC indoor unit is essential for maintaining its efficiency, extending its lifespan, and ensuring a comfortable indoor environment. By following these advanced steps, you can keep your unit in top condition and enjoy the benefits of a well-maintained air conditioning system.

