Navigating the complexities of HVAC systems can be a daunting task, especially when it comes to troubleshooting error codes. This comprehensive guide will walk you through the step-by-step process of accessing and interpreting fault codes on your Lennox remote, empowering you to diagnose and address issues with your Lennox HVAC system effectively.
Accessing the Error Code Lookup Tool
The first step in deciphering fault codes on your Lennox remote is to utilize the Error Code Lookup tool provided by LennoxPros. This online resource allows you to quickly identify the specific error code displayed on your remote and access the corresponding troubleshooting steps.
- Visit the LennoxPros Website: Navigate to the LennoxPros website (www.lennoxpros.com) and locate the Error Code Lookup tool.
- Enter the Error Code: Carefully input the error code displayed on your Lennox remote into the designated field within the tool.
- Retrieve Troubleshooting Steps: The tool will then provide you with detailed troubleshooting steps and guidance on how to address the specific error code.
By leveraging this comprehensive online resource, you can quickly and efficiently identify the root cause of the issue and take the necessary steps to resolve it.
Consulting the Service Manual
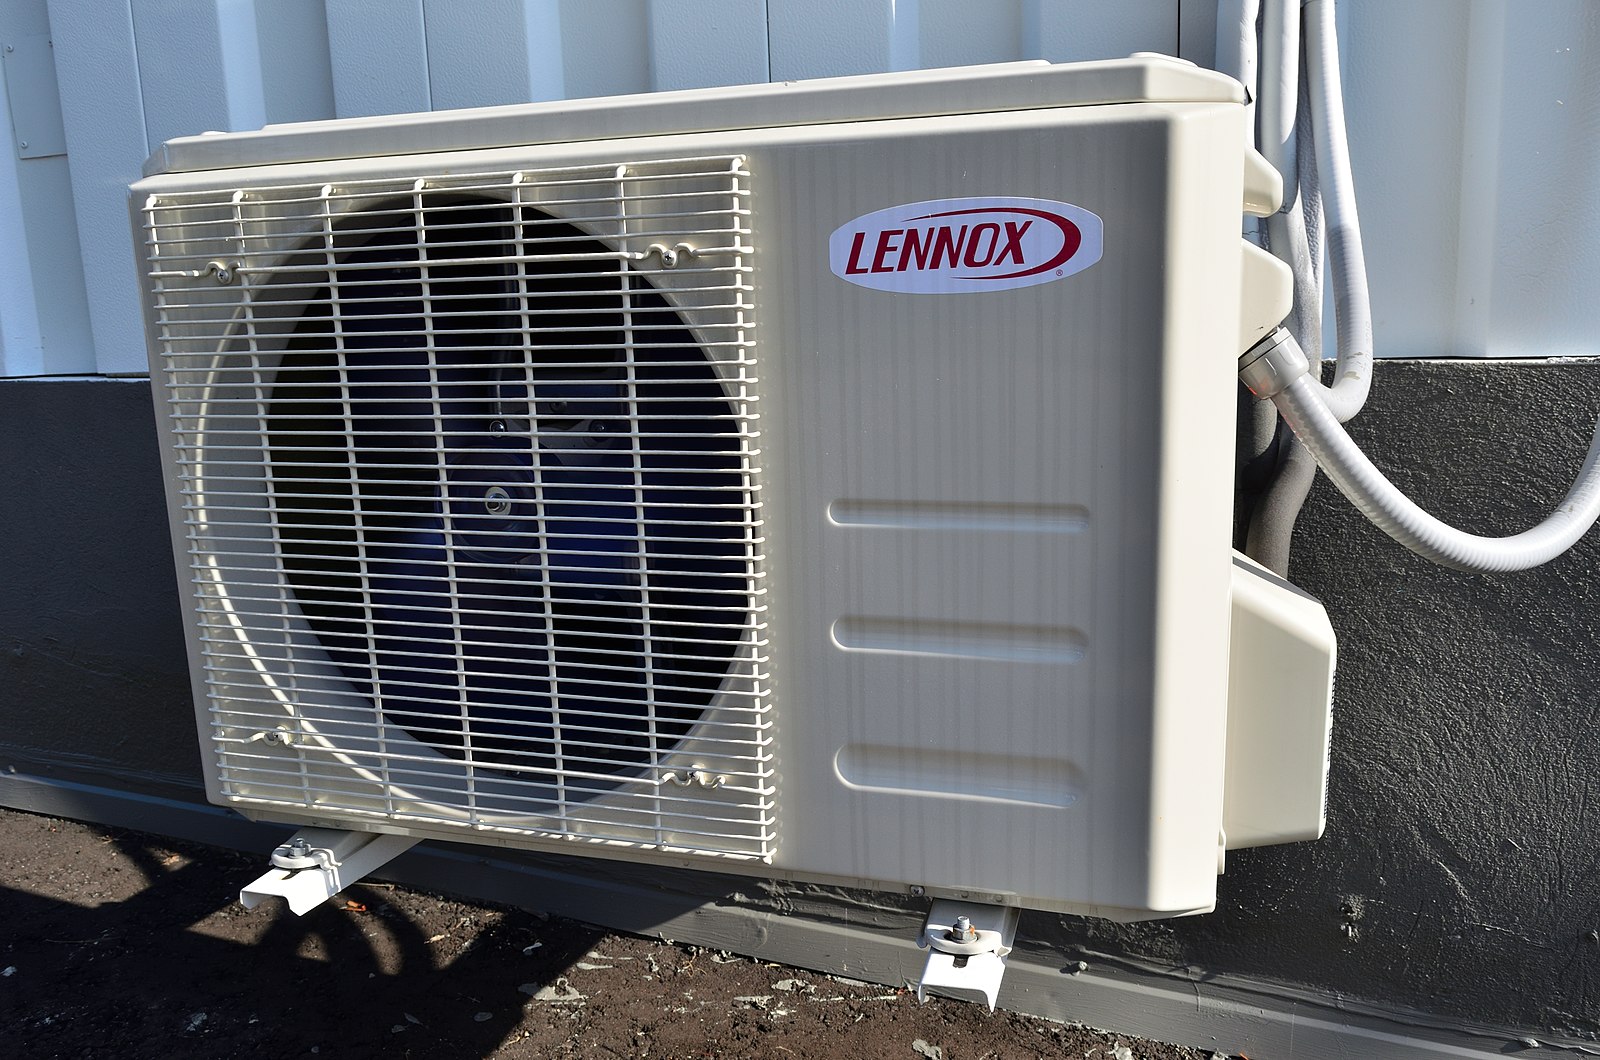
 Image source: Lennox Ac by Raysonho
In addition to the Error Code Lookup tool, it is essential to refer to the Lennox Mini-Split Systems Service Manual for in-depth information on error codes, component diagnostics, and troubleshooting procedures.
- Obtain the Service Manual: You can access the Lennox Mini-Split Systems Service Manual by visiting the Lennox International Technical Support website (tech.lennoxintl.com) or contacting Lennox customer support.
- Familiarize Yourself with the Manual: Thoroughly review the service manual to understand the various error codes, such as E0, E1, and E3, and the corresponding troubleshooting steps.
- Utilize the Diagnostic Procedures: The service manual provides detailed diagnostic procedures and step-by-step instructions for testing and troubleshooting specific components, such as the outdoor fan motor, reactors, and capacitors.
By consulting the Lennox Mini-Split Systems Service Manual, you can gain a deeper understanding of the error codes and access the necessary technical information to effectively diagnose and resolve issues with your Lennox HVAC system.
Checking the Outdoor Unit
One common fault code that may appear on your Lennox remote is E8, which indicates a problem with the outdoor fan motor. To address this issue, follow these steps:
- Inspect the Outdoor Fan: Ensure that the outdoor fan is running properly and without any obstructions or debris that could be impeding its operation.
- Test the Fan Motor: Use a multimeter to measure the voltage and resistance of the outdoor fan motor, as outlined in the service manual. This will help you identify any malfunctioning components.
- Replace the Fan Motor: If the fan motor is found to be faulty, follow the service manual’s instructions for safely removing and replacing the component.
By thoroughly inspecting and testing the outdoor unit, you can effectively diagnose and resolve issues related to the E8 fault code or other outdoor unit-related errors.
Testing Voltage and Resistance
To further troubleshoot fault codes on your Lennox remote, it is essential to test the voltage and resistance of various components within the HVAC system.
- Gather the Necessary Tools: Equip yourself with a high-quality multimeter capable of measuring both voltage and resistance.
- Refer to the Service Manual: Consult the Lennox Mini-Split Systems Service Manual for the specific component testing procedures and acceptable voltage and resistance ranges.
- Test Key Components: Use the multimeter to measure the DC voltage and resistance of components such as reactors, capacitors, and other critical parts that may be contributing to the fault code.
- Interpret the Readings: Compare the measured values to the specifications provided in the service manual. Any discrepancies may indicate a malfunctioning component that needs to be repaired or replaced.
By meticulously testing the voltage and resistance of the various components, you can pinpoint the root cause of the fault code and take the necessary corrective actions.
Verifying Settings and Connections
In some cases, fault codes may be the result of improper settings or loose connections within the HVAC system. To address these issues, follow these steps:
- Confirm Unit Compatibility: Ensure that both the indoor and outdoor units are set to the same mode (e.g., cooling, heating, or fan) and that all fans are functioning properly.
- Check Connections: Inspect all electrical connections, including the power supply, control wiring, and sensor connections, to ensure they are secure and free from damage.
- Consult the Manufacturer’s Documentation: Refer to the Lennox manufacturer’s manual or website for specific troubleshooting procedures related to the fault code you are experiencing.
By verifying the settings and connections within your Lennox HVAC system, you can rule out any configuration or wiring issues that may be contributing to the fault code.
Remember, when dealing with fault codes, it is essential to consult the manufacturer’s documentation or reach out to Lennox customer support for precise information and guidance. If the issues persist after attempting the recommended troubleshooting procedures, it is advisable to seek assistance from a professional HVAC technician to ensure the safe and effective resolution of the problem.
