
Propane patio heaters are a popular choice for outdoor heating, providing warmth and ambiance to your backyard or patio. Installing a propane patio heater may seem daunting, but with the right guidance, it can be a straightforward process. In this comprehensive guide, we’ll walk you through the step-by-step instructions and technical specifications to ensure a successful installation.
Preparing the Area for Propane Patio Heater Installation
Before you begin the installation process, it’s crucial to prepare the area where the patio heater will be placed. Start by ensuring the surface is clean, level, and free from any debris or obstructions. This will provide a stable foundation for the heater and prevent any potential safety hazards.
Assembling the Propane Patio Heater
Carefully follow the manufacturer’s instructions for assembling the propane patio heater. This typically involves attaching the base, post, and heating element together. Pay close attention to the order of assembly and any specific tools or hardware required. Ensure all connections are secure and tightened properly to prevent any issues during operation.
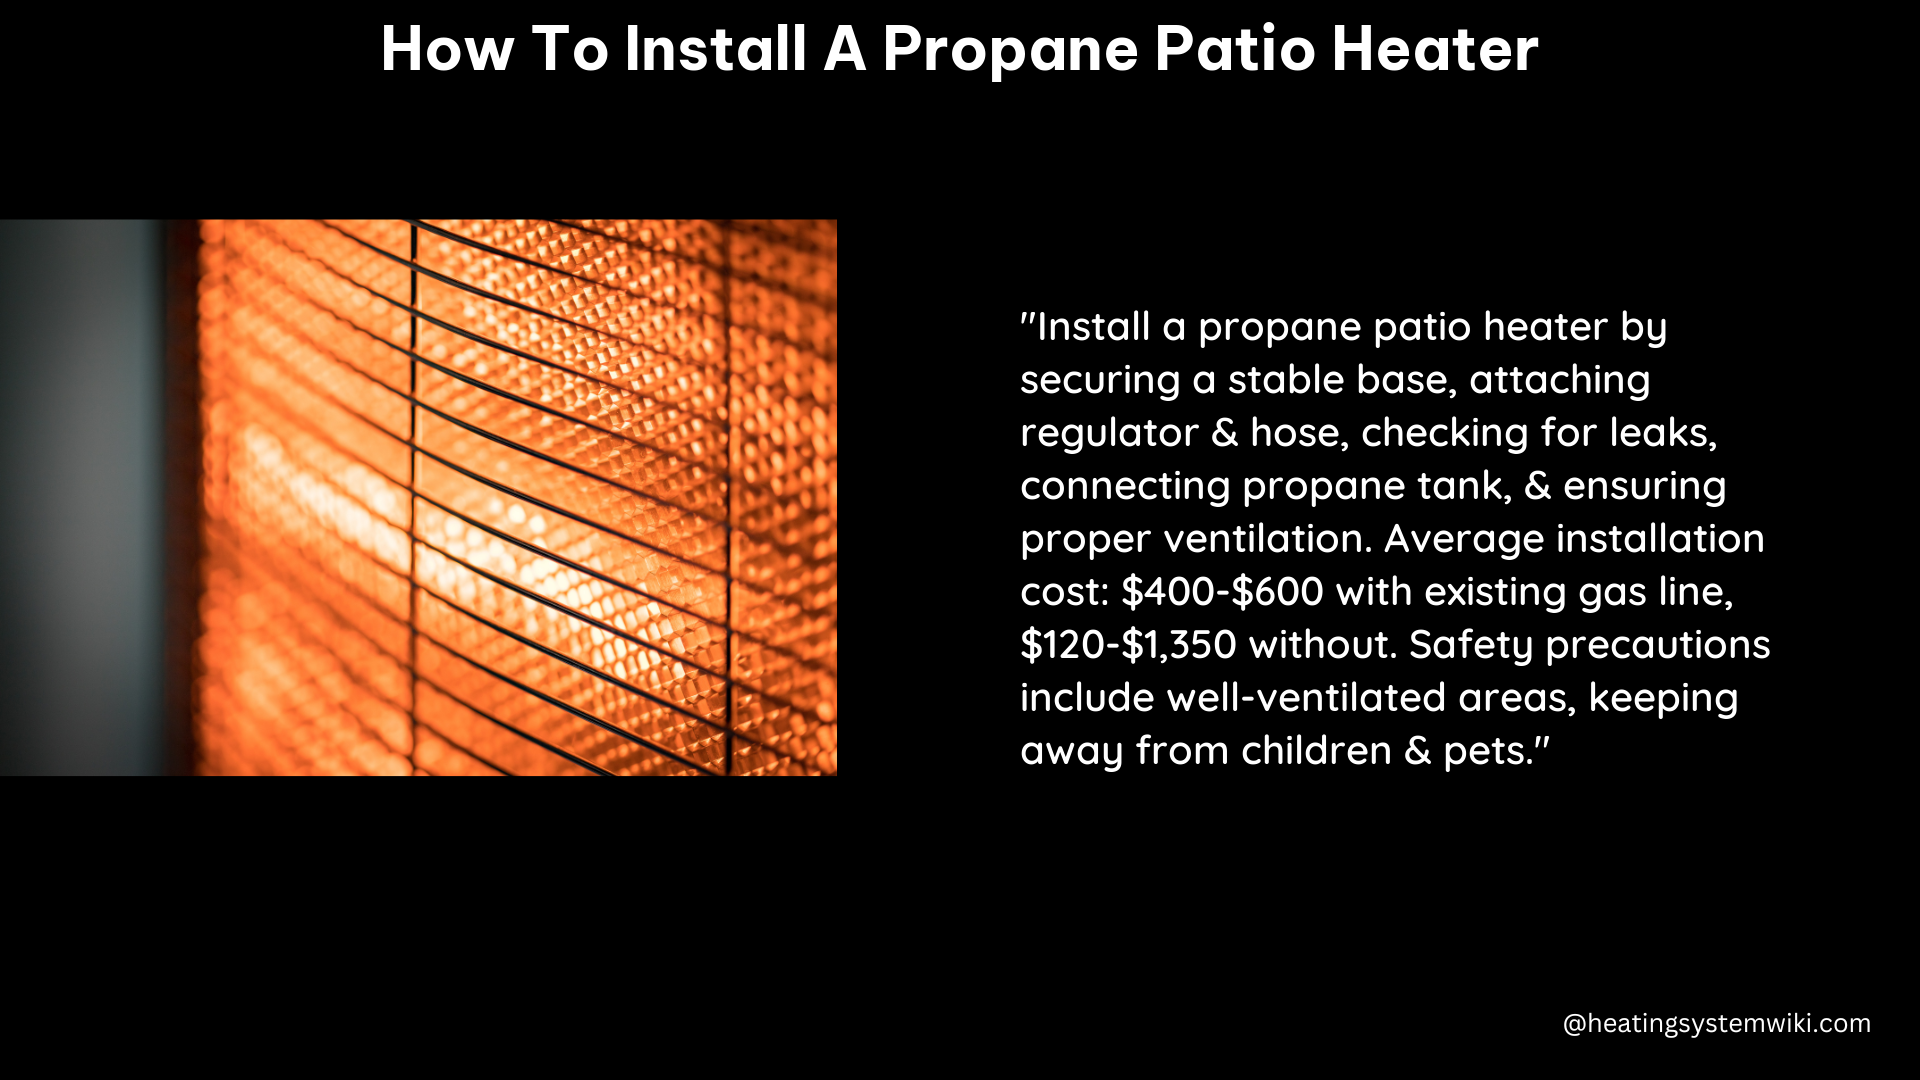
Installing the Propane Tank
The next step is to install the propane tank. Begin by opening the compartment or lifting the bottom portion of the heater to access the propane tank area. Remove the cap from the propane tank and connect the hose to the tank, hand-tightening it before use. To check for any gas leaks, mix soapy water and spray it on the hose line connection. If bubbles form, there is a leak, and you should tighten or reconnect the hose.
Once no leaks are detected, place the tank in its final resting location and close the compartment or lower the lift cover.
Checking for Gas Leaks
Before lighting the heater, it’s essential to ensure there are no gas leaks. Turn on the propane tank and check all connections for any bubbles, which would indicate a leak. If a leak is detected, turn off the tank immediately and tighten or reconnect the hose.
Lighting the Propane Patio Heater
To light the heater, press the knob and turn it left to the nine o’clock position, leaving it pressed for 45 seconds to one minute. This will build pressure on the lines and remove any air. Then, press the igniter button to turn on the pilot.
Adjusting the Heat Output
Once the pilot is lit, you can turn the knob to your desired heat level. Propane patio heaters typically offer a range of heat settings, allowing you to customize the warmth to your preference.
Technical Specifications to Consider
When installing a propane patio heater, it’s important to consider the following technical specifications:
BTU Rating
The BTU (British Thermal Unit) rating measures the heat output of the heater. Higher BTU ratings generally provide more heat. For example, the Style Selections 48000 BTU heater offers significant warmth.
Fuel Type
Propane patio heaters use propane tanks, which should be checked for leaks and properly connected to the heater.
Installation Costs
If you don’t have existing gas lines, installing new ones can range from $120 to $1,350 nationally, according to industry estimates.
Safety Considerations
Propane patio heaters should be operated in well-ventilated areas and kept away from children and pets. They should also be turned off when not in use to ensure safety.
By following these step-by-step instructions and considering the technical specifications, you can successfully install a propane patio heater and enjoy the warmth and ambiance it provides to your outdoor living space.
References:
- How To Use Setup Outdoor Patio Heater Easy Simple – YouTube, https://www.youtube.com/watch?v=bwsLwEaZNjQ
- Patio Heater Unboxing and Install | Style Selections 48000 BTU – YouTube, https://www.youtube.com/watch?v=Tv_tTbyfNqw
- Installing Gas Patio Heaters – 3 Installation Tips For Max Comfort, https://americangaslamp.com/blog/installing-gas-patio-heaters/