
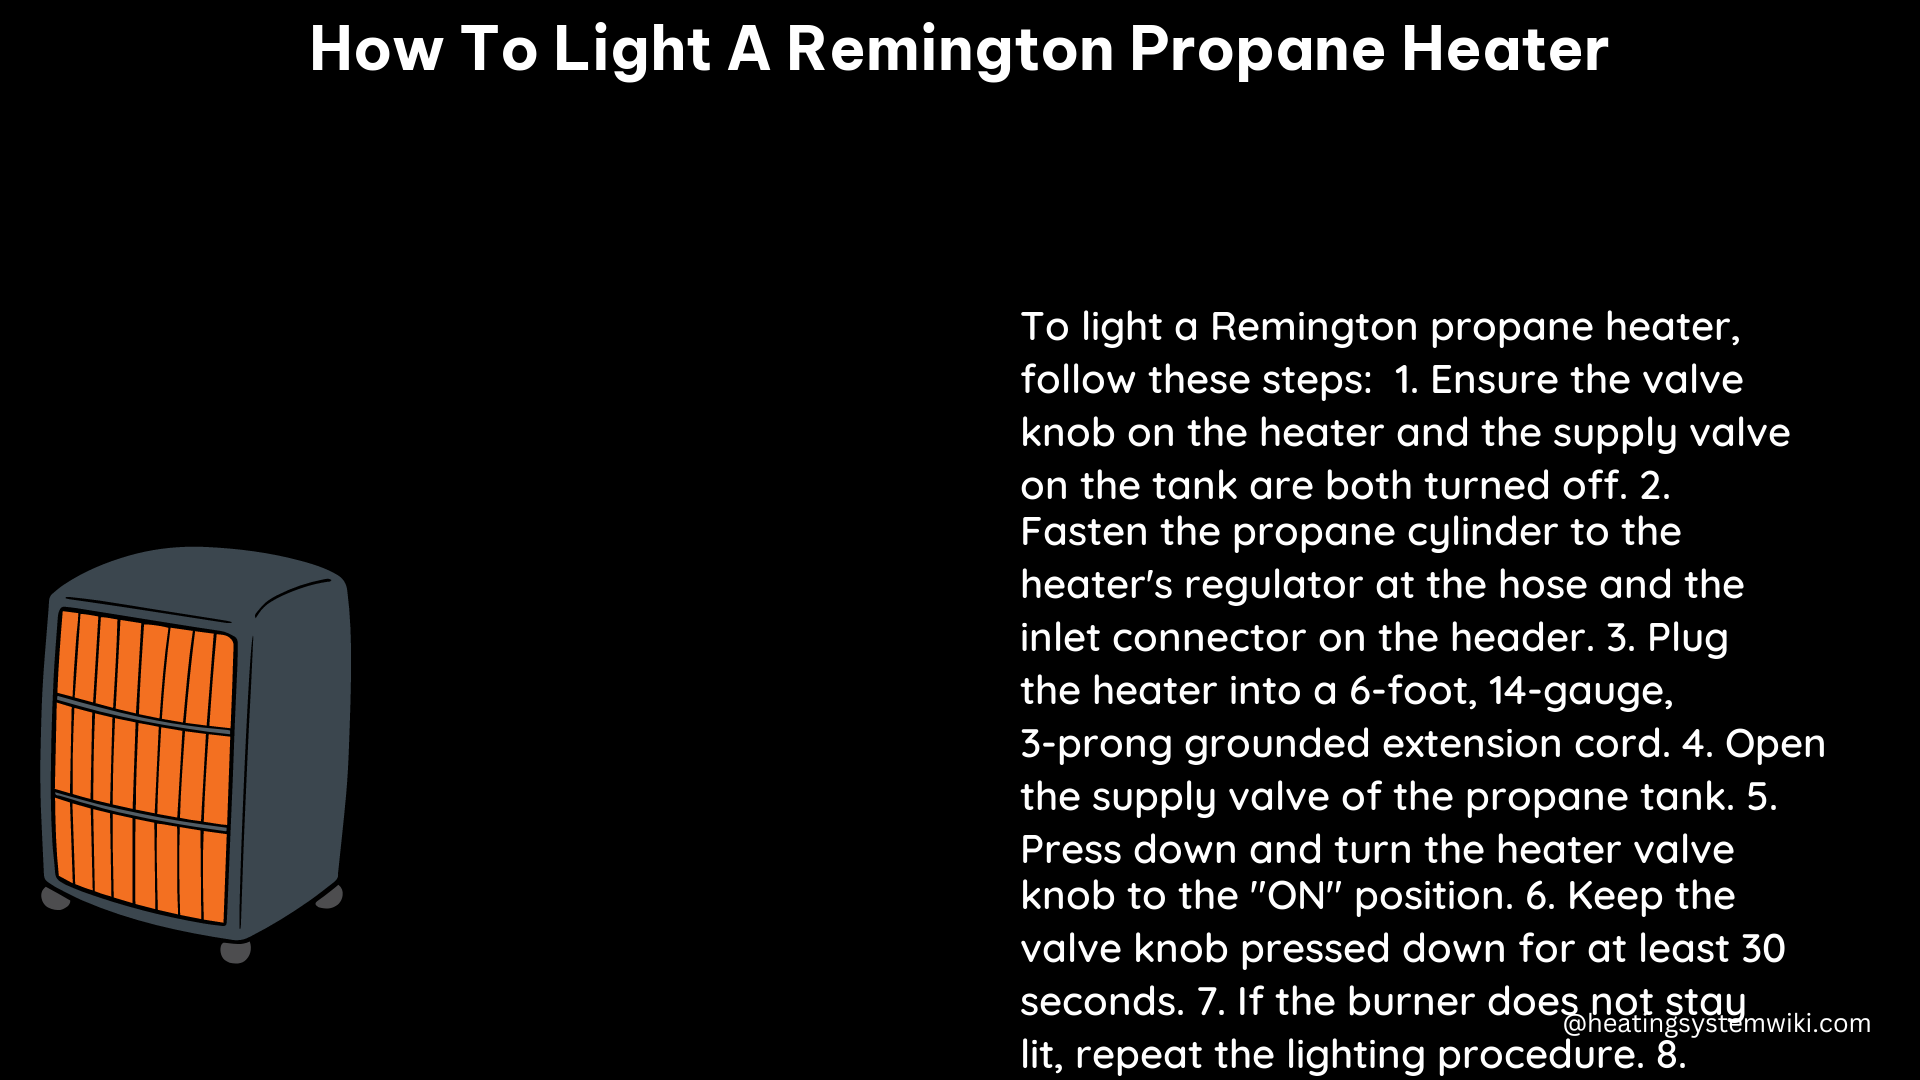
Lighting a Remington propane heater can be a straightforward process, but it’s essential to follow the manufacturer’s instructions carefully to ensure safe and efficient operation. This comprehensive guide will walk you through the step-by-step process of lighting your Remington propane heater, along with detailed technical specifications and troubleshooting tips.
Preparing the Heater for Ignition
-
Secure the Heater to the LP Cylinder: Begin by securely fastening the heater to the LP cylinder. This is done by attaching and tightening the mounting bolt knob, which typically has a diameter of 1/2 inch and a thread pitch of 13 threads per inch.
-
Attach the Regulator and Fitting: Next, attach the regulator and fitting onto the cylinder valve. Rotate the coupling nut, which has a diameter of 7/8 inch and a thread pitch of 14 threads per inch, until it’s tight.
-
Open the LP Cylinder Slowly: Carefully open the LP cylinder valve, taking care to do so slowly to prevent any sudden pressure changes.
-
Turn the Regulator Knob to High: Rotate the regulator knob, which has a diameter of 1 inch, to the high setting, typically indicated by a maximum BTU output of 60,000 BTU/hr.
Igniting the Heater
-
Insert a Lit Match or Fire Stick: While pressing and holding the safety shut-off valve plunger, which has a diameter of 1/4 inch, insert a lit match or fire stick into the ignition hole in the reflector. The reflector has a diameter of 16 inches and a depth of 3 inches.
-
Hold the Plunger for 30 Seconds: Continue to hold the safety shut-off valve plunger for 30 seconds to allow the thermocouple, with a diameter of 1/8 inch, to heat up and engage the safety mechanism.
-
Repeat for Multiple Burner Heads: If your Remington propane heater model has more than one burner head, repeat the ignition process for each additional head.
Technical Specifications and Safety Features
- Outdoor Use: The Remington propane heater is designed for outdoor use and is equipped with a tip-over switch, which has a diameter of 1/2 inch, for added safety.
- Piezo Ignition: The heater features a piezo ignition system, which generates a high-voltage spark to ignite the propane, for easy lighting.
- Electrical Requirements: The heater requires a 6-foot 14-gauge grounded extension cord, with a wire diameter of 0.0641 inches, for operation.
- Ventilation: The heater must be used in a well-ventilated outdoor space to ensure proper air circulation and prevent the buildup of harmful gases.
- Manufacturer Recommendations: It is recommended to read and understand the manufacturer’s manual and all warnings prior to operating the heater or performing any maintenance tasks.
Troubleshooting
If the Remington propane heater fails to ignite or won’t stay lit, consider the following troubleshooting steps:
- Check the LP Tank: Ensure that your LP tank is full and that the valves are in the open position.
- Verify Level Surface: Make sure the heater is sitting on a level surface to prevent any issues with the tip-over switch.
- Examine the Thermocouple: Check the thermocouple, which has a length of 3 inches, and ensure that it’s in the proper position, with the flame in contact with it.
- Adjust the Thermocouple: If necessary, adjust the thermocouple after the heater has been cooled down.
By following these detailed instructions and technical specifications, you can safely and effectively light your Remington propane heater, ensuring optimal performance and a comfortable outdoor experience.