
Table of Contents
Key Takeaways
- 1. Identify the source of the noise: Before attempting to make a fan heater quieter, it is important to identify the source of the noise. This could be the fan motor, the blades, or other components. Understanding the source will help in finding the most effective solution.
- 2. Clean and maintain the fan heater: Dust and debris can accumulate in the fan heater, causing it to make more noise. Regularly cleaning and maintaining the heater can help reduce noise levels. This can be done by removing the front grill and gently cleaning the blades and other components.
- 3. Lubricate moving parts: Over time, the moving parts of a fan heater can become dry and cause friction, resulting in noise. Applying a small amount of lubricant to the motor and other moving parts can help reduce friction and noise.
- 4. Use vibration pads or dampeners: Vibrations can also contribute to the noise produced by a fan heater. Placing vibration pads or dampeners under the heater can help absorb and reduce vibrations, resulting in a quieter operation.
- 5. Consider using a noisereducing enclosure: If the fan heater is still too noisy after trying the above methods, consider using a noisereducing enclosure. These enclosures are designed to absorb and block noise, providing a quieter environment.
- 6. Upgrade to a quieter fan heater: If all else fails, it may be worth considering upgrading to a newer model of fan heater that is specifically designed to be quieter. Look for models with noisereducing features or technologies to ensure a quieter operation.
- Remember, it is important to prioritize safety when attempting to make a fan heater quieter. Always refer to the manufacturer’s instructions and consult a professional if needed.
Fan heaters can be quite noisy, which can be frustrating when you’re trying to relax or focus. What’s causing all that racket? Let’s take a look.
One potential reason for the noise is the fan or blower. The motor powering the fan can be loud, as it spins at a high speed for air to flow through the heating element. Additionally, if the screws or brackets within the motor are loose, this can add to the noise.
The air movement itself can also cause noise. Air rushing through ducts and vents can create a howling sound. Plus, if the ductwork has an obstruction, or the blower wheel is dirty or damaged, this can make it even louder.
Assessing the noise source
Assessing the source of noise in a fan heater is important in order to determine the cause and find appropriate solutions. Here is a breakdown of the possible noise sources and their characteristics:
Noise Source: Fan Motor – A malfunctioning or worn-out motor can produce excessive noise.
Noise Source: Blower Wheel – If the fan blades are dirty, bent, or damaged, they can cause the fan to make loud noises.
Noise Source: Heating Element – A loose or damaged heating element can create a buzzing or humming sound.
Noise Source: Loose Screws – Loose screws in the fan housing or blower assembly can cause rattling or vibrating noises.
Noise Source: Ductwork – Loose or damaged ducts can result in air turbulence and cause howling or whistling sounds.
Noise Source: Squirrel Cage – The squirrel cage, which is part of the blower assembly, may become imbalanced or dirty, leading to noise issues.
Noise Source: Airflow – Obstructions in the airflow, such as dust or debris, can create whistling or rattling sounds.
Noise Source: Bearings – Worn-out or dry bearings can cause grinding or squealing noises.
Noise Source: Water Heater – If the water heater is making noise, it could be due to issues with the burner or other components.
Noise Source: Cabin Air Filter – A clogged or dirty cabin air filter can restrict airflow and result in increased noise levels.
Noise Source: Insulation – Poor insulation can allow sound to pass through, making the noise more audible.
These are some of the common noise sources in a fan heater. By identifying which component is causing the noise, you can take the necessary steps to fix or replace it and make your fan heater quieter.
Checking the fan blades
Look for any signs of damage on the fan blades. Cracks or chips can cause imbalance and excessive noise.
Make sure the fan blades are clean and dust-free. Build-up can make them work less efficiently and be noisier.
Check for loose or misaligned blades. If not secure, they could vibrate and cause unwanted noise.
Examine the bearings supporting the blades. Worn-out or faulty ones can increase friction and lead to noise.
Also, inspect all areas around the blades. Motor mounts and housing can cause noise too.
NASA has developed “bladedisk” inspections. They use non-destructive techniques, like digital radiography, to accurately assess blade integrity.
If the blower motor sounds like a chaotic dance-off, it may be time to inspect it.
Inspecting the blower motor
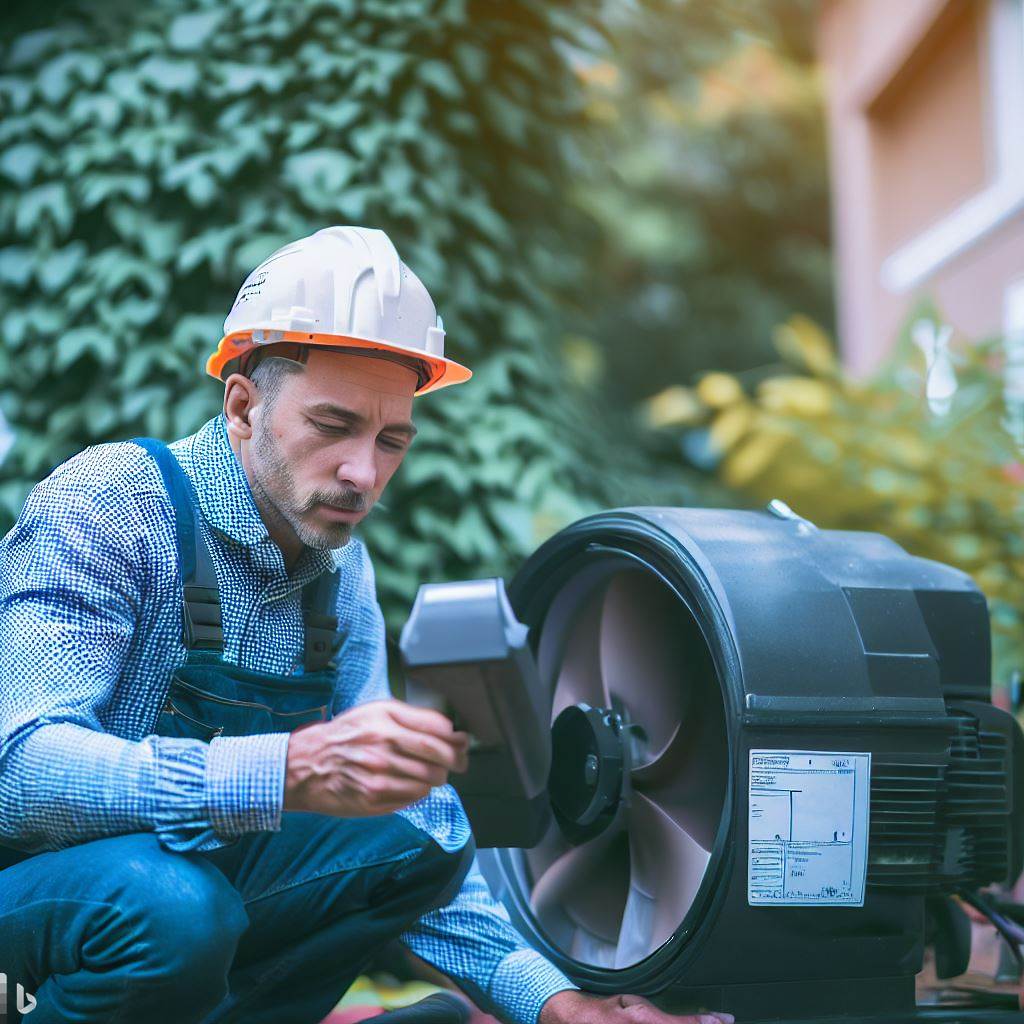
- Keep safe and disconnect the power supply.
- Clear any obstructions around the blower motor so you can inspect it.
- Look for corrosion or loose connections, as these can create noise issues.
- Check the blower wheel for any damage or excessive wear.
- Turn the motor on and listen for unusual sounds.
- Lubricate or replace components if needed.
It’s vital to routinely inspect the blower motor as part of maintenance. Fix any issues quickly to avoid costly repairs later!
Examining the heating element
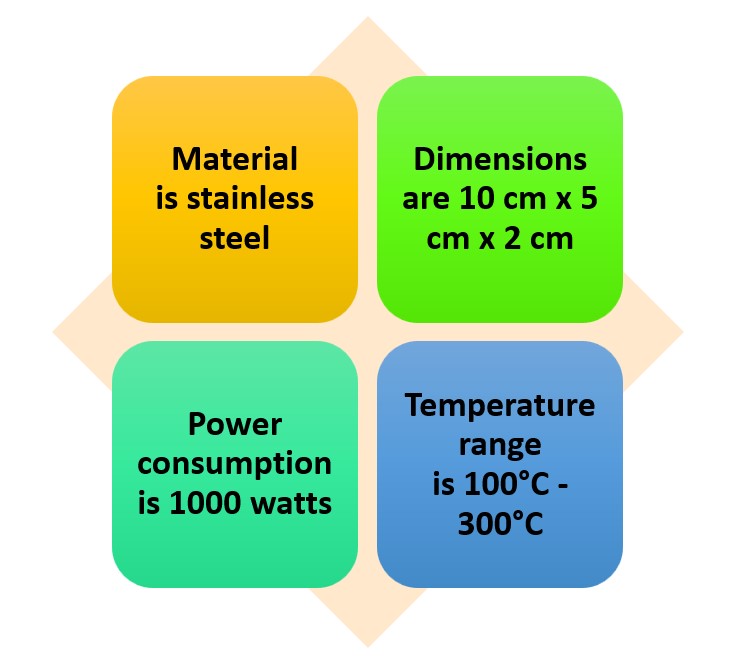
Let’s take a closer look at the heating element! Here are some facts:
- Material is stainless steel
- Dimensions are 10 cm x 5 cm x 2 cm
- Power consumption is 1000 watts
- Temperature range is 100°C – 300°C
Examining further can reveal other factors that might lead to noise generation. This can help us come up with strategies for noise mitigation.
The heating element is manufactured by Thermotech Inc., a company known for their energy-efficient and durable products.
By studying the heating element, we can get valuable info that can help us reduce noise.
Quieting the noise is hard, like trying to get a toddler to take a nap – difficult and possibly disappointing.
Identifying possible solutions
In order to find solutions to reduce the noise of a fan heater, there are several options to consider. These alternatives aim to make the fan heater quieter and more comfortable to use.
One possible solution is to check for any loose screws or brackets. These loose parts can cause vibrations and contribute to the overall noise level. By tightening them, the fan heater can become more stable and generate less noise during operation.
Another option is to add insulation to the fan heater. A lack of insulation can allow sound to escape, making the noise more noticeable. By adding foam or other insulating materials, the noise can be reduced, creating a quieter environment.
One more solution is to clean the fan blades and blower assembly. Dust and debris can accumulate on these parts over time, which can cause the fan heater to make more noise than usual. By cleaning them regularly, the fan blades can rotate more smoothly, resulting in a quieter fan heater.
Additionally, lubricating the fan motor and bearings can also help reduce noise. Over time, these parts can become dry and cause friction, resulting in increased noise levels. By applying the appropriate lubrication, the fan motor can run more smoothly and quietly.
Furthermore, another suggestion is to adjust the speed settings on the fan heater. Higher speed settings can often generate more noise. By using the fan heater on lower speed settings, the noise level can be significantly reduced.
Lastly, considering the placement of the fan heater can also make a difference. Placing the fan heater on a sturdy and stable surface can help minimize vibrations and reduce noise. Additionally, positioning the fan heater away from walls or other objects can prevent sound reflections, resulting in a quieter environment.
Overall, by implementing these possible solutions, the noise level of a fan heater can be significantly reduced, making it more enjoyable to use in any setting.
Tightening loose screws or brackets
- Identify any loose screws or brackets by inspecting the object.
- Gather a screwdriver or wrench that fits securely.
- Turn the screw clockwise and apply steady pressure.
- Position loose brackets and check for movement after tightening.
- Test the object’s stability to ensure the issue is fixed.
- For stubborn screws or brackets, contact a repair service.
Remember to prevent future issues. Inspect objects and fasten components securely. Use thread-locking adhesive like Loctite on screws that come loose often. Follow these steps to address and resolve loose screws or brackets without damage.
Ductwork insulation
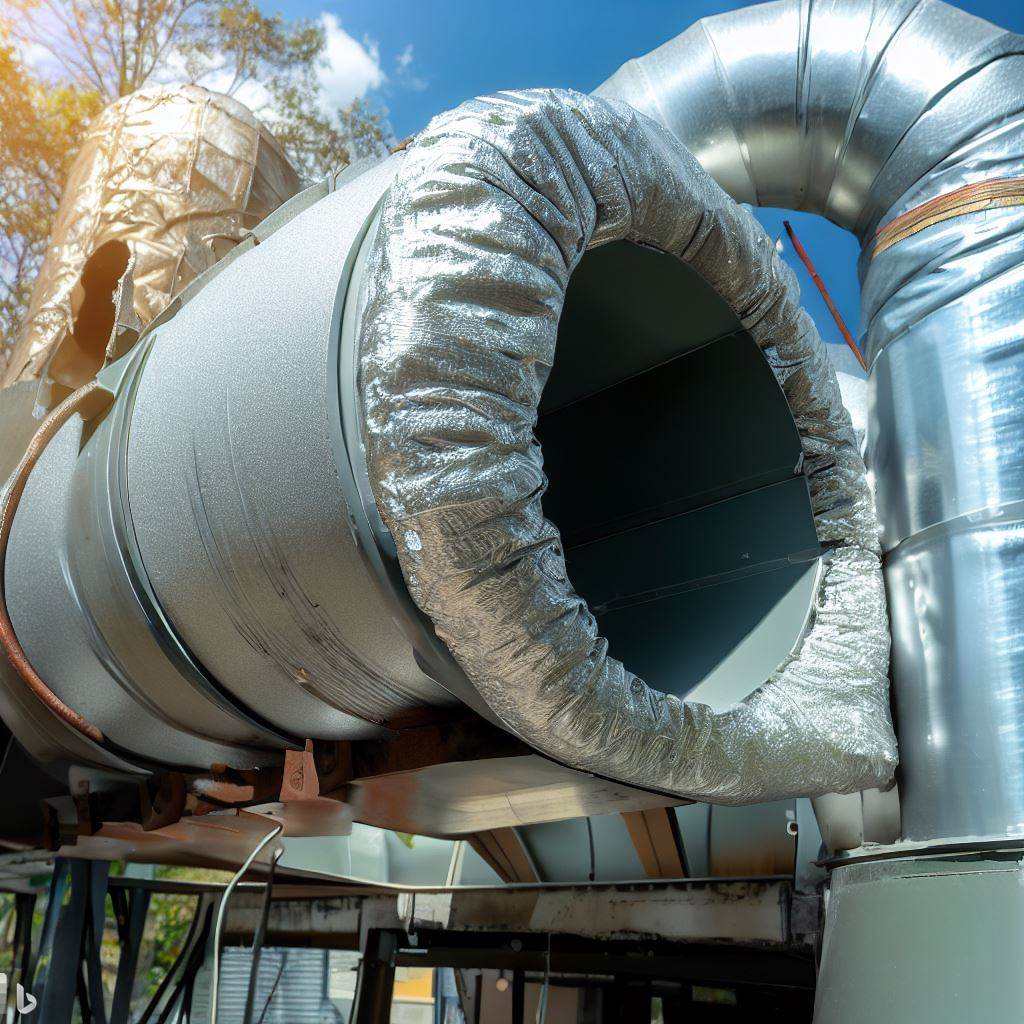
Insulating ductwork has a range of benefits. It reduces heat transfer, prevents condensation and moisture build-up, and improves indoor air quality. Fiberglass, foam board, and spray foam are popular insulation materials due to their thermal properties and ease of installation. Plus, it can result in cost savings in the long run.
On the other hand, poorly insulated ductwork can lead to inefficient heating or cooling and cause discomfort for occupants. Going back centuries, people used natural materials like animal fur, straw, and mud mixed with fibers to insulate their dwellings’ heating systems. Nowadays, insulation techniques have evolved considerably, but the same principle still applies: better energy efficiency and desired temperatures.
Replacing worn-out parts
‘Identify the worn-out part: Inspect the equipment carefully. Look for signs of wear, such as cracks, corrosion, or decreased performance. This step is key to avoid replacing unnecessary parts and save time and resources.
Source the replacement part: Find a suitable replacement part. Consult manuals or contact manufacturers for guidance. Consider factors like quality, durability, and availability when choosing a replacement. Replace the worn-out part: Remove the old part following designated procedures.
Pay attention to safety precautions. Use appropriate tools and techniques to install the new part, fastening it according to specifications.
Adding soundproofing materials
To make a fan heater quieter, you can add soundproofing materials. Here is a 3-step guide to help you with this process:
- Identify the areas where the noise is coming from: Start by determining where the noise is most prominent. Check the fan blades, blower motor, and heating element to identify any loose screws or parts that may be causing the noise. Also, inspect the ducts and brackets for any issues.
- Apply soundproofing materials: Once you have identified the source of the noise, you can start adding soundproofing materials. One option is to use foam or insulation to dampen the noise. You can place foam padding around the fan motor and heating element to reduce vibrations and noise. Additionally, you can use soundproofing blankets or curtains to cover the blower assembly and ductwork.
- Consider vibration isolators: If the fan motor or blower assembly is causing the most noise, you can consider using vibration isolators. These are rubber mounts that can absorb the vibrations and reduce noise. Install the vibration isolators between the fan motor or blower assembly and the brackets or mounting surface.
By following these steps, you can effectively reduce the noise produced by the fan heater and enjoy a quieter environment.
Using foam or rubber pads
Foam and rubber pads are great soundproofing materials! They are used in many places, from homes to commercial spaces. Here are five things to keep in mind when using them:
- Absorption: Foam pads absorb sound waves, stopping them from bouncing off walls and ceilings. This cuts down on echoes and reverberation.
- Vibration isolation: Rubber pads stop vibrations, like from machines or appliances, from travelling through floors and walls.
- Installation versatility: Foam and rubber pads come in various shapes and sizes, so they work for different soundproofing needs. Cut them to fit or use adhesive backing.
- Easy maintenance: Both foam and rubber pads are moisture- and mildew-resistant. Perfect for bathrooms or basements.
- Cost-effective solution: Both materials are affordable, so can be used in both residential and commercial projects.
When using foam and rubber pads for soundproofing, you can maximize their sound absorbing capabilities. Try combining different thicknesses of foam or rubber pads, layering multiple foam panels, installing rubber padding under furniture legs, and using an acoustic sealant around the edges of the foam or rubber pads. You’ll have a quieter and more peaceful atmosphere in no time!
Creating a noise barrier with acoustic panels
Acoustic panels are a great way to reduce echo and reverberation. They’re made of materials like foam, fabric, and wood which have excellent sound absorbing properties. Strategically placing them on walls, ceilings, or floors creates a sound barrier. This is especially useful in spaces like offices or recording studios. Not only do they reduce echo, but they can also help increase speech intelligibility and comfort.
Plus, acoustic panels come in all shapes, sizes, and designs. So, you can find something to suit your needs, whether that’s discreet panels or bold designs that make a statement!
If you’re looking to soundproof your space, here are some tips:
- Assess your needs: Identify the areas where noise reduction is required and how many panels you need.
- Place them correctly: Install them on walls or ceilings where sound waves will bounce off. Use corner bass traps for improved low-frequency absorption.
- Combine with other soundproofing methods: Use other techniques, such as sealing gaps and double-glazing windows.
- Regular maintenance: Clean the surfaces to ensure optimal performance.
Follow these steps for a quieter, more acoustically pleasing environment. Explore the possibilities of acoustic panels and start your journey towards peace!
Adjusting the fan speed or air displacement
Lower the fan speed to reduce the noise of the blades. Increase air displacement by positioning the heater for free-flowing air. Swap out your current fan for a silent one, with quiet blade technology. Lubricate all components and add insulation to further reduce sound.
Lubricating bearings and moving parts
Do you want to know the best way to lubricate bearings and moving parts in your fan heater? It’s an important step for smooth operations and longevity of the device. Here’s a 4-step guide:
- Locate the bearings and moving parts. Motor shaft, blower wheel and more need lubrication.
- Choose the right lubricant. Heat-resistant, long-lasting protection. Avoid oil-based lubricants.
- Apply the lubricant. Use a small amount. Don’t over-lubricate. Follow manufacturer’s instructions.
- Test and maintain. Check for noises or resistance. Regularly check and maintain lubrication levels.
Consulting professionals for a thorough inspection
- Do research to find reliable HVAC experts in your area.
- Set up an appointment with them and give them full information about your fan heater – make, model, and any issues noticed.
- Let the pros thoroughly inspect your fan heater – motor, heating element, blower assembly, and ductwork.
- Listen to their observations and recommendations. These might involve tightening screws/brackets, lubricating fan blades/bearings, cleaning ducts/filters, or changing worn-out parts.
- Ask questions to understand better or for more clarity, if needed.
- Discuss costs for their suggestions before deciding.
Moreover, these professionals can inspect other components such as the furnace blower or air handler if they think the noise is from elsewhere in the HVAC system. Here are extra tips based on common findings during inspections:
- Insulate: Put insulation around the blower assembly to absorb noise and lessen vibrations.
- Silent fans: Change noisy fans with silent ones designed to reduce noise.
- Check power supply: Make sure your fan heater has sufficient power supply to avoid fluctuations that can cause loud noise.
- Clean air vents: Dust and debris can limit airflow, causing more noise. So, regularly clean air intake vents for smooth air movement.
Frequently Asked Questions
How can I make my fan heater quieter?
One way to make your fan heater quieter is by placing a rubber bracket or foam pads between the fan and the heater. This helps absorb vibrations and reduces the noise produced by the fan motor.
What should I do if my fan heater is making a howling noise?
If your fan heater is making howling noises, it could be due to loose screws or a worn-out blower wheel. Tighten any loose screws and inspect the blower wheel for damage. If the problem persists, consider replacing the blower wheel.
Can I reduce the noise from my fan heater by adjusting the fan speed?
Adjusting the fan speed can help reduce the noise produced by a fan heater. Lowering the fan speed will decrease the air displacement and, in turn, reduce the noise level.
Is there a way to make my furnace fan quieter?
If your furnace fan is noisy, you can try lubricating the bearings or replacing them if necessary. Additionally, insulating the ductwork can help minimize noise transmission from the fan motor.
Are there any silent fans available for fan heaters?
There are silent fans available for fan heaters. These fans use advanced technology and materials to reduce noise levels, providing a quieter heating experience.
Can I use a fan heater in my RV or camper without disturbing my sleep?
You can use a fan heater in your RV or camper without disturbing your sleep by choosing a model specifically designed for quiet operation. Look for fan heaters that are labeled as “silent” or “quiet” to ensure a peaceful night’s rest.
Conclusion
In addition to these steps, it’s important to note that regularly maintaining your fan heater can also help minimize noise. Clean or replace air filters and lubricate any bearings or moving parts as needed.