
Table of Contents
Struggling with a malfunctioning expansion tank on your water heater? This common annoyance can cause inefficient heating and increased energy costs. Our comprehensive step-by-step guide simplifies the process of replacing an expansion tank, turning a potential headache into a manageable DIY project.
Ready to dive in? Trust us, it’s easier than you think!
Key Takeaways
- Understanding the purpose of an expansion tank is crucial for maintaining efficiency and longevity in your water heater system.
- Changing an expansion tank on a water heater involves gathering the necessary tools, shutting off the water supply, draining the system, removing the old tank, and installing the new one.
- Safety precautions such as turning off power and water supply, draining hot water, using protective gear, handling with care, following manufacturer instructions, and checking for leaks are essential during the installation process.
- By following this step-by-step guide and taking these safety measures, homeowners can easily replace an expansion tank on their water heater to ensure optimal performance and prevent potential issues.
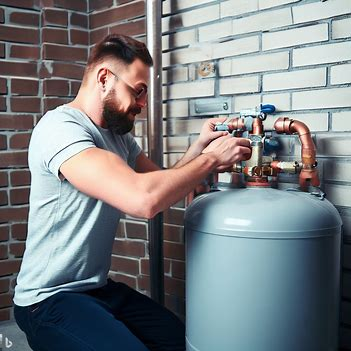
The Purpose of an Expansion Tank On A Water Heater
The expansion tank plays a critical role in the efficient operation of your water heater. It essentially serves as a safety measure, capable of absorbing excess pressure from your water heater’s storage tank due to thermal expansion.
Essentially, when hot water is made, it expands and requires additional space. The expansion tank provides that necessary space preventing any potential hazards like ruptured pipes or damage to the main hot water cylinder.
Installation of an expansion tank on a boiler or hot water heater marks an essential step for maintaining both efficiency and longevity. Like other components involved in the smooth operation of these systems – including dielectric unions and thermal relief valves – an incorrectly sized or improperly installed expansion tank can result in decreased performance and potentially costly repairs down the line.
Hence, understanding how to replace an expansion tank on a water heater becomes pivotal for anyone desiring operational excellence from their heating systems.
Step-by-Step Guide: How to Change an Expansion Tank on a Water Heater
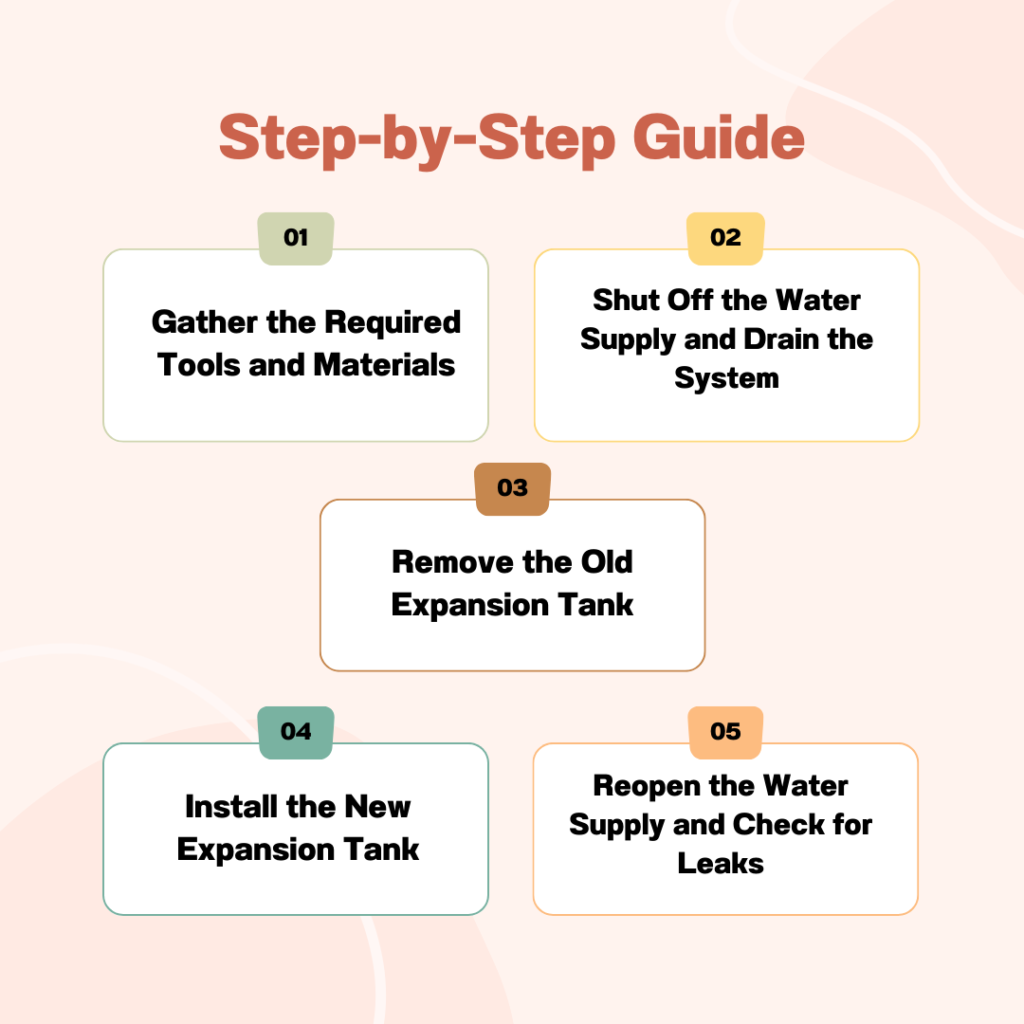
To change an expansion tank on a water heater, you will need to gather the required tools and materials, shut off the water supply and drain the system, remove the old expansion tank, install the new expansion tank, reopen the water supply and check for leaks.
Gather the Required Tools and Materials
Before you start changing the expansion tank on your water heater, it’s important to gather all the necessary tools and materials. You’ll need a few basic items to ensure that the process goes smoothly.
Firstly, make sure you have an adjustable wrench or pipe wrench handy. This will help you loosen and tighten any fittings during the installation. Additionally, grab a pair of pliers for any smaller adjustments that may be required.
Next, get your hands on some Teflon tape or thread sealant. This will help create a watertight seal when connecting the various parts of the expansion tank. You’ll also need a dielectric union if you’re installing a new water heater along with the expansion tank.
Finally, don’t forget about safety goggles and gloves to protect yourself during the installation process.
Shut Off the Water Supply and Drain the System
To change an expansion tank on a water heater, the first step is to shut off the water supply and drain the system. This is crucial for your safety and to prevent any potential leaks or damage.
Start by locating the main shut-off valve, usually found near the water meter or where the main water line enters your home. Turn it clockwise until it stops to cut off the water supply.
Next, you’ll need to drain the system by opening all faucets and fixtures in your house until no more water comes out. This will relieve pressure from the pipes and make it easier to work on replacing the expansion tank.
You can also attach a garden hose to a drain valve at the bottom of your hot water heater tank to completely flush out any remaining water.
Remove the Old Expansion Tank
To remove the old expansion tank, you will need to first shut off the water supply and drain the system. This can be done by turning off the main water valve and opening a nearby faucet to release any remaining pressure.
Once that is complete, locate the old expansion tank on top of your water heater and use a wrench or pliers to loosen the connection fittings. Be sure to have a bucket or towels handy to catch any residual water that may leak out during this process.
Carefully remove the old expansion tank from its mounting bracket, ensuring not to damage any surrounding pipes or wires. With the old tank removed, you are now ready for the next step in installing your new expansion tank.
Install the New Expansion Tank
To install the new expansion tank on your water heater, follow these simple steps. First, make sure you have all the necessary tools and materials ready. This includes a wrench or pliers to remove the old tank, Teflon tape for sealing connections, and a dielectric union if needed.
Next, shut off the water supply to your water heater and drain any excess water from the system. This will ensure a smooth installation process without any leaks or accidents.
Once the water is drained, carefully remove the old expansion tank using a wrench or pliers. Be cautious when handling it as it may still contain some hot water.
Now comes the fun part – installing the new expansion tank! Start by attaching copper wire to both sides of the tee-fitting that came with your new tank. Make sure they are tightly secured to prevent any loose connections.
Next, connect one end of the tee-fitting to where you removed the old expansion tank from. Use Teflon tape on all threaded connections for extra security against leaks.
Finally, attach another piece of pipe to complete the connection between your tee-fitting and your new expansion tank. Again, use Teflon tape on all threaded connections before tightening them with a wrench or pliers.
With everything securely in place, reopen the water supply valve slowly and check for any signs of leaks around your newly installed expansion tank. If there are no leaks present, congratulations! You have successfully installed a new expansion tank on your water heater.
Reopen the Water Supply and Check for Leaks
Once you have installed the new expansion tank, it’s time to reopen the water supply and check for any leaks. Slowly turn on the main water supply valve and allow the water heater to fill up.
Keep a close eye on all the connections and joints around the expansion tank for any signs of leakage. It’s important to ensure that everything is properly sealed to prevent any potential damage or water wastage.
After turning on the water supply, take a moment to listen for any unusual sounds coming from your newly installed expansion tank. If you hear a loud banging noise or notice excessive pressure buildup, it could indicate an issue with your system that needs further attention.
Additionally, don’t forget to carefully inspect other areas of your water heater system for leaks as well, such as around valves and pipes. Even minor drips can lead to bigger problems if left unaddressed.
Safety Precautions During the Installation Process of an Expansion Tank On A Water Heater
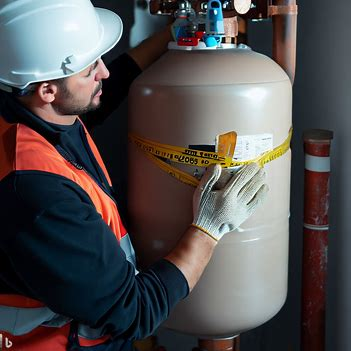
Installing an expansion tank on a water heater requires following certain safety precautions to ensure a smooth and accident-free process. Here are some important safety tips to keep in mind:
- Turn off the power: Before you begin installing the expansion tank, make sure to turn off the power to the water heater. This will help prevent any electrical accidents while handling the tank.
- Shut off the water supply: Ensure that you shut off the water supply valve to stop the flow of water into the water heater. This will prevent any leaks or water damage during the installation process.
- Drain the system: To avoid any potential scalding or burns, drain all hot water from the system before attempting to remove or replace the expansion tank. Open faucets and let them run until there is no more hot water coming out.
- Use protective gear: When working with plumbing equipment, it’s important to protect yourself by wearing gloves and safety goggles. This will prevent any potential injuries from sharp edges, debris, or chemicals.
- Release pressure: Before removing the old expansion tank, release any built-up pressure by opening a faucet on a lower floor of your home or by using a pressure relief valve if available.
- Handle with care: Expansion tanks can be heavy and bulky, so take care when lifting and moving them. Use proper lifting techniques and ask for assistance if needed.
- Follow manufacturer instructions: Make sure to carefully read and follow all manufacturer instructions for both removing the old expansion tank and installing the new one. This will help ensure proper installation and optimal performance.
- Check for leaks: Once you have installed the new expansion tank, carefully check for any leaks or drips around connections and joints before turning on the water supply again.
Conclusion
In conclusion, changing an expansion tank on a water heater is a simple process that can be done by following the step-by-step guide provided in this article. With the right tools and materials, shutting off the water supply, removing the old tank, and installing the new one can be accomplished with ease.
By taking safety precautions and ensuring proper installation, homeowners can maintain their water heater’s functionality and prevent any potential issues. Don’t hesitate to tackle this DIY project to ensure your water heater continues to operate efficiently for years to come.
FAQs
1. Why might I need to change the expansion tank on my water heater?
There are a few reasons why you might need to replace your water heater’s expansion tank. Over time, the tank can become corroded or damaged, which can lead to leaks or pressure issues. Additionally, if you notice that the pressure relief valve on your water heater is frequently releasing water, it could indicate a problem with the expansion tank.
2. Can I change the expansion tank on my water heater myself?
While it is possible for some homeowners to change their water heater’s expansion tank themselves, it is recommended to hire a professional plumber for this task. Working with pressurized systems and handling plumbing components requires knowledge and experience to ensure proper installation and prevent any potential hazards.
3. How often should the expansion tank be replaced?
The lifespan of an expansion tank can vary depending on factors such as usage and water quality. However, as a general guideline, it is recommended to have the expansion tank inspected during routine maintenance checks every 5-7 years. If any signs of deterioration or problems arise before then, replacement may be necessary sooner.
4. What are some signs that my water heater’s expansion tank needs replacing?
There are several indicators that your water heater’s expansion tank may need replacing. These include leaking around the base of the unit or from fittings connected to the tank, decreased hot water pressure throughout your home, excessive noise coming from within the system when heating up or cooling down, or visible signs of corrosion or rust on the outside of the tank.