
Creating a DIY air conditioner using a Styrofoam cooler is a budget-friendly and practical solution for cooling small spaces like garages, patios, or bedrooms. This step-by-step guide will walk you through the process of constructing an effective and portable air conditioning unit using readily available materials.
Materials Needed
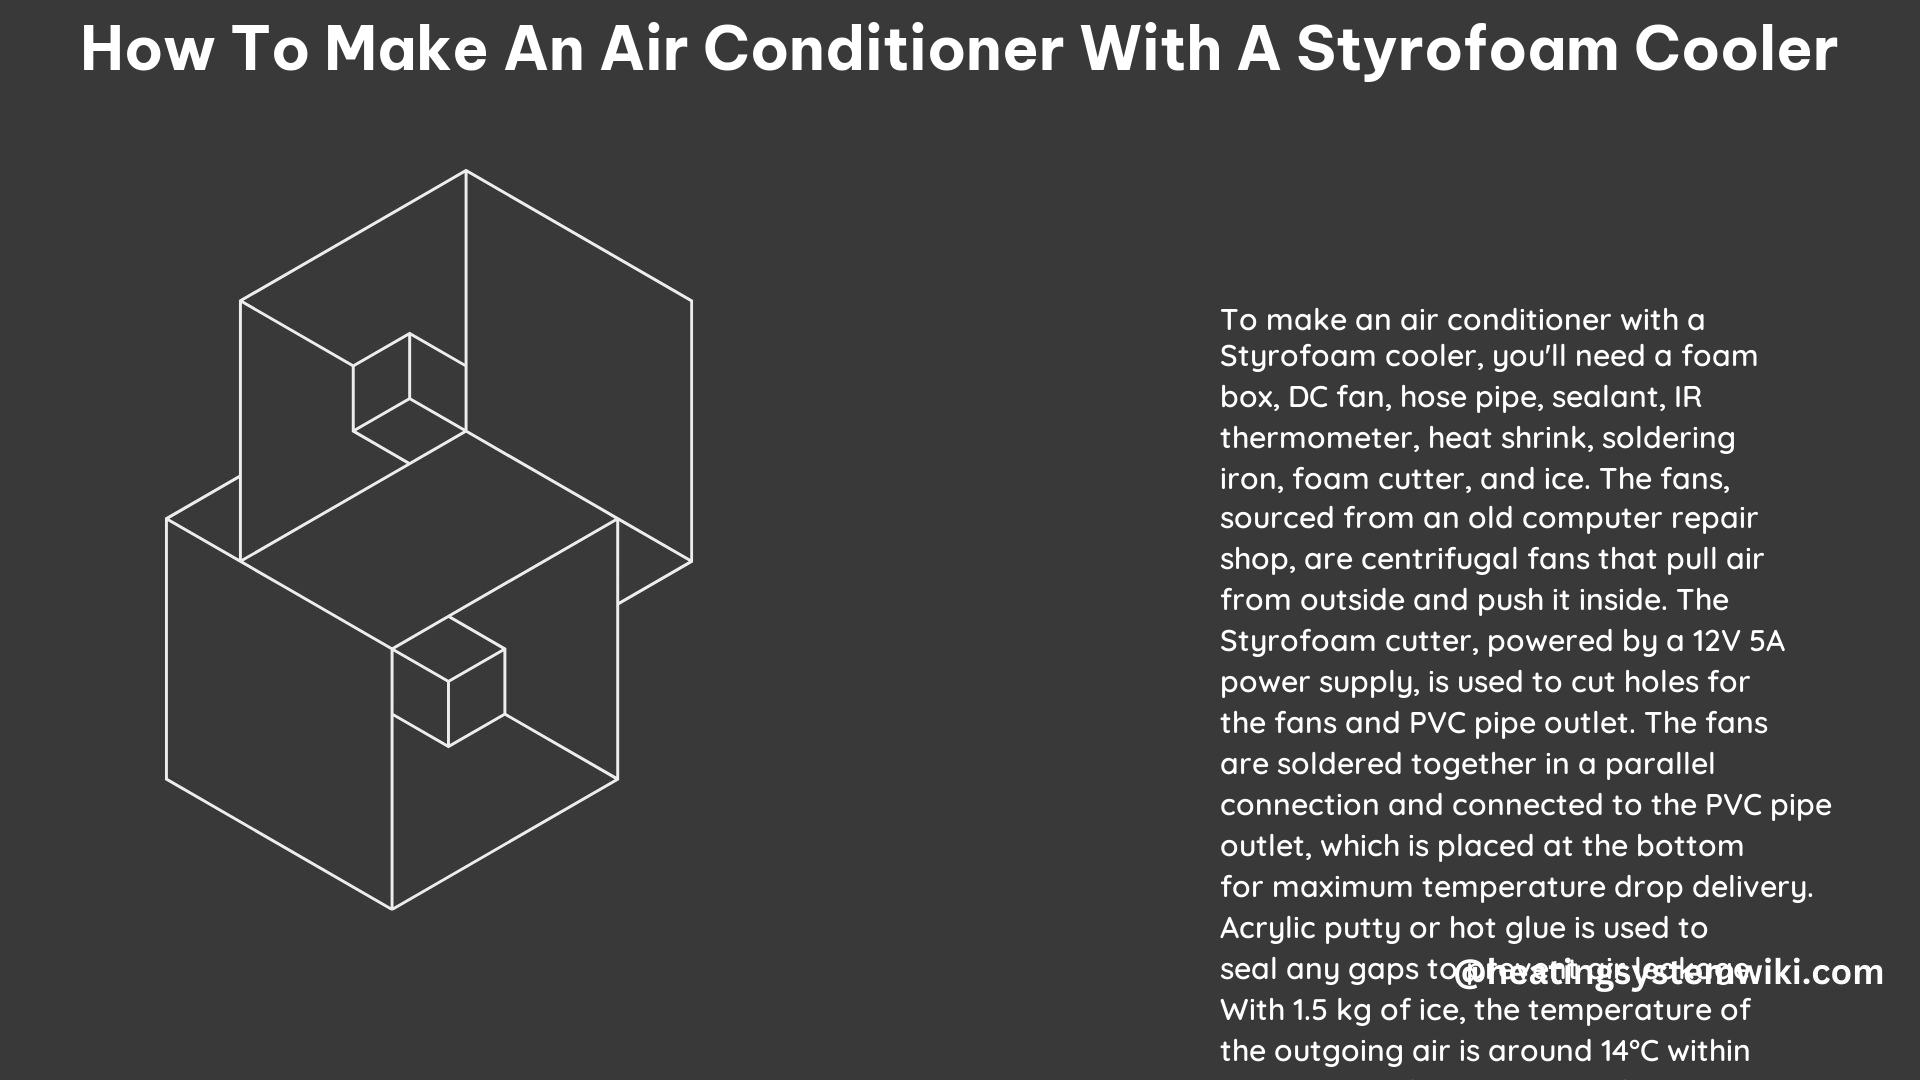
To build your own Styrofoam cooler air conditioner, you will require the following items:
- A Styrofoam cooler (typically costing $1 or less)
- Duct tape
- A 15-inch piece of 3/4-inch PVC pipe
- An inexpensive high-speed fan (e.g., Honeywell TurboForce Fan)
- A Dremel rotary tool with cutting and routing bits
- Scissors
- A marking pen
- Safety glasses
- Tape measure
Step 1: Taping and Cutting the Cooler for Venting Holes
- Place a single length of duct tape across the side of the cooler where you want the venting holes to be.
- Using a section of 3/4″ PVC pipe, trace 3 holes in roughly equal distance from each other on the tape.
- Carefully cut the holes using the Dremel with the cutting bit and safety glasses. The holes should be slightly smaller than the drawn circle for a snug fit.
Step 2: Fitting and Cutting the PVC
- Place the PVC pipes into their respective holes in the cooler.
- Use small cuts of duct tape to form a seal around each of the PVC pipes next to the cooler.
Step 3: Cutting the Lid
- Cut a hole in the lid of the cooler that is just barely bigger than the fan blades.
- This will allow the fan to be placed on top of the cooler with the blades exposed.
Step 4: Putting it All Together
- Place the fan on top of the cooler and duct tape it down to form a seal with the lid.
- Use duct tape wherever necessary to ensure a good seal and prevent loss of pressure when the fan blows into the cooler.
Finishing Touches
Once you have completed the assembly, add ice to the cooler and turn on the fan. The fan will force air over the ice and out the vents, providing cool air similar in temperature to a traditional air conditioner.
Additional Tips and Considerations
Ice Supply
- Keep a few water-filled milk jugs in your freezer to ensure a constant supply of ice for the cooler.
Portability
- This air conditioner is portable and can be used in different locations as needed.
Cost
- The total cost of this DIY air conditioner is less than $10.
Efficiency
- This air conditioner is not as efficient as a commercial model, but it can provide temporary relief from the heat on a hot summer day.
Safety
- Always use safety glasses when cutting holes in the cooler and lid.
By following these steps, you can create a functional and cost-effective air conditioning solution using a Styrofoam cooler. This DIY project is a great way to beat the heat without breaking the bank.