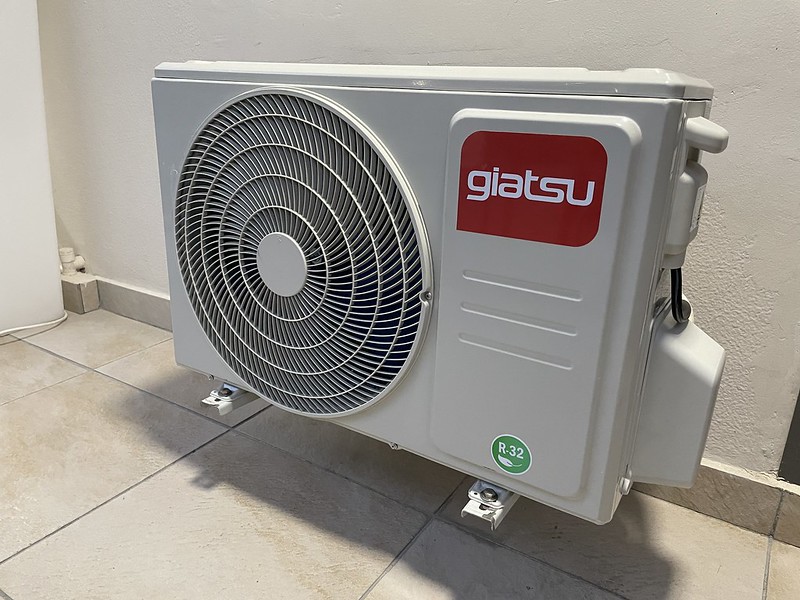
Mini-split air conditioning systems have become increasingly popular in recent years, offering efficient and flexible cooling solutions for homes and businesses. One of the key features of mini-splits is the ability to integrate an external thermostat, allowing for precise temperature control and customization. In this comprehensive guide, we’ll explore the step-by-step process of mini-splitting an external thermostat, covering compatibility, wiring, control options, and more.
Compatibility Considerations
Before embarking on the installation process, it’s crucial to ensure that your mini-split system is compatible with an external thermostat. Not all mini-split models are designed to work with external thermostats, and some may require specific brands or models. Thoroughly review the manufacturer’s instructions or consult with a professional HVAC technician to confirm compatibility.
When assessing compatibility, consider the following factors:
- Thermostat Connectivity: Determine the type of connection required by your mini-split system, whether it’s a low-voltage wired connection or a wireless communication protocol like Wi-Fi or Bluetooth.
- Thermostat Specifications: Ensure that the external thermostat you choose meets the voltage, amperage, and other technical requirements specified by the mini-split manufacturer.
- Thermostat Features: Evaluate the features and capabilities of the external thermostat, such as programmability, smart home integration, and energy-saving functions, to ensure they align with your needs and preferences.
Wiring Considerations
Wiring an external thermostat to a mini-split system can be a complex task, as it often requires additional setup or professional assistance. Most mini-splits come equipped with a remote control for temperature adjustment, and integrating an external thermostat may involve modifying the existing wiring.
When planning the wiring for your external thermostat, consider the following:
- Thermostat Location: Determine the optimal location for the external thermostat, taking into account factors such as accessibility, airflow, and proximity to the mini-split indoor unit.
- Wiring Routing: Map out the path for the thermostat wiring, ensuring it’s routed safely and securely, avoiding any potential interference or damage.
- Wiring Connections: Carefully follow the manufacturer’s instructions for connecting the external thermostat to the mini-split system, paying close attention to the proper wiring terminals and polarity.
- Electrical Safety: Ensure that all wiring is performed in compliance with local electrical codes and safety regulations, and consider hiring a licensed electrician if you’re not comfortable with the wiring process.
Control Options
When mini-splitting an external thermostat, you’ll have the opportunity to explore various control options, including traditional thermostats and smart home integration.
- Traditional Thermostats: These are the classic wall-mounted thermostats that allow you to manually adjust the temperature and settings. They can provide a straightforward and reliable control solution for your mini-split system.
- Smart Thermostats: Increasingly popular, smart thermostats offer advanced features like remote control, scheduling, and energy-saving algorithms. However, not all smart thermostats are compatible with mini-split systems, so it’s essential to research and select a model specifically designed for air conditioning applications.
- Integrated Control Systems: Some mini-split manufacturers offer proprietary control systems that integrate with external thermostats, providing a seamless and comprehensive management solution for your HVAC setup.
When choosing a control option, consider factors such as user-friendliness, energy efficiency, and compatibility with your existing smart home ecosystem, if applicable.
Installation Process
Once you’ve addressed the compatibility, wiring, and control considerations, you can proceed with the installation of the external thermostat. Follow these steps:
- Prepare the Installation Site: Carefully select the location for the external thermostat, ensuring it’s easily accessible and not obstructed by furniture or other obstacles.
- Mount the Thermostat: Securely mount the thermostat to the wall, following the manufacturer’s instructions for proper installation.
- Connect the Wiring: Connect the thermostat wiring to the mini-split system, ensuring all connections are secure and properly labeled.
- Configure the Thermostat: Program the thermostat with the desired settings, such as temperature preferences, scheduling, and any additional features.
- Test the System: Thoroughly test the mini-split system with the external thermostat to ensure proper functionality and temperature control.
Throughout the installation process, refer to the manufacturer’s instructions and, if necessary, consult with a professional HVAC technician to ensure a safe and successful integration of the external thermostat.
Conclusion
Integrating an external thermostat with your mini-split system can provide enhanced temperature control, energy efficiency, and customization options. By carefully considering compatibility, wiring, and control options, you can successfully mini-split an external thermostat and enjoy the benefits of a tailored HVAC solution. Remember to always prioritize safety, follow manufacturer guidelines, and seek professional assistance if you’re unsure about any aspect of the installation process.

