When it comes to maintaining and servicing a mini-split air conditioning system, one of the critical tasks is the proper recovery of the refrigerant, specifically R410A. This halogenated compound is a widely used refrigerant in modern HVAC systems, including mini-splits, due to its excellent thermodynamic properties and environmental friendliness. However, the recovery process requires meticulous attention to detail to ensure safety, efficiency, and compliance with industry standards. In this comprehensive guide, we will delve into the step-by-step process of recovering R410A from a mini-split, providing you with the technical expertise and hands-on knowledge to tackle this task confidently.
Necessary Tools and Equipment
Before embarking on the R410A recovery process, it’s essential to gather the appropriate tools and equipment. This includes:
-
Refrigerant Recovery Pump: A high-quality recovery pump designed for R410A refrigerant is a must-have. These pumps are specifically engineered to handle the pressure and characteristics of this refrigerant effectively.
-
Refrigerant Recovery Cylinder: A recovery cylinder, also known as a recovery tank, is used to store the recovered refrigerant. It’s crucial to ensure the cylinder is rated for R410A and has the necessary capacity to accommodate the amount of refrigerant in the mini-split system.
-
Manifold Gauge Set: A manifold gauge set, equipped with high-side and low-side gauges, is essential for monitoring the system’s pressure during the recovery process. These gauges should be compatible with R410A refrigerant.
-
Hoses and Fittings: Ensure you have the appropriate hoses and fittings to connect the recovery pump, manifold gauge set, and recovery cylinder to the mini-split’s service ports.
-
Vacuum Pump: A high-quality vacuum pump is necessary to evacuate the system and ensure the complete removal of any remaining refrigerant or contaminants.
-
Torque Wrench: A torque wrench is required to properly tighten the service valve connections, ensuring a secure and leak-free setup.
-
Refrigerant Identifier: This device helps verify the purity and composition of the recovered refrigerant, ensuring it meets the necessary standards for reuse or proper disposal.
-
Personal Protective Equipment (PPE): Wear appropriate PPE, such as safety glasses, gloves, and a respirator, to protect yourself during the recovery process.
Locating the Service Valves
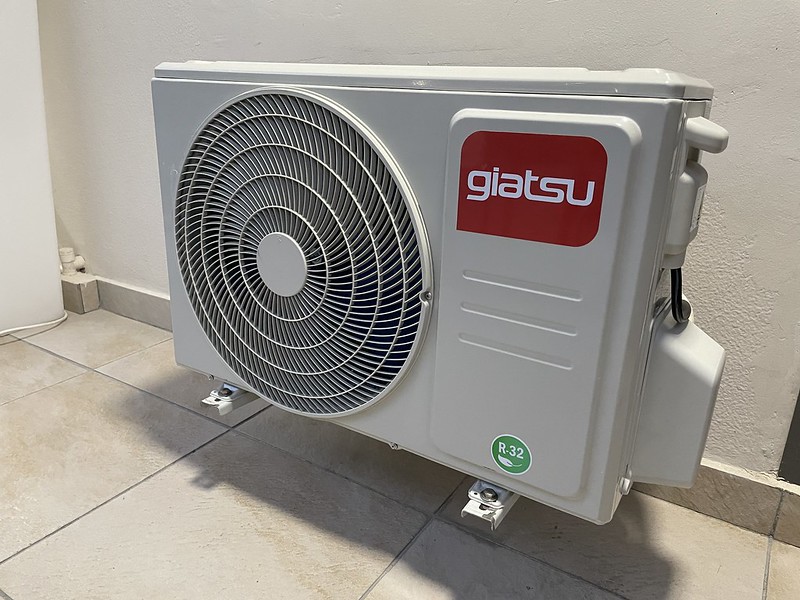
The first step in the R410A recovery process is to locate the service valves on the mini-split’s outdoor unit. These valves are typically located on the refrigerant lines, with one being the liquid line (smaller tube) and the other being the suction line (larger tube).
Removing the Valve Caps
Using a 3/16-inch Allen wrench, carefully remove the valve caps from both the liquid line and suction line service valves. This will provide access to the valves for the subsequent steps.
Connecting the Manifold Gauge Set
Attach the low-side gauge of the manifold gauge set to the suction line service valve. Ensure the connection is secure and leak-free. The high-side gauge will not be used during the recovery process, as the system will be in a vacuum state.
Closing the Liquid Line Valve
Before starting the recovery process, it’s crucial to close the liquid line service valve by turning it clockwise. This step prevents any liquid refrigerant from entering the recovery cylinder, which could lead to overfilling and potential safety hazards.
Initiating the Recovery Process
With the liquid line valve closed, open the suction line service valve by turning it counterclockwise. This will allow the R410A refrigerant to flow from the mini-split system into the recovery cylinder. Monitor the low-side gauge closely to ensure the pressure is decreasing steadily, indicating the successful recovery of the refrigerant.
Monitoring the Recovery Process
Continuously observe the low-side gauge during the recovery process. The pressure should decrease gradually as the refrigerant is transferred to the recovery cylinder. Once the pressure reaches zero or slightly below, both the liquid line and suction line service valves should be closed by turning them clockwise.
Checking for Vacuum
After closing both service valves, check the low-side gauge to ensure a vacuum has been achieved. This indicates that the system has been fully evacuated, and all the R410A refrigerant has been successfully recovered.
Storing the Recovered Refrigerant
Once the recovery process is complete, the recovered R410A refrigerant should be stored in the appropriate recovery cylinder. Ensure the cylinder is properly labeled and stored in a secure location, following all applicable regulations and safety guidelines.
Reusing the Recovered Refrigerant
When reintroducing the recovered R410A refrigerant into the mini-split system, it’s crucial to verify the purity and composition of the refrigerant. Use a refrigerant identifier to ensure the recovered refrigerant meets the necessary standards for reuse. If the recovery process was not performed correctly, the refrigerant ratios may be off, and the refrigerant should not be reused.
By following this comprehensive guide, you can confidently and safely recover R410A refrigerant from your mini-split air conditioning system. Remember to always prioritize safety, adhere to industry standards, and seek professional assistance if you have any doubts or concerns during the recovery process.

