
Putting a Lennox HVAC unit into test mode is a crucial step for troubleshooting, maintenance, and ensuring optimal performance. This comprehensive guide will walk you through the process of locating the control board, identifying the dip switches, and properly configuring the settings to put your Lennox unit into test mode. Whether you’re a DIY enthusiast or a professional HVAC technician, this guide will provide you with the necessary technical details and step-by-step instructions to get the job done efficiently.
Locating the Control Board
The first step in putting your Lennox HVAC unit into test mode is to locate the control board. The control board is typically situated inside the unit, near the bottom. Depending on the model, you may need to remove the access panel to gain access to the control board.
To locate the control board, follow these steps:
- Identify the access panel on your Lennox unit. This panel is usually located on the side or front of the unit and may be secured with screws or fasteners.
- Carefully remove the access panel, taking note of any wiring or connections that may need to be disconnected.
- Locate the control board, which is typically a printed circuit board with various components and connectors.
- Familiarize yourself with the layout and components of the control board, as you’ll need to identify the dip switches in the next step.
Identifying the Dip Switches
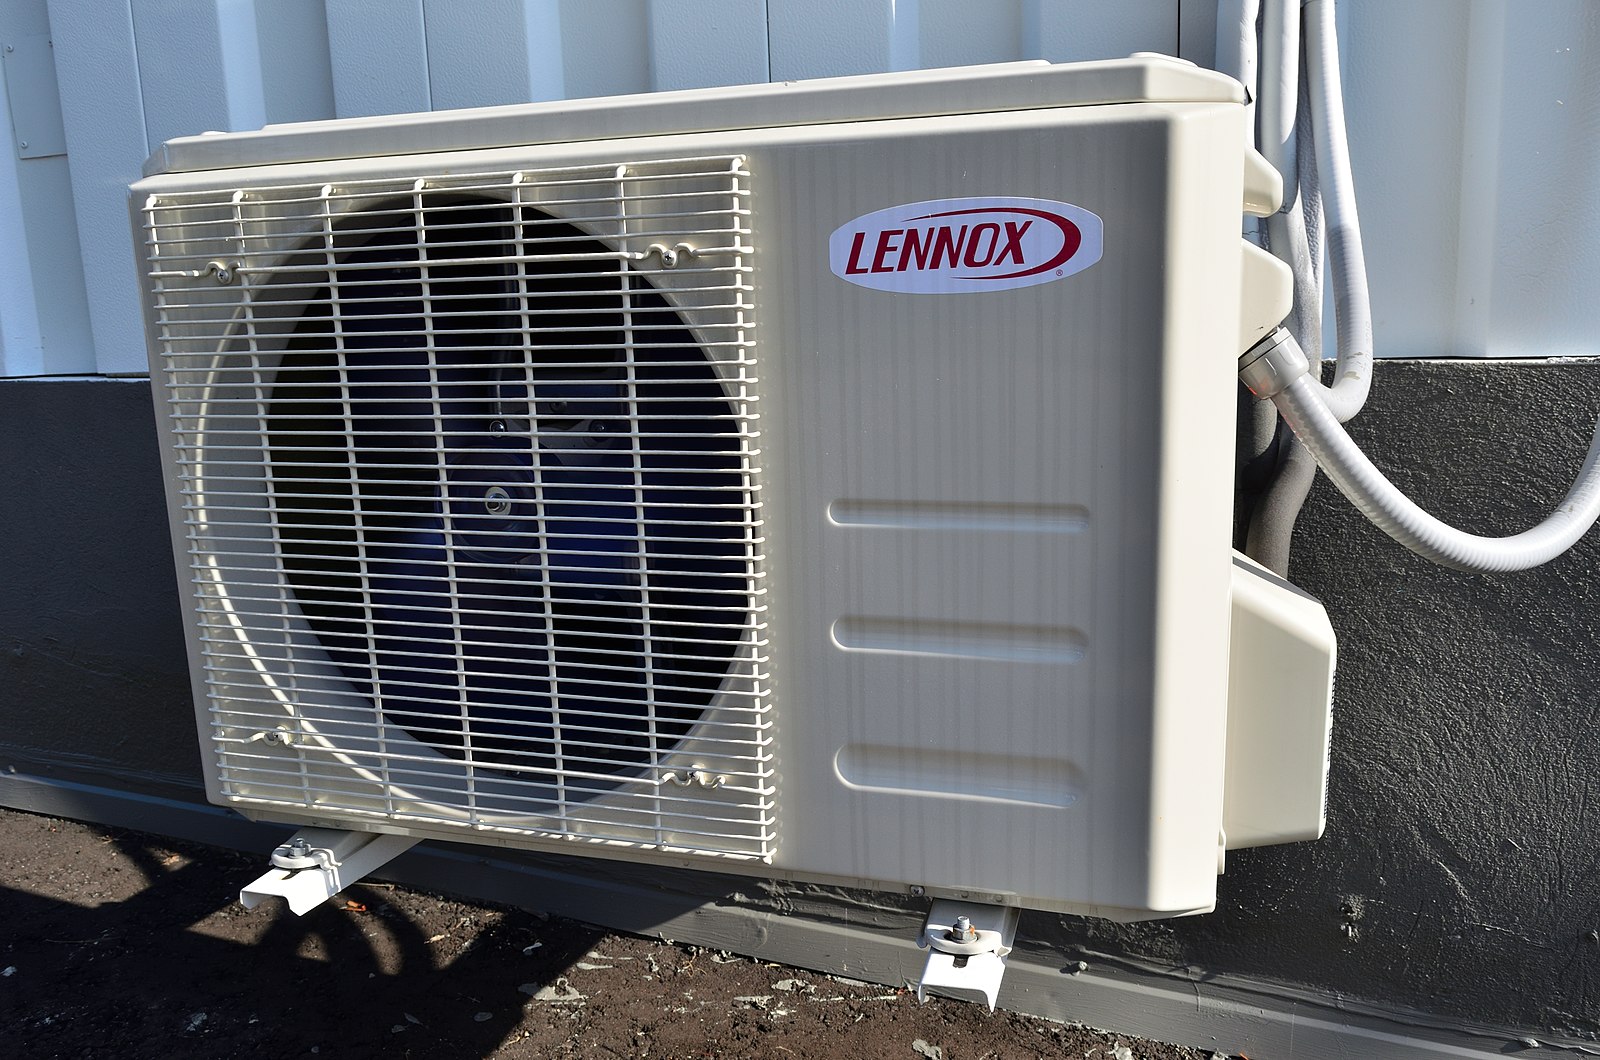 Image source: Lennox Ac by Raysonho
The dip switches are the key to putting your Lennox HVAC unit into test mode. These small switches are located on the control board and are used to configure the unit’s settings.
To identify the dip switches, follow these steps:
- Carefully examine the control board and look for a group of small switches, typically arranged in a row or grid pattern.
- Ensure that the dip switches are easily accessible and that you can manipulate them without damaging any other components on the control board.
- Take note of the position of the dip switches, as you’ll need to reference this information when setting the unit into test mode.
Setting the Dip Switches for Test Mode
Once you’ve located the control board and identified the dip switches, it’s time to configure the settings to put your Lennox HVAC unit into test mode. The exact configuration may vary depending on the model of your unit, so it’s essential to refer to the manufacturer’s instructions or the unit’s service manual.
Here’s an example of how to put a Lennox L series unit into test mode:
- Locate the dip switch under the “mode” setting and move it to the “shift” position.
- Slide the “unit test” switch to the “on” position.
- Press and hold the black button on the control board until the correct code appears on the display.
- Release the button and wait for the unit to enter test mode.
It’s important to note that the specific steps for putting a Lennox unit into test mode may vary depending on the model. Therefore, it’s crucial to consult the unit’s service manual or contact the manufacturer for detailed instructions.
Testing the Unit in Test Mode
Once your Lennox HVAC unit is in test mode, you can proceed to test various components and functions of the unit. The exact components and functions that can be tested will depend on the model of your unit, so it’s essential to refer to the manufacturer’s instructions or the unit’s service manual.
Some common tests that can be performed in test mode include:
- Checking the operation of the compressor
- Testing the heating and cooling functions
- Verifying the proper operation of the blower motor
- Checking the functionality of the control board and sensors
To perform these tests, you may need to use specialized tools and equipment, such as multimeters, pressure gauges, and thermometers. It’s important to follow all safety precautions and manufacturer’s recommendations when testing the unit.
Exiting Test Mode
After completing the necessary tests, you’ll need to exit the test mode and return the unit to normal operation. The process for exiting test mode may vary depending on the model, but generally, you’ll need to reverse the steps you took to enter test mode.
For the Lennox L series unit example:
- Move the dip switch under the “mode” setting back to the original position.
- Slide the “unit test” switch to the “off” position.
- Ensure that all dip switches are in their proper positions.
- Reassemble the access panel and secure it in place.
Once you’ve completed these steps, your Lennox HVAC unit should be out of test mode and ready for normal operation.
Conclusion
Putting a Lennox HVAC unit into test mode is a crucial step for troubleshooting, maintenance, and ensuring optimal performance. By following the detailed instructions in this guide, you’ll be able to locate the control board, identify the dip switches, and properly configure the settings to put your Lennox unit into test mode. Remember to always refer to the manufacturer’s instructions or the unit’s service manual for specific details, as the process may vary depending on the model. With the right tools and knowledge, you can effectively diagnose and maintain your Lennox HVAC system.