
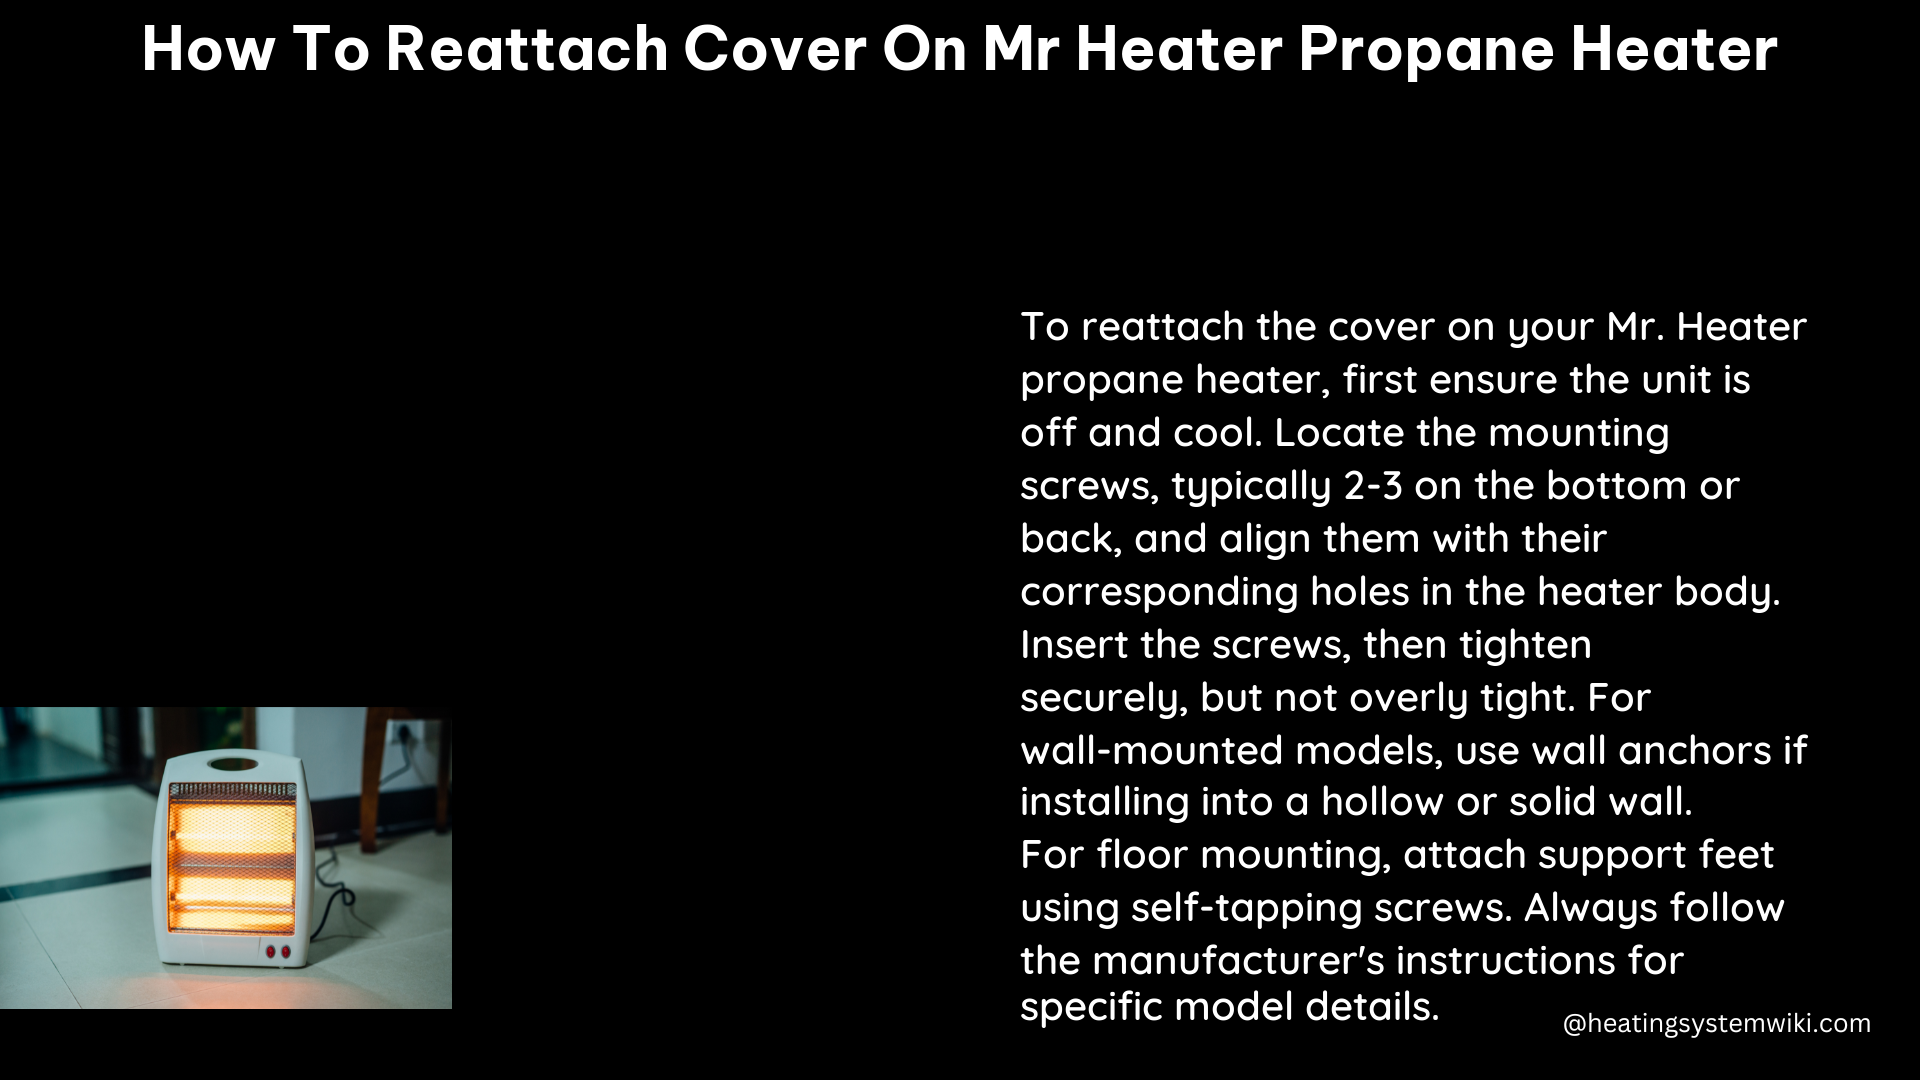
Reattaching the cover on a Mr. Heater propane heater can be a straightforward task, but it’s essential to follow the manufacturer’s instructions and guidelines to ensure the safe and proper operation of the heater. This comprehensive guide will walk you through the step-by-step process of reattaching the cover, providing detailed information and technical specifications to help you complete the task with confidence.
Identifying the Problem
Before attempting to reattach the cover, it’s crucial to determine the root cause of the issue. Carefully inspect the heater to identify if the cover has simply come loose or if there is any underlying damage that needs to be addressed.
- Check for any visible signs of damage or wear on the heater’s body, including cracks, dents, or other physical impairments.
- Examine the cover itself, looking for any broken or missing components, such as screws, clips, or mounting points.
- Ensure that the gas lines and connections are intact and free from any leaks or damage.
Identifying the specific problem will help you determine the appropriate course of action and the necessary tools and materials required for the reattachment process.
Gathering Tools and Materials
To reattach the cover on your Mr. Heater propane heater, you will need the following tools and materials:
- Screwdriver or power drill with the appropriate bit size (typically a Phillips head screwdriver or a 1/4-inch hex bit)
- Wall anchors (if mounting the heater to a wall)
- The heater’s original mounting screws
It’s important to use the correct screws and hardware specified by the manufacturer to ensure a secure and proper fit. Attempting to use non-compatible screws or hardware may result in further damage to the heater or compromise its safety and performance.
Reattaching the Cover
-
Align the Mounting Holes: Carefully position the cover over the heater’s body, aligning the mounting holes on the cover with the corresponding holes on the heater.
-
Insert the Screws: Using the screwdriver or power drill, insert the mounting screws through the cover and into the heater’s body. Tighten the screws gradually and evenly, ensuring that the cover is securely in place.
-
Torque Specification: Mr. Heater recommends tightening the mounting screws to a torque of 20-25 inch-pounds (2.3-2.8 Newton-meters) to ensure a proper and secure fit.
-
Overtightening the screws can damage the heater’s components and should be avoided.
-
Verify the Fit: Once the screws are tightened, inspect the cover to ensure that it is properly aligned and securely attached to the heater’s body. Gently press on the cover to check for any looseness or gaps.
-
Secure Wall Mounting (if applicable): If the heater is mounted on a wall, use the appropriate wall anchors and hardware to securely attach the heater to the wall, following the manufacturer’s instructions for wall mounting.
-
Minimum Clearance Requirements: Mr. Heater specifies a minimum clearance of 36 inches (91 cm) from the floor, 12 inches (30 cm) from the ceiling, and 6 inches (15 cm) from any adjoining walls.
- Proper Mounting Orientation: The heater must be mounted in the upright position, with the cover facing outward, to ensure safe and efficient operation.
Checking for Leaks
After reattaching the cover, it’s essential to check for any gas leaks in the system. This is particularly important if you have disconnected or reconnected any gas lines during the process.
-
Perform a Leak Test: Apply a leak detection solution (such as a soap and water mixture) to all gas line connections and fittings. Observe for any bubbles, which would indicate the presence of a leak.
-
Correct Any Leaks: If a leak is detected, tighten the connection or replace the faulty component as necessary. Refer to the manufacturer’s instructions for the proper procedures and specifications.
-
Retest the System: Repeat the leak test to ensure that all connections are secure and there are no remaining leaks.
Addressing any gas leaks is crucial for the safe operation of the Mr. Heater propane heater. Failure to do so could result in dangerous situations, such as fire or explosion.
Consulting Additional Resources
For a more detailed guide on repairing and maintaining your Mr. Heater propane heater, consider the following resources:
- Operating Instructions and Owner’s Manual: The manufacturer’s manual provides comprehensive instructions on the proper installation, use, and maintenance of the heater. Refer to this document for specific details and safety guidelines.
- Troubleshooting Guide: Mr. Heater offers a troubleshooting guide that addresses common issues with their heaters, including problems beyond the reattachment of the cover.
- Instructional Videos: The “How To Fix My Buddy Heater” video on YouTube provides a step-by-step walkthrough of the repair process, including reattaching the cover.
By utilizing these resources, you can ensure that you are following the manufacturer’s recommendations and addressing any underlying issues with your Mr. Heater propane heater.
Remember, safety should always be the top priority when working with gas-powered appliances. If you are unsure about any aspect of the reattachment process or have concerns about the heater’s condition, it’s best to consult a qualified professional for assistance.
References:
– How To Fix My Buddy Heater
– Mr. Heater Operating Instructions and Owner’s Manual
– Mr. Heater Troubleshooting Guide
– Mr. Heater Wall Mounting Instructions