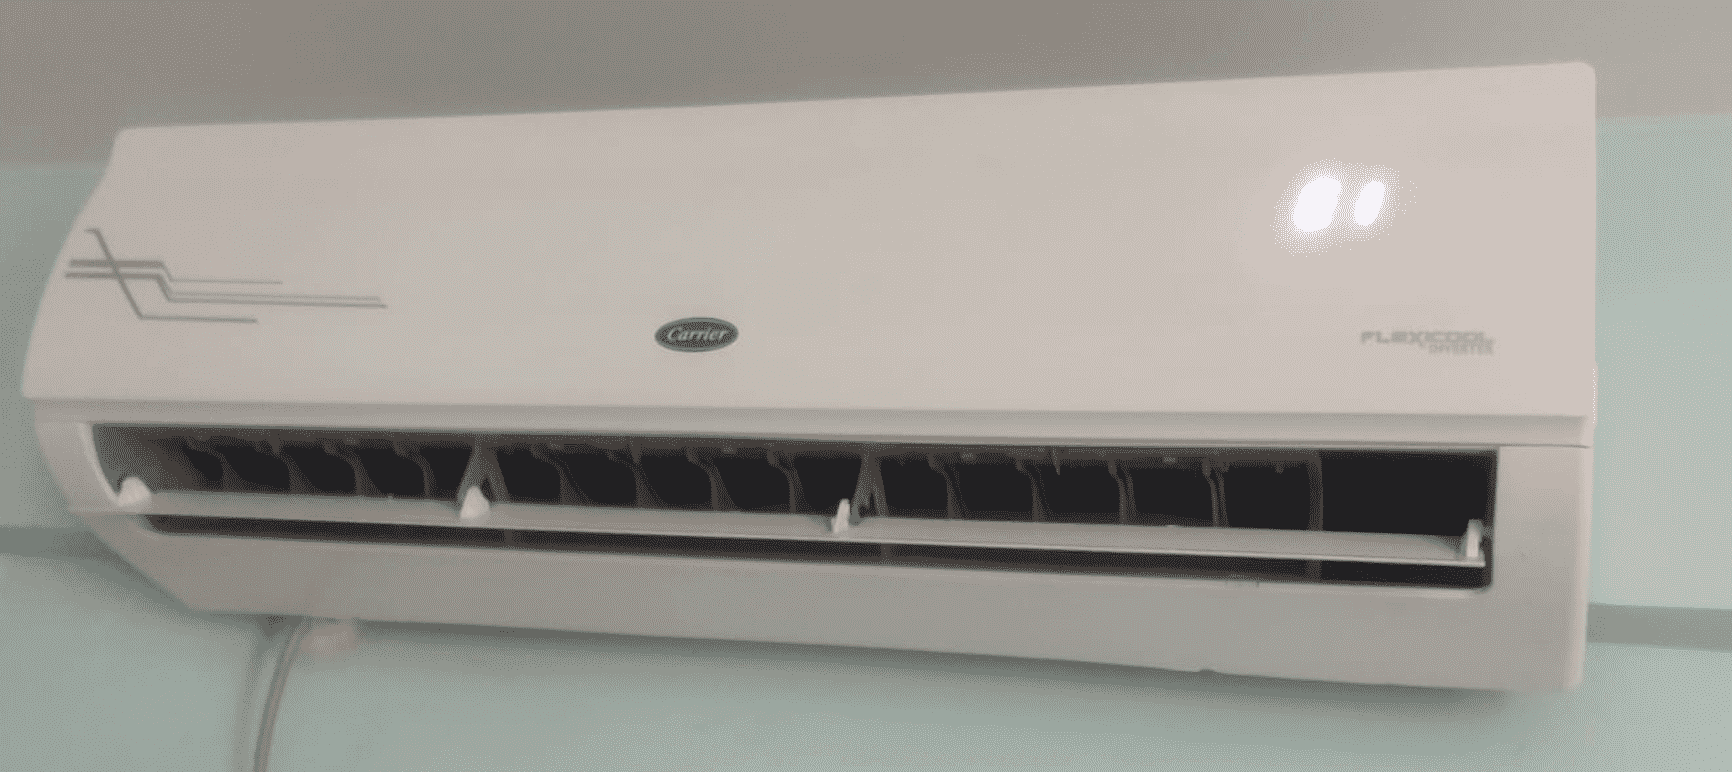
Registering your Carrier AC warranty is a crucial step in ensuring your investment is protected and that you can take advantage of the manufacturer’s warranty coverage. This comprehensive guide will walk you through the entire process, providing detailed instructions and expert insights to help you navigate the registration process with ease.
Locate the Carrier Product Registration Page
The first step in registering your Carrier AC warranty is to find the Carrier Product Registration page. This page serves as the starting point for the registration process and can be accessed through the Carrier website. The direct link to the Carrier Product Registration page is: https://productregistration.carrier.com/Public/Home?brand=carrier.
Gather the Required Information

Before you begin the registration process, it’s essential to have the following information readily available:
- Serial Numbers: Locate the serial numbers of your Carrier AC equipment. These numbers are typically found on the unit itself, often on a label or sticker.
- Installing Dealer Information: Gather the contact information of the dealer or contractor who installed your Carrier AC system, including their name, address, and phone number.
Having this information on hand will streamline the registration process and ensure that you can provide all the necessary details accurately.
Complete the Registration Form
With the required information gathered, you can now proceed to the Carrier Product Registration form. The form will typically ask for the following details:
| Field | Description |
|---|---|
| Model Number | The model number of your Carrier AC unit |
| Serial Number | The serial number of your Carrier AC unit |
| Installation Date | The date your Carrier AC unit was installed |
| Installing Dealer Information | The name, address, and phone number of the dealer who installed your Carrier AC unit |
| Owner Information | Your name, address, and contact information |
Be sure to double-check all the information you provide to ensure accuracy before submitting the form.
Confirm the Registration
After submitting the registration form, you should receive a confirmation message or email from Carrier. This confirmation serves as proof that your Carrier AC warranty has been successfully registered.
It’s important to keep a record of this confirmation for your own reference. You may need to refer to it in the future if you need to verify your warranty coverage or make a claim.
Meet the Minimum Requirements
To qualify for the enhanced 10-year parts limited warranty offered by Carrier, you must meet the following minimum requirements:
- Register within 90 Days: You must register your Carrier AC equipment within 90 days of the installation date to be eligible for the 10-year parts limited warranty.
- Proper Installation: Your Carrier AC unit must be installed by a qualified HVAC contractor or dealer.
- Regular Maintenance: You must maintain your Carrier AC unit according to the manufacturer’s recommendations, including regular tune-ups and filter changes.
Ensuring that you meet these requirements will help you maximize the benefits of your Carrier AC warranty and protect your investment in the long run.
Keep Detailed Records
As a final step, it’s recommended to print or save a copy of the registration confirmation for your records. This documentation will be valuable if you need to verify your warranty coverage or make a claim in the future.
Additionally, it’s a good practice to keep all the documentation related to your Carrier AC unit, including the installation invoice, maintenance records, and any other relevant paperwork. This will help you easily reference the information if needed and ensure a smooth warranty claim process.
By following these steps, you can successfully register your Carrier AC warranty and enjoy the peace of mind that comes with knowing your investment is protected. If you have any further questions or need assistance, don’t hesitate to contact Carrier customer service for additional support.
