
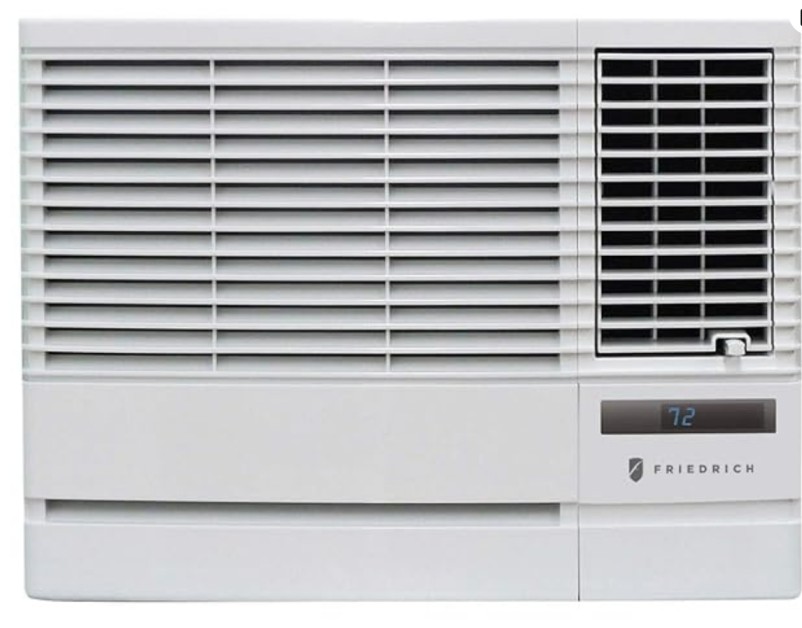
Removing the blower wheel from a Friedrich mini split air conditioning unit can be a crucial task for maintaining optimal performance and efficiency. This comprehensive guide will walk you through the step-by-step process, providing detailed instructions and expert insights to ensure a successful and safe removal.
Preparing for Blower Wheel Removal
Before you begin, ensure that the unit is turned off and unplugged from the power source. This will prevent any potential electrical hazards during the removal process. Additionally, have the following tools readily available:
- Screwdriver set (Phillips and flathead)
- Hex wrench set
- Pliers
- Gloves and safety glasses (for protection)
Step 1: Removing the Front Cover
- Locate the screws on the bottom of the unit that secure the front cover in place.
- Using a Phillips screwdriver, carefully remove these screws, taking note of their positions for later reassembly.
- Gently pull the front cover away from the unit, being mindful of any wiring or connections that may be attached.
Step 2: Lowering the Drain Pan
- Identify the drain pan, which is typically located at the bottom of the unit and held in place by tabs.
- Carefully release the tabs and lower the drain pan to gain better access to the blower wheel and its components.
Step 3: Loosening the Set Screw
- Locate the set screw on the far right side of the blower wheel.
- Using a flathead screwdriver, slowly loosen the set screw, taking care not to strip the threads.
Step 4: Removing the Evaporator Coil
- Identify the three screws on the left side of the evaporator coil.
- Remove these screws using a Phillips screwdriver.
- Gently lift the evaporator coil out towards you, being careful not to damage any components.
- Once the coil is removed, you can now access the blower wheel and pull it out.
Cleaning and Reassembly
- When cleaning the blower wheel, avoid using harsh chemicals and opt for a gentle cleaning with water.
- Inspect the bearing on the left side of the blower wheel and ensure it is in good condition. If necessary, replace the bearing.
- To reassemble the unit, reverse the removal steps, ensuring that all components are properly aligned and secured in place.
Expert Insights and Considerations
- Always consult the user manual or manufacturer’s instructions for your specific Friedrich mini split model, as the exact steps and component locations may vary.
- Pay close attention to the orientation and positioning of the blower wheel during removal and reassembly to ensure proper airflow and unit performance.
- Ensure that all electrical connections are properly reconnected and that the unit is securely mounted before powering it on.
- Consider seeking professional assistance if you are unsure about any part of the removal or reassembly process.
By following this comprehensive guide, you can successfully remove the blower wheel from your Friedrich mini split air conditioning unit and maintain its optimal performance. Remember to prioritize safety, attention to detail, and adherence to the manufacturer’s recommendations for the best results.