
Removing the blower wheel from a Fujitsu mini split air conditioning unit can be a delicate and intricate process, but with the right tools and a step-by-step approach, it can be accomplished successfully. This comprehensive guide will walk you through the entire procedure, providing detailed instructions and expert-level insights to ensure a smooth and efficient blower wheel removal.
Preparing for the Task
Before you begin the disassembly process, it’s crucial to ensure that the power to the unit is turned off. This is a safety-first measure to prevent any electrical hazards. Additionally, gather the necessary tools, including a screwdriver set, a power drill with the appropriate bits, and a small container or tray to keep track of the screws.
Disassembling the Unit
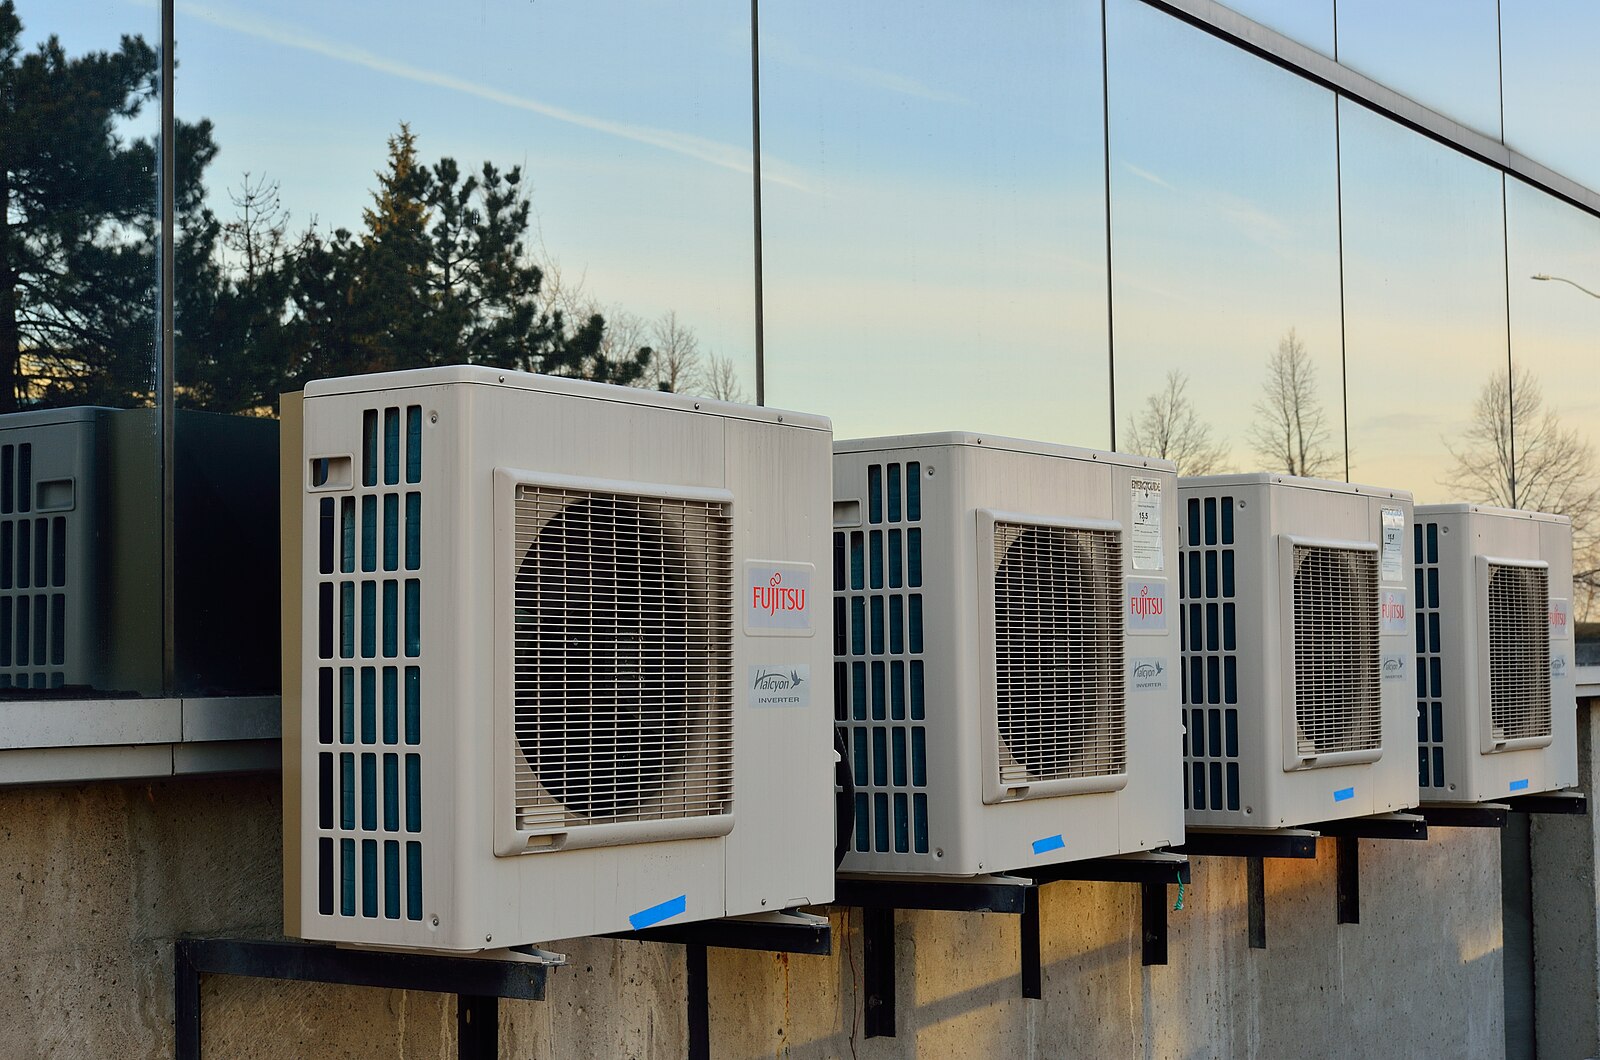 Image source: Fujitsu AC by Dinkun Chen
-
Remove the Front Cover: Start by removing the three front screws that secure the front cover of the unit. Gently lift the cover and set it aside.
-
Remove the Plastic Screw Covers: Locate the plastic screw covers and remove them to access the three screws at the bottom of the unit.
-
Remove the Bottom Screws: Take out the three screws at the bottom of the unit.
-
Remove the Top and Side Screws: Next, remove the screws from the top right and lower right of the unit, as well as the two screws on the left side. This will separate the coil from the drain pan assembly.
-
Disconnect the Electrical Connections: Carefully disconnect any electrical connections that may be present, such as the fan motor wiring.
Removing the Fan Motor Housing
-
Locate the Fan Motor Housing: Identify the fan motor housing, which is typically located at the back of the unit.
-
Remove the Screws: Using your screwdriver or power drill, remove the four screws that secure the fan motor housing.
-
Detach the Housing: Gently pull the fan motor housing away from the unit, taking care not to damage any components.
Removing the Blower Wheel
-
Locate the Set Screw: Carefully examine the blower wheel and identify the set screw that secures it to the fan motor shaft.
-
Remove the Set Screw: Using the appropriate screwdriver or Allen wrench, loosen and remove the set screw.
-
Separate the Blower Wheel: With the set screw removed, the blower wheel should now be able to be separated from the fan motor.
-
Inspect the Blower Wheel: Take this opportunity to inspect the blower wheel for any signs of wear, damage, or debris buildup. Clean the blower wheel thoroughly if necessary.
Reassembling the Unit
To reassemble the unit, follow the disassembly instructions in reverse order. Ensure that all screws are tightened securely and that any electrical connections are properly reconnected. Double-check your work to ensure that the unit is fully reassembled and ready for operation.
Additional Tips and Considerations
- Safety First: Always prioritize safety by turning off the power to the unit before starting the disassembly process.
- Use the Right Tools: Ensure that you have the appropriate screwdrivers, power drill, and other tools to efficiently remove and replace the components.
- Take Your Time: Disassembling a mini split unit can be a time-consuming process, so be patient and take your time to avoid damaging any components.
- Keep Track of Screws: Organize the screws in a small container or tray to ensure that they are returned to their correct positions during reassembly.
- Clean the Unit: While the unit is disassembled, take the opportunity to clean the coil, drain pan, and blower wheel to improve efficiency and performance.
By following this comprehensive guide, you’ll be able to successfully remove the blower wheel from your Fujitsu mini split air conditioning unit, paving the way for any necessary maintenance, repairs, or replacements. Remember to always prioritize safety and take your time to ensure a successful outcome.