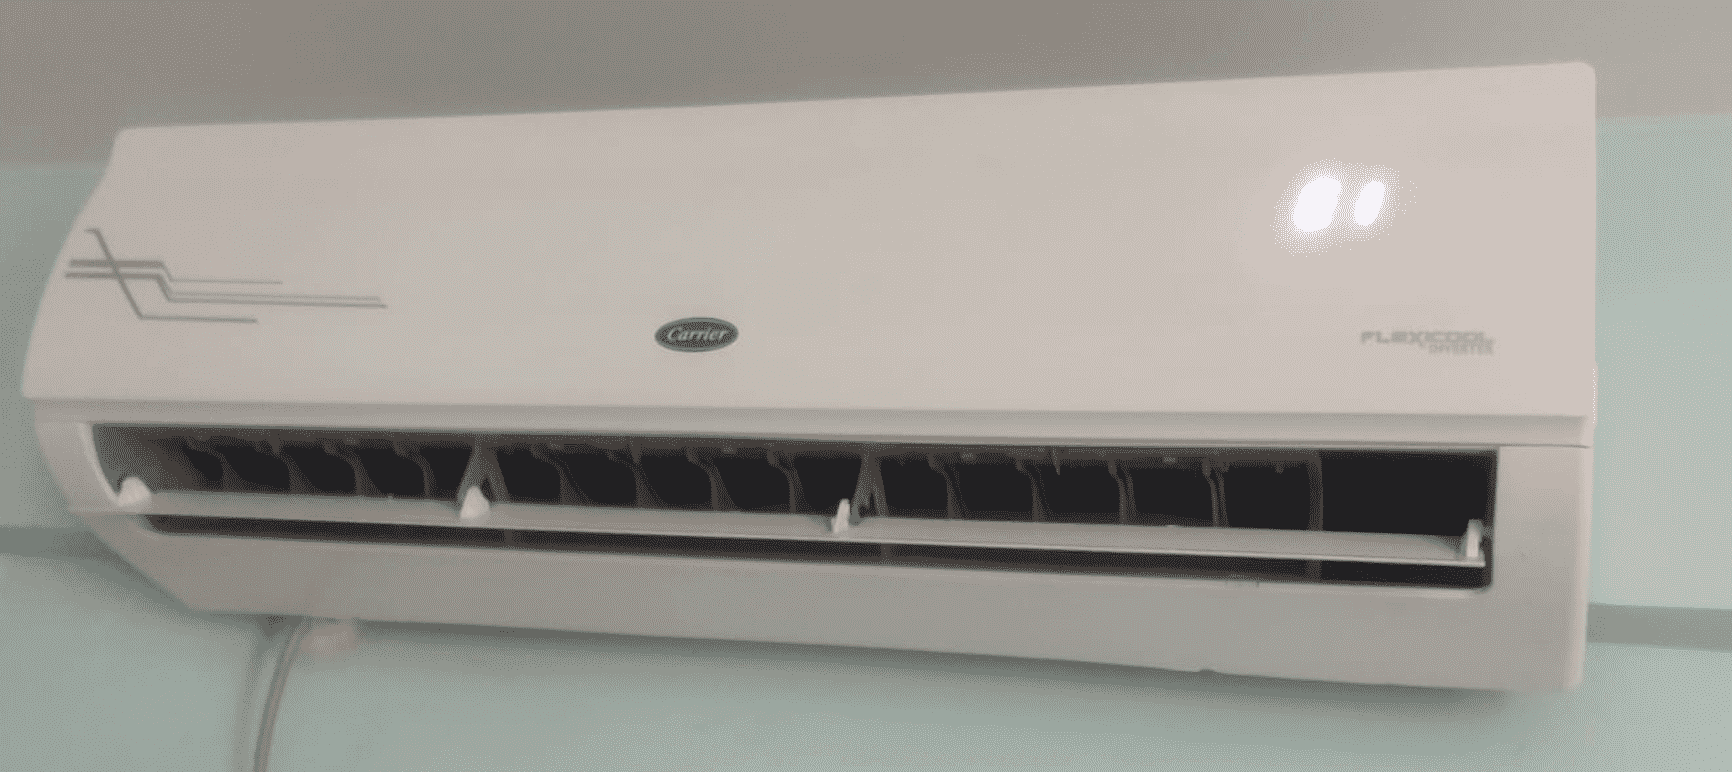
Removing a Carrier drain pan can be a straightforward task, but it requires attention to detail and proper safety precautions. This comprehensive guide will walk you through the step-by-step process of removing a Carrier drain pan, including advanced tips and technical details to ensure a successful and efficient repair.
Preparing for Drain Pan Removal
- Turn Off the Power: Before beginning any work, it’s crucial to turn off the power to the HVAC system to prevent any accidents or electrical hazards. Locate the circuit breaker or disconnect switch and switch it to the “off” position.
- Identify the Drain Pan Location: The Carrier drain pan is typically located underneath the evaporator coil, which is often situated in the air handler or indoor unit of the HVAC system. Familiarize yourself with the layout of your specific Carrier unit to pinpoint the exact location of the drain pan.
- Clear the Work Area: Ensure the area around the drain pan is free of any obstructions, such as ductwork, electrical wiring, or other components. This will provide you with the necessary space to work and allow for easy access to the pan.
Removing the Carrier Drain Pan

- Inspect the Drain Pan Attachment: Depending on the Carrier model, the drain pan may be secured in place using clips, screws, or a combination of both. Carefully examine the pan’s attachment method to determine the appropriate removal technique.
- Disconnect the Drain Line: Locate the drain line connected to the drain pan and disconnect it. This will allow you to fully remove the pan without any interference from the drainage system.
- Remove the Drain Pan: Using the appropriate tools, such as pliers, screwdrivers, or a drain pan removal tool, carefully detach the pan from its mounting. Be cautious not to damage the pan or the surrounding components during the removal process.
- Inspect the Drain Pan Condition: Closely examine the drain pan for any cracks, corrosion, or signs of wear and tear. If the pan is damaged, it’s recommended to replace it with a new Carrier-compatible drain pan to ensure proper functionality and prevent future leaks.
Cleaning and Reinstalling the Drain Pan
- Clean the Drain Pan and Surrounding Area: Use a mild detergent, warm water, and a soft-bristled brush to thoroughly clean the drain pan and the surrounding area. Remove any debris, algae, or mold that may have accumulated. Rinse the pan and the area with clean water to ensure a thorough cleaning.
- Inspect the Drain Line: Use a shop vacuum or a drain line cleaning tool to check for any blockages or obstructions in the drain line. Clear any debris or buildup to ensure proper water flow.
- Reinstall the Drain Pan: Carefully place the clean drain pan back into its original position, ensuring it is properly aligned and secured. Reattach any clips, screws, or other fasteners to secure the pan in place.
- Reconnect the Drain Line: Reattach the drain line to the drain pan, making sure the connection is secure and leak-free.
- Level the Drain Pan: Use a level to ensure the drain pan is installed evenly, which will help prevent future issues with water flow and potential leaks.
Advanced Tips and Considerations
- Measure the Drain Pan Dimensions: Before purchasing a replacement drain pan, measure the dimensions of the existing pan to ensure a proper fit. This will prevent any compatibility issues and ensure a seamless installation.
- Consider a Condensate Pump: If the drain line has a significant incline or if the HVAC system is located in a basement or lower level, consider installing a condensate pump. This will help ensure proper drainage and prevent any water backup issues.
- Perform a Leak Test: After reinstalling the drain pan, turn the power back on and closely monitor the system for any signs of leaks. If any leaks are detected, address them immediately to prevent water damage.
- Maintain the Drain Pan: Regularly inspect and clean the drain pan to prevent the buildup of debris, algae, or mold. This will help ensure the long-term functionality of the drain system and reduce the risk of future issues.
By following this comprehensive guide, you’ll be able to successfully remove, clean, and reinstall your Carrier drain pan, ensuring the efficient and reliable operation of your HVAC system.
