
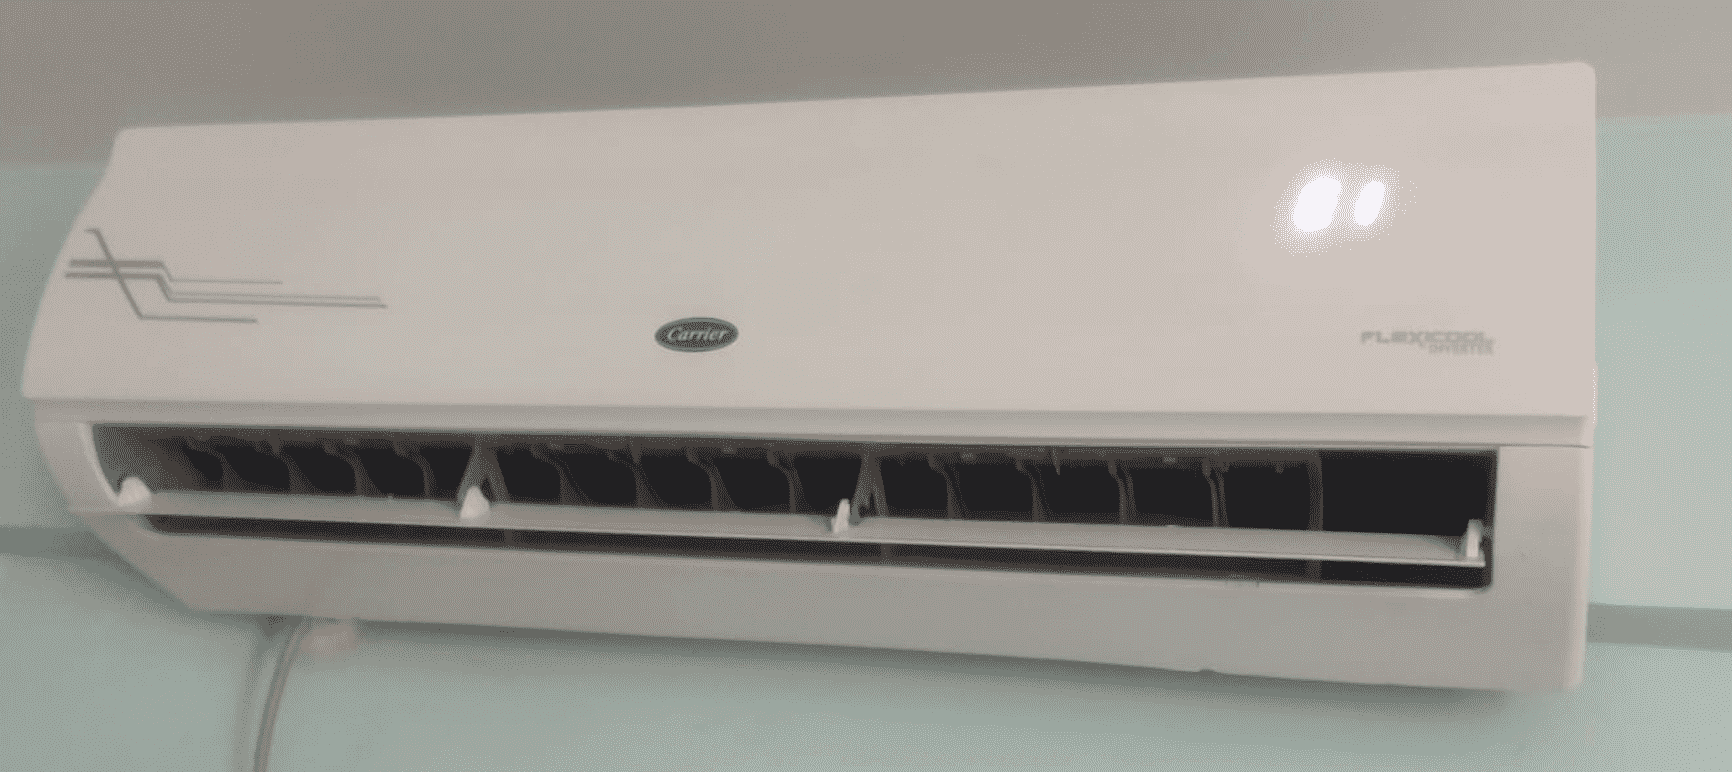
Removing the cover of a Carrier mini split air conditioning unit can be a straightforward task, but it requires attention to detail and a methodical approach to ensure the process is carried out safely and effectively. This comprehensive guide will walk you through the step-by-step process of removing the Carrier mini split cover, providing you with the necessary technical details and expert-level insights to tackle this project with confidence.
Preparing for the Task
Before you begin, it’s crucial to ensure that the power to the unit is turned off. This is a critical safety measure to prevent any electrical hazards during the removal process. Locate the main power switch or circuit breaker that controls the Carrier mini split and switch it to the “Off” position.
Disconnecting the Wires
- Identifying the Wires: Carefully examine the front faceplate of the Carrier mini split unit and locate the gray and black wires that are connected to it. These wires are responsible for transmitting power and control signals to the various components of the unit.
- Disconnecting the Wires: Using your hands, gently disconnect the gray and black wires from the unit. If the gray wire has a plug on the end, you can simply unplug it from the corresponding socket.
- Handling the Wires: When disconnecting the wires, be mindful of their routing and placement. Make a mental note or take a photograph of the wire layout to ensure you can easily reinstall them during the reassembly process.
Removing the Temperature Sensor (if applicable)
If your Carrier mini split unit is equipped with a temperature sensor, you will need to remove it before proceeding with the cover removal. Locate the wire connected to the temperature sensor and carefully disconnect it from the unit.
Unscrewing the Faceplate
- Identifying the Screws: Examine the front and bottom of the Carrier mini split unit to locate any screws that are securing the faceplate in place. Depending on the model, you may find one, two, or three screws.
- Removing the Screws: Using a Phillips head screwdriver, carefully remove the screws that are holding the faceplate in place. Set the screws aside in a safe location for later reinstallation.
Undoing the Clips
- Locating the Clips: Carefully inspect the face of the Carrier mini split unit and identify the clips that are securing the cover in place. These clips are typically located along the edges of the unit.
- Releasing the Clips: Using your fingers, gently push the clips inward, applying even pressure on both sides. This will allow the cover to be pulled forward and upwards, disengaging it from the unit.
Removing the Cover
- Lifting the Cover: With the clips undone, you can now lift the cover off the Carrier mini split unit in a downward motion. The cover should come off smoothly, along with any attached tape or sealant.
- Handling the Cover: When removing the cover, be cautious and avoid any sudden movements that could damage the delicate components or the cover itself. Gently set the cover aside in a safe location.
Reinstallation and Maintenance
To reinstall the Carrier mini split cover, simply reverse the steps outlined above. Ensure that all wires are properly reconnected, the temperature sensor is securely in place (if applicable), and the faceplate is firmly secured with the screws.
As a maintenance tip, it’s recommended to clean the drain pan on the front of the Carrier mini split unit every six months to ensure proper operation and prevent any potential issues.
By following this comprehensive guide, you can confidently remove the Carrier mini split cover and perform any necessary maintenance or repairs on your air conditioning system. Remember to always prioritize safety and consult the manufacturer’s instructions if you have any doubts or concerns during the process.