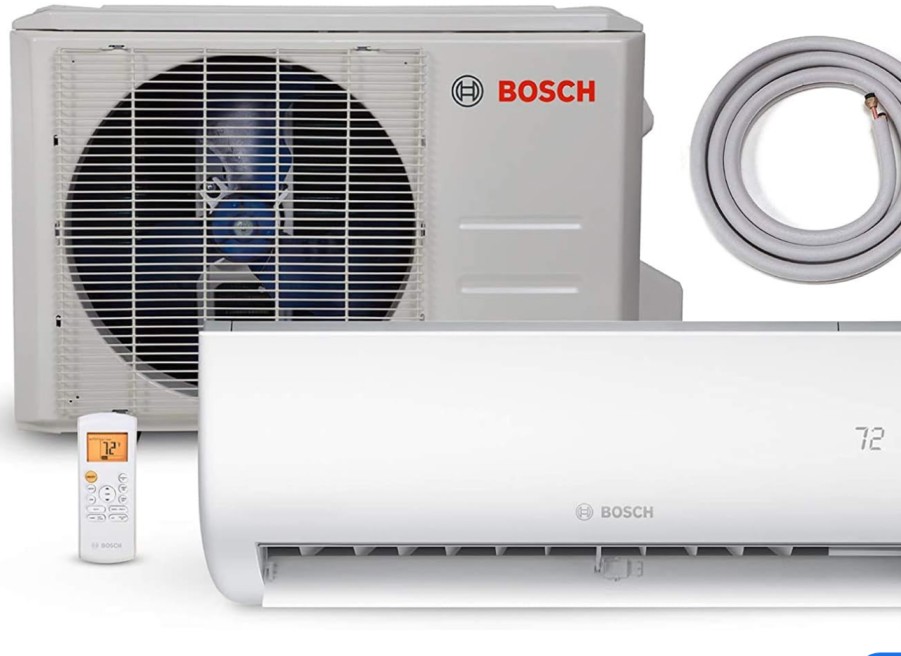
Removing the fan blade on a Bosch mini split can be a delicate task, but with the right approach and attention to detail, it can be accomplished successfully. This comprehensive guide will walk you through the step-by-step process, providing technical insights and expert-level advice to ensure a smooth and efficient fan blade removal.
Preparing the Indoor Unit
- Disconnect Power: Before beginning any work, ensure that the power to the indoor unit is completely disconnected. This is a crucial safety measure to prevent any electrical hazards.
- Remove the Front Cover: Locate the screws on the bottom of the indoor unit and remove them carefully. This will allow you to detach the front cover, providing access to the internal components.
- Lower the Drain Pan: The drain pan, which is responsible for collecting condensation, is typically held in place by tabs on the left, right, and middle sections. Gently lower the drain pan to gain better access to the blower wheel and its surrounding parts.
Accessing the Blower Wheel
 Locate the Set Screw: The blower wheel is secured to the blower motor by a set screw, which is situated on the far right side of the blower wheel. Identify the opening where you can insert your screwdriver to loosen this screw.
- Prepare the Screwdriver: Use a high-quality, properly-sized screwdriver to ensure a secure grip and prevent any damage to the set screw. A Phillips head screwdriver is typically the most suitable choice for this task.
- Loosen the Set Screw: Carefully insert the screwdriver into the set screw opening and turn it counterclockwise to loosen the screw. Apply steady, even pressure to avoid stripping the screw head.
Removing the Evaporator Coil
- Locate the Screws: On the left side of the evaporator coil, you will find three screws that need to be removed. These screws secure the coil to the indoor unit.
- Remove the Screws: Using the appropriate screwdriver, remove the three screws from the left side of the evaporator coil. Be mindful of the screw sizes and their respective locations to ensure proper reassembly.
- Lift the Coil: Once the screws are removed, you can gently lift the evaporator coil out towards you, providing full access to the blower wheel.
Extracting the Blower Wheel
- Grasp the Blower Wheel: With the evaporator coil removed, you can now reach in and firmly grasp the blower wheel. Ensure a secure grip to avoid any slippage or damage.
- Pull the Blower Wheel: Carefully pull the blower wheel out of the indoor unit, taking care not to lose the bearing located on the left side of the wheel.
Cleaning and Reassembly
- Clean the Blower Wheel: When cleaning the blower wheel, avoid using harsh chemicals and opt for a gentle, water-based cleaning solution. This will help maintain the integrity of the wheel’s components.
- Inspect the Bearing: Examine the bearing on the left side of the blower wheel and ensure it is in good condition. If necessary, replace the bearing to ensure smooth operation.
- Reassemble the Unit: To reassemble the indoor unit, simply reverse the steps you took to disassemble it. Ensure that all screws are properly tightened and that the drain pan is securely in place.
- Restore Power: Once the reassembly is complete, restore power to the indoor unit and test the system to ensure proper functionality.
By following this comprehensive guide, you can successfully remove the fan blade on your Bosch mini split, perform any necessary cleaning or maintenance, and reassemble the unit with confidence. Remember to always prioritize safety and consult the manufacturer’s instructions if you encounter any uncertainties during the process.
