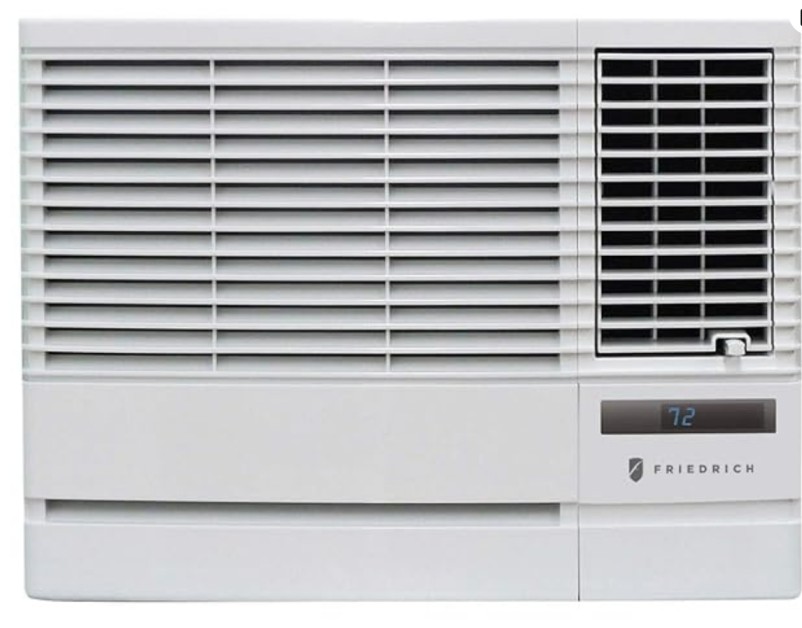
When it comes to maintaining your Friedrich mini split system, one of the essential tasks is removing and cleaning the fan blade. This process ensures optimal airflow and efficient operation of your unit. In this comprehensive guide, we will walk you through the step-by-step process of removing the fan blade on your Friedrich mini split, providing you with expert-level technical details and insights to ensure a successful DIY experience.
Accessing the Indoor Unit
The first step in removing the fan blade is to access the indoor unit of your Friedrich mini split. This typically involves removing the front cover of the unit, which can be done by unscrewing several screws located at the bottom of the unit. It’s important to note that the number and placement of these screws may vary depending on the specific model of your Friedrich mini split, so it’s crucial to refer to the manufacturer’s instructions or consult the user manual for your unit.
Once you have removed the front cover, you will be able to see the internal components of the indoor unit, including the drain pan and the blower wheel assembly.
Lowering the Drain Pan

With the indoor unit now accessible, the next step is to lower the drain pan. This will provide you with better access to the blower wheel and its surrounding parts, making the removal process more manageable. It’s important to note that the drain pan is not physically attached or secured to the unit, so you can simply lift it up from the bottom to lower it.
When lowering the drain pan, be cautious and avoid any sudden movements, as this could cause water to spill out. If necessary, have a towel or a container ready to catch any excess water that may drain out during this process.
Loosening the Set Screw
The blower wheel is held onto the blower motor by a set screw. To remove the blower wheel, you will need to loosen this set screw. The set screw is typically located on the far right side of the blower wheel. To access it, you may need to spin the blower wheel until you find an opening where you can insert your screwdriver.
When loosening the set screw, be gentle and avoid applying excessive force, as this could potentially damage the threads or the set screw itself. It’s recommended to use a high-quality screwdriver that fits the set screw snugly to ensure a secure grip and prevent any slippage.
Removing the Screws on the Evaporator Coil
Once you have loosened the set screw, the next step is to remove the three screws located on the left side of the evaporator coil. These screws are responsible for holding the coil in place, and removing them will allow you to lift the coil out towards you, providing you with better access to the blower wheel.
When removing these screws, be mindful of their placement and orientation, as this will help you during the reassembly process. It’s a good practice to keep the screws organized and labeled to ensure a smooth and efficient reinstallation.
Removing the Blower Wheel
With the evaporator coil removed, you can now proceed to remove the blower wheel. Gently grab the blower wheel and pull it out, taking care not to damage or lose any of the components, such as the bearing located on the left side of the blower wheel.
During the removal process, it’s essential to pay close attention to the alignment and positioning of the blower wheel, as this will help you when it comes time to reinstall it. Make note of the set screw’s location and orientation, as this will be crucial for properly aligning the blower wheel during the reassembly phase.
Cleaning and Maintaining the Blower Wheel
Once the blower wheel has been removed, it’s important to clean it thoroughly to ensure optimal airflow and system performance. When cleaning the blower wheel, it’s crucial to avoid using any harsh chemicals or abrasives, as these can potentially damage the delicate components.
Instead, use a soft-bristled brush or a clean, damp cloth to gently remove any dust, debris, or buildup on the blower wheel. Be especially careful when cleaning the bearing, as any damage to this component could lead to issues with the blower wheel’s operation.
After cleaning, it’s a good idea to inspect the blower wheel for any signs of wear or damage. If you notice any issues, such as cracks, imbalances, or excessive wear, it’s recommended to replace the blower wheel to ensure the continued reliable operation of your Friedrich mini split.
Reassembling the Unit
When it’s time to reassemble the unit, it’s crucial to follow the steps in reverse order, ensuring that all components are properly aligned and secured. Start by reinstalling the blower wheel, making sure to align the set screw with the corresponding groove on the blower motor shaft.
Next, replace the evaporator coil, taking care to align the screws with their original positions. Tighten the screws securely to ensure a proper seal and prevent any air leaks.
Finally, lift the drain pan back into its original position and replace the front cover of the indoor unit, securing it with the screws you removed earlier.
Remember to test the unit’s operation after reassembly to ensure that the fan blade is functioning correctly and that there are no issues with airflow or system performance.
Conclusion
Removing the fan blade on a Friedrich mini split is a crucial maintenance task that can help ensure the continued efficient and reliable operation of your HVAC system. By following the detailed, expert-level instructions provided in this guide, you can confidently tackle this DIY project and keep your Friedrich mini split running at its best.
Remember to always refer to the manufacturer’s instructions, consult the user manual, and take safety precautions when working on your unit. If you encounter any issues or have additional questions, it’s always best to consult with a professional HVAC technician for further assistance.
