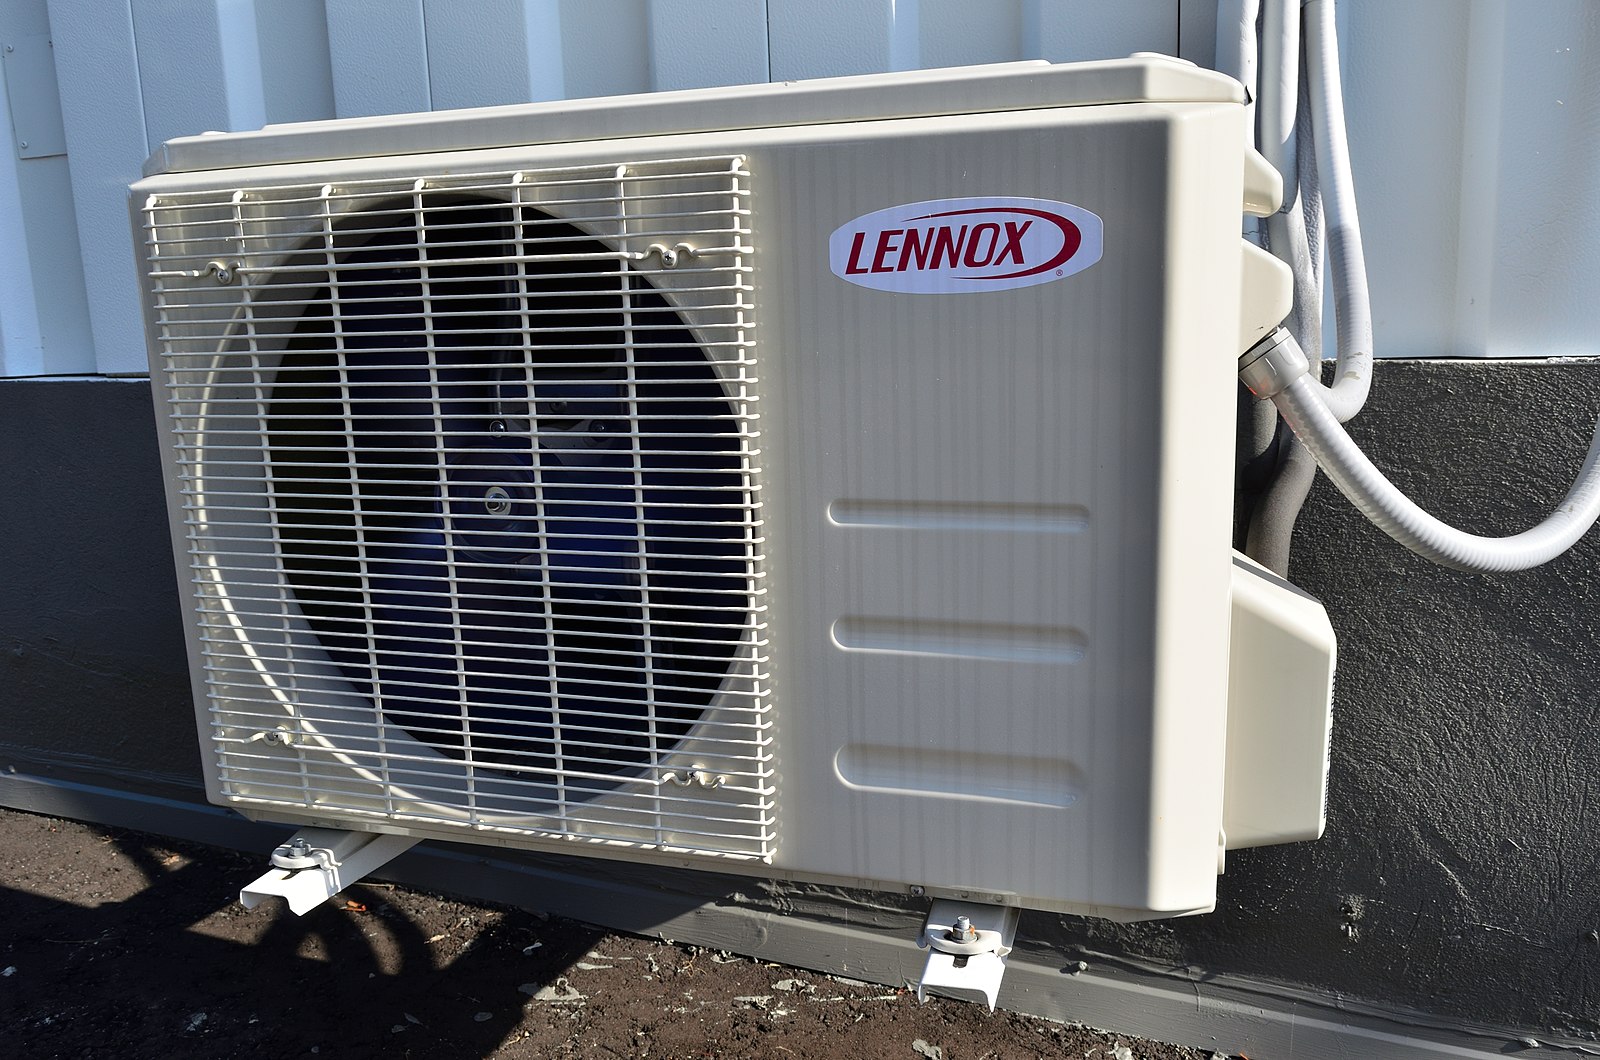
Removing the fan blade on a Lennox mini split can be a straightforward task, but it requires attention to detail and the right tools. This comprehensive guide will walk you through the process step-by-step, ensuring you can safely and effectively remove the fan blade on your Lennox mini split.
Preparing for the Task
Before you begin, it’s crucial to ensure that the power to the unit is disconnected. This step is essential to prevent any accidents or damage to the unit. Once the power is disconnected, you can proceed with the following steps.
Removing the Cover
 Image source: Lennox Ac by Raysonho
- Locate the cover of the Lennox mini split unit. The cover is typically secured with hidden screws, which can be accessed by gently lifting the cover.
- Carefully lift the cover by pulling up on the tabs or edges. Be mindful of any wiring or connections that may be attached to the cover.
- Once the cover is removed, you’ll have access to the internal components of the unit, including the fan blade.
Removing the Screws
- Examine the fan blade assembly closely to identify the screws that are holding it in place. These screws are often hidden and may require a closer inspection to locate them.
- Use the appropriate screwdriver, such as a Phillips or flathead, to carefully remove the screws. Make sure to keep track of the screws, as you’ll need to reinstall them later.
- If the screws are difficult to access or remove, you may need to use pliers or a wrench to loosen them.
Sliding Out the Fan Blade
- After removing the screws, gently slide the fan blade out of its holder. Be cautious and avoid applying excessive force, as the blade may be secured in place.
- Examine the fan blade for any signs of damage or wear. If the blade is in good condition, you can proceed to clean it. If the blade is damaged, it’s recommended to replace it with a new one.
Cleaning or Replacing the Fan Blade
- If the fan blade is dirty or has accumulated dust, use a soft cloth or brush to gently clean it. Avoid using abrasive materials or harsh chemicals, as they may damage the blade.
- If the fan blade is damaged or worn, it’s best to replace it with a new one. Ensure that the replacement blade is compatible with your Lennox mini split model.
Reassembling the Unit
- Once the fan blade has been cleaned or replaced, carefully slide it back into its holder, ensuring it is properly aligned and secured.
- Reattach the screws that were removed earlier, taking care to tighten them securely.
- Carefully replace the cover of the Lennox mini split unit, making sure that all the tabs or edges are properly aligned and secured.
- Reconnect the power to the unit and test the fan to ensure it is functioning correctly.
Remember, when working on any HVAC equipment, it’s essential to follow the manufacturer’s instructions and safety guidelines to avoid damage to the unit or personal injury. If you’re unsure about any step or encounter any issues, it’s recommended to consult a professional HVAC technician.
