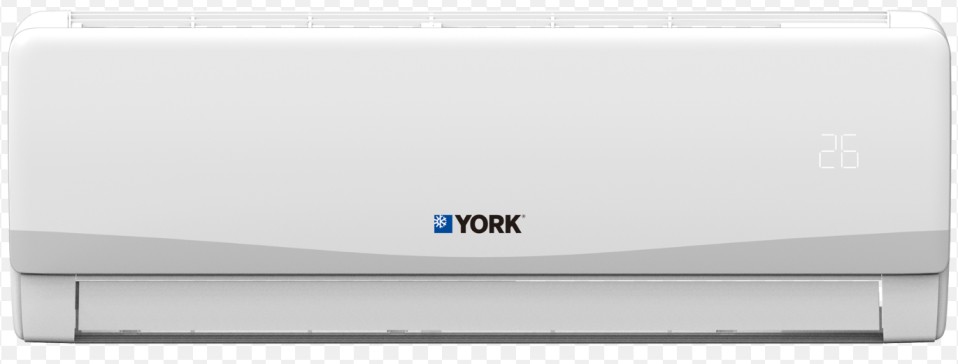
Removing the fan blade on a YORK mini split can be a delicate and intricate process, but with the right tools and a step-by-step approach, it can be accomplished successfully. This comprehensive guide will walk you through the entire process, providing detailed instructions and expert-level insights to ensure a smooth and efficient fan blade removal.
Preparing the YORK Mini Split for Fan Blade Removal
Before you begin the fan blade removal process, it’s crucial to properly prepare the YORK mini split unit. Start by ensuring that the power to the unit is turned off and the circuit breaker is in the “off” position to prevent any electrical hazards.
Next, locate the Louvre, which is the air outlet at the front of the unit. Depending on your YORK mini split model, you may need to either slide the Louvre out or remove a pin on both sides and one in the middle to detach it.
Once the Louvre is removed, you’ll be able to access the screen at the bottom of the unit. This screen needs to be removed to gain access to the fan wheel.
Removing the Control Box Assembly

The control box assembly, which houses the electronic components of the YORK mini split, needs to be removed to access the motor and fan blade. Start by removing the screw at the bottom of the control box assembly, then gently lift it up and shift it out of the way.
Accessing the Motor and Fan Blade
With the control box assembly out of the way, you’ll now be able to see the motor and fan blade. There are two screws on the other side of the court that need to be removed to lift the motor up.
Removing the Set Screw and Clasp
Using a Phillips hand screwdriver, remove the set screw that is straight through the hub. This will allow you to loosen the fan blade from the motor shaft.
Next, remove the clasp for the back of the blower motor and the blower motor itself.
Marking the Position of the Set Screw
Before removing the fan blade, use a Sharpie to mark the position of the set screw on the new motor. This will ensure that you know where to place the set screw when reinstalling the fan blade.
Leveling the Wheel and Securing the Fan Blade
Slide the wheel back and forth until it is exactly flat on the motor. Once the wheel is level, secure the fan blade with the set screw on the flat spot of the motor.
Replacing the Control Box Assembly
Finally, put the control box assembly back in place and secure it with the screw you removed earlier.
Additional Tips and Techniques
Here are some additional tips and techniques that can be helpful when removing the fan blade on a YORK mini split:
- Lubricate the Hub: Lubricate the opening of the hub with a penetrating lubricant, such as WD-40 or a similar product. This can help loosen the set screw and make the removal process easier.
- Use an Adjustable Wrench: Place an adjustable wrench on the shaft and rotate the blade while holding the shaft in place to help loosen the fan blade.
- Apply Heat: If the fan blade is particularly stubborn, you can try applying a small amount of heat to the hub using a torch. Be careful not to overheat the hub, as this can cause warping.
- Replace the Fan Blade: When replacing the motor, it’s a good idea to also replace the fan blade to ensure optimal performance and efficiency.
- Loosen the Set Screw: Make sure the set screw is fully loosened before attempting to remove the fan blade, as this can prevent damage to the motor shaft.
By following these detailed instructions and incorporating the additional tips and techniques, you’ll be able to successfully remove the fan blade on your YORK mini split unit. Remember to always prioritize safety and consult with a professional if you’re unsure about any part of the process.
