Summary
Removing the Fujitsu drain pan can be a straightforward task, but it requires attention to detail and the right approach. This comprehensive guide will walk you through the step-by-step process of removing the drain pan, including technical details and advanced tips to ensure a successful and efficient removal.
Prepare the Unit
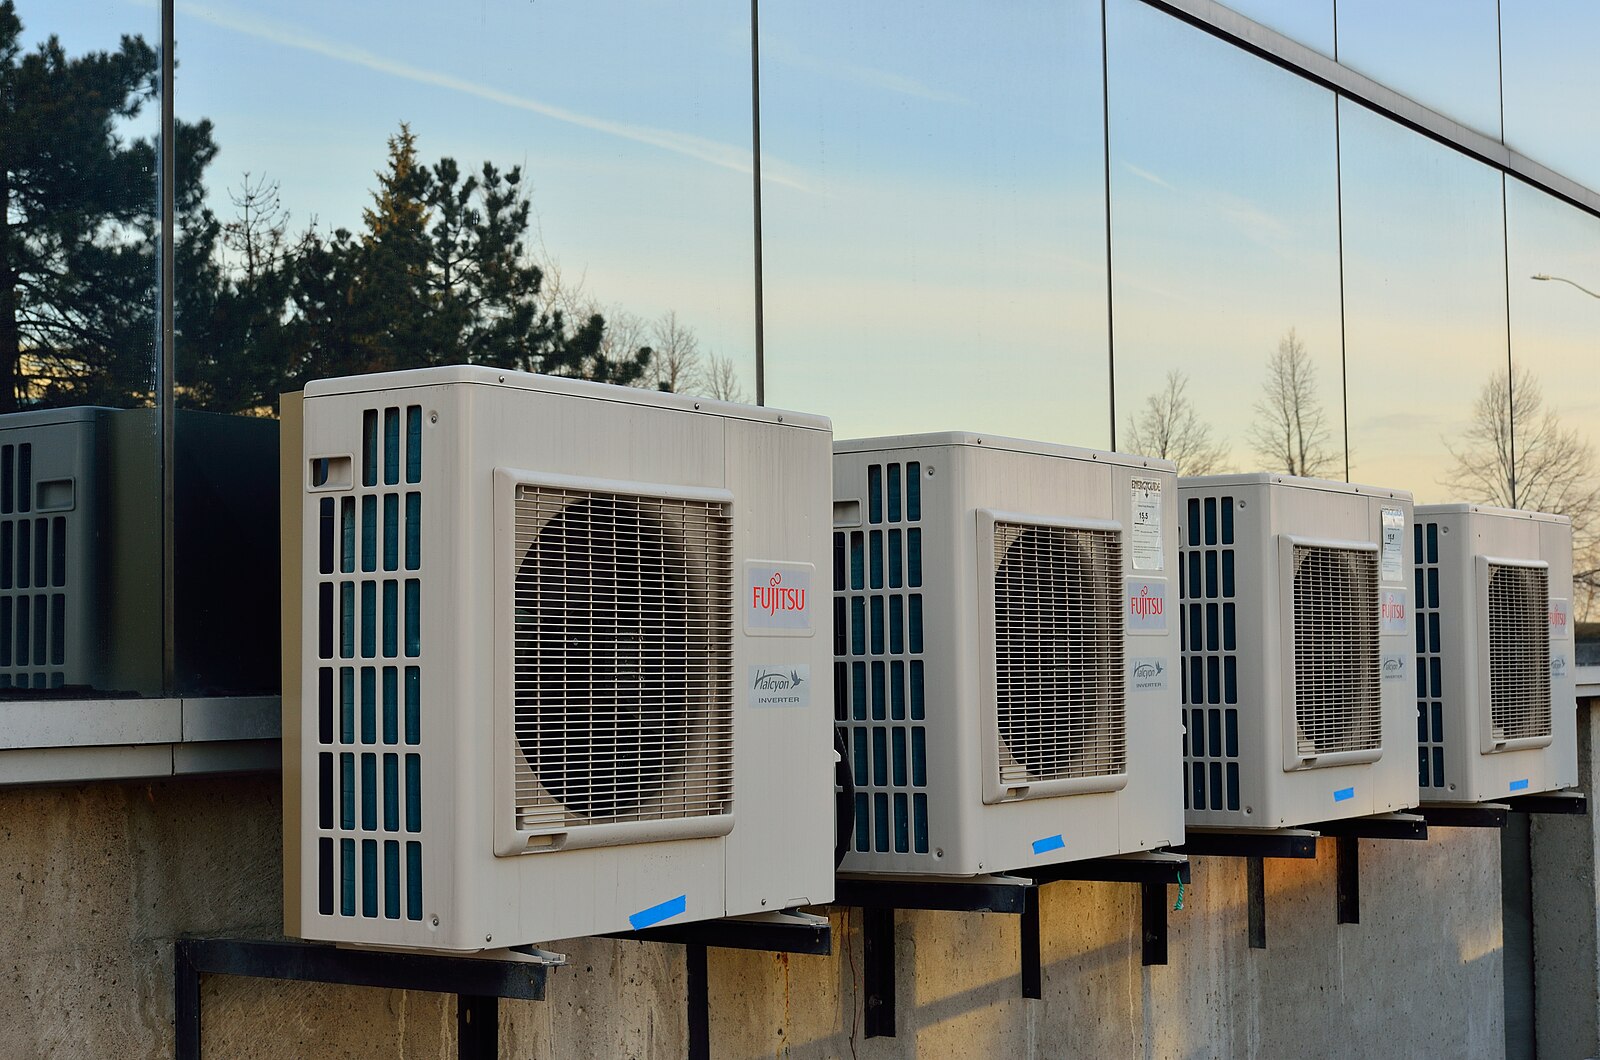
 Image source: Fujitsu AC by Dinkun Chen
Before you begin the drain pan removal process, ensure that the unit is powered off and unplugged from the electrical source. This is a crucial safety precaution to prevent any electrical hazards during the disassembly.
Remove the Front Cover
-
Locate the Plastic Screw Covers: Carefully remove the plastic screw covers from the bottom, front, and sides of the Fujitsu unit. These covers are designed to protect the screws and provide a clean, finished appearance.
-
Remove the Screws: Using the appropriate screwdriver, remove the screws located at the bottom, front, and sides of the unit. This will allow you to detach the front cover and gain access to the internal components.
-
Access the Front Screws: After removing the front cover, you should be able to access the three front screws that secure the drain pan assembly.
Disconnect the Drain Hose
-
Cut the Drain Hose: Using a sharp utility knife or scissors, carefully cut the existing drain hose as far from the drain pan as possible. This will allow you to remove the drain pan without damaging the hose.
-
Remove the Drain Pan: With the drain hose disconnected, you can now remove the drain pan from the unit.
-
Unscrew the Drain Hose: Locate the connection point where the drain hose is attached to the drain pan and unscrew it to completely detach the hose.
Remove the Blower Wheel and Motor
-
Detach the Blower Wheel: Carefully remove the blower wheel from the drain pan assembly. This component is responsible for circulating the air within the unit.
-
Unscrew the Blower Motor: Using the appropriate tools, unscrew the blower motor from the drain pan. This will allow you to fully separate the motor from the assembly.
Separate the Coil and Drip Pan Assembly
-
Remove the Fan Motor Housing: Locate the four screws on the fan motor housing and remove them. This will allow you to detach the housing and gain access to the internal components.
-
Remove the Set Screw: Locate the set screw that secures the blower wheel and fan assembly. Remove this screw to separate the blower wheel and fan assembly.
-
Separate the Components: With the set screw removed, you can now separate and remove the blower wheel and fan motor from the assembly.
Remove the Drain Pan
-
Access the Drain Pan: With the coil and blower wheel components removed, you should now have clear access to the drain pan.
-
Carefully Remove the Drain Pan: Gently lift and remove the drain pan from the unit, taking care not to damage any surrounding components.
Advanced Tips
-
Measure the Drain Hose: Before removing the existing drain hose, measure its length and diameter to ensure you have the correct replacement size.
-
Use a Torque Wrench: When reassembling the unit, use a torque wrench to tighten the screws to the manufacturer’s specified torque values. This will help prevent damage to the unit.
-
Level the Unit: After reassembling the Fujitsu unit, use a level to ensure that the unit is properly aligned and leveled. This will help ensure proper drainage and efficient operation.
