
Removing the Trane drain pan can be a daunting task, but with the right tools and a step-by-step approach, it can be accomplished efficiently. This comprehensive guide will walk you through the entire process, providing detailed instructions and expert-level insights to ensure a successful drain pan removal.
Preparation: Gather the Necessary Tools and Gear
Before you begin, it’s crucial to have the right tools and personal protective equipment (PPE) on hand. Gather the following items:
- Screwdriver set (both flathead and Phillips head)
- Nut driver set
- Gloves (preferably cut-resistant)
- Safety glasses
- Flashlight or work light (for better visibility)
- Towels or rags (to catch any drips or spills)
Ensure that the power to the unit is turned off and locked out to prevent any accidental injuries or damage to the system.
Accessing the Unit: Remove the Left Control Box Door
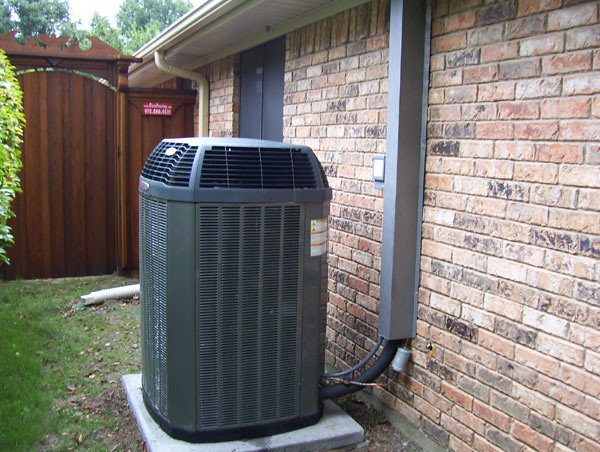 Image source: Flickr by Jackie Bese
Start by removing the left control box door to gain access to the unit’s interior. This will expose the heat section panel, which you’ll need to remove in the next step.
Removing the Heat Section Panel
Using your screwdriver or nut driver, remove the screws that are holding the heat section panel in place. Carefully lift the panel off, taking care not to damage any of the internal components.
Removing the Left Center Post
The left center post is typically secured in place with screws. Locate and remove these screws to free the post, which will allow you to access the drain pan.
Lifting the Drain Pan
With the left center post removed, you should now be able to lift the drain pan out of the unit. Be cautious when handling the pan, as it may be heavy and the edges could be sharp, posing a potential injury risk.
Inspecting the Drain Pan
Carefully inspect the drain pan for any signs of damage, cracks, or corrosion. If you find any issues, it’s recommended to replace the pan rather than attempting to repair it.
Cleaning the Drain Pan and the Unit
While the unit is disassembled, take the opportunity to thoroughly clean the drain pan and the surrounding area. This will help improve the overall efficiency and longevity of the system.
Reinstalling the Drain Pan
To reinstall the drain pan, follow the steps in reverse order. Make sure to tighten all screws securely to prevent any potential leaks.
Additional Tips and Considerations
- Safety First: Always prioritize safety by turning off the power to the unit and wearing appropriate PPE.
- Measurements: Before removing the drain pan, take accurate measurements of its size and shape to ensure you purchase the correct replacement.
- Check for Leaks: Carefully inspect the drain pan and the surrounding area for any signs of leaks or damage. Address any issues before reinstalling the pan.
- Proper Disposal: Dispose of the old drain pan in accordance with local regulations and environmental guidelines.
By following this comprehensive guide, you’ll be able to successfully remove the Trane drain pan and maintain your HVAC system with confidence. Remember to always prioritize safety and consult a professional if you’re unsure about any aspect of the process.