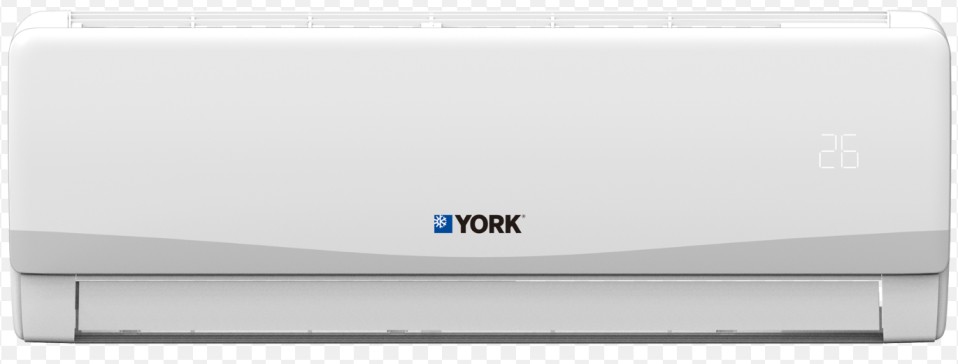
Removing the cover of a YORK mini-split system can be a straightforward task, but it requires attention to detail and a methodical approach to ensure the process is carried out safely and effectively. This comprehensive guide will walk you through the step-by-step process of removing the YORK mini-split cover, providing you with the necessary technical details and expert-level insights to help you tackle this project with confidence.
Turn Off the Power
Before beginning the removal process, it is crucial to ensure that the power to the YORK mini-split unit is turned off. This step is essential to prevent any electrical hazards and ensure your safety during the procedure. Locate the circuit breaker or disconnect switch that controls the power to the mini-split system and switch it to the “off” position.
Remove the Front Faceplate

The first step in removing the YORK mini-split cover is to remove the front faceplate. This faceplate is typically secured to the unit with two wires, a gray one and a black one. Carefully disconnect these wires, taking note of their positions for proper reinstallation later. The gray wire has a plug on the end with letters A, B, C, D, and E, which is a test board for the system or can be used for an optional wired thermostat.
Unplug the Temperature Sensor Wire
Next, you will need to unplug the temperature sensor wire. This wire is usually bright in color and has a molex connector. To disconnect it, simply push down on the connector to release it from the unit.
Remove the Top
The top of the YORK mini-split unit is secured with two hinges, one on the right and one on the left. To remove the top, start by pushing the right hinge over and then removing it from the hole. Repeat the same process for the left hinge, and the top can then be lifted off the unit.
Remove the Temperature Sensor
The temperature sensor is located near the top of the unit, where the air flows through. Carefully remove this sensor and set it aside for later reinstallation.
Unscrew the Front Screws
Depending on the model of your YORK mini-split unit, there may be one, two, or three screws on the front of the cover. Use the appropriate screwdriver to remove these screws, which will help to further loosen the cover.
Undo the Clips
There are clips on the face of the cover that connect it to the back of the unit. Carefully undo these clips before attempting to pull the cover off.
Remove the Cover
With the screws removed and the clips undone, you can now grab the cover and pull it forward. Lift the top of the cover, and the clips will come loose, allowing you to remove the cover completely.
Reinstallation
When reinstalling the YORK mini-split cover, it is important to ensure that all the wires and connections are properly secured. Feed the wires through the hole in the back of the unit and use screw connectors to secure them. Additionally, remember to clean the drain pan every six months to maintain the efficiency and longevity of your YORK mini-split system.
By following these detailed steps, you can successfully remove the YORK mini-split cover and access the internal components of the unit for maintenance, repair, or replacement. Remember to always prioritize safety and consult the manufacturer’s instructions if you have any doubts or questions during the process.
