
Resetting a Carrier outdoor unit can be a straightforward process, but it’s essential to understand the proper steps to ensure the safety and efficiency of your air conditioning system. This comprehensive guide will walk you through the step-by-step process of resetting your Carrier outdoor unit, providing technical details and expert insights to help you troubleshoot and maintain your HVAC system effectively.
Preparing to Reset the Carrier Outdoor Unit
Before you begin the reset process, it’s crucial to ensure that your safety and the integrity of your air conditioning system are prioritized. Here are the essential steps to take:
- Locate the Circuit Breaker: Identify the circuit breaker that supplies power to your Carrier outdoor unit, which is typically located in the electrical panel or a nearby utility room.
- Turn Off the Power: Shut off the circuit breaker to the outdoor unit, ensuring that the power is completely disconnected from the system.
- Locate the Thermostat: Find the thermostat that controls your Carrier outdoor unit and turn it off or set it to the “Off” position.
- Identify the Power Switch: Locate the power switch that is directly connected to the outdoor unit and turn it to the “Off” position.
Finding the Reset Button
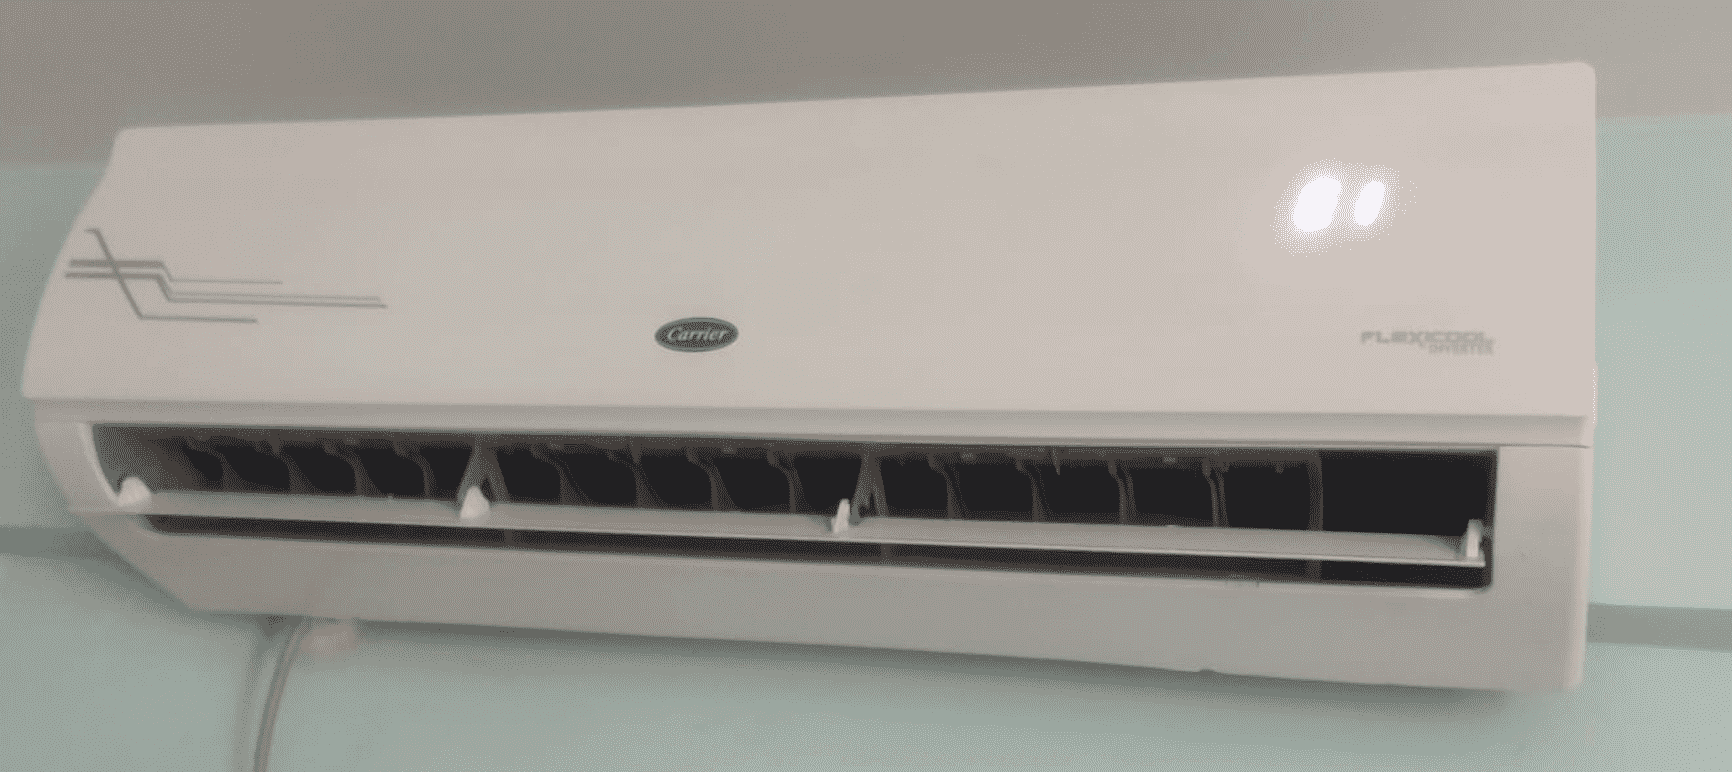
The reset button on a Carrier outdoor unit is typically located on the control panel of the unit, but its exact location may vary depending on the model. Follow these steps to locate the reset button:
- Inspect the Outdoor Unit: Carefully examine the exterior of the Carrier outdoor unit, looking for a small, usually red, button labeled “Reset” or “Restart.”
- Consult the Owner’s Manual: If you can’t find the reset button, refer to the owner’s manual for your Carrier outdoor unit, which should provide detailed instructions on its location and function.
- Call a Technician: If you’re still unable to locate the reset button, it’s best to contact a qualified HVAC technician who can assist you in identifying and accessing the reset button.
Resetting the Carrier Outdoor Unit
Once you’ve located the reset button, follow these steps to reset your Carrier outdoor unit:
- Press and Hold the Reset Button: Press and hold the reset button for 3 seconds, then release it.
- Press and Hold Again: Press and hold the reset button for another 3 seconds. During this time, you should see a light flash on the display panel.
- Verify the Reset: After releasing the reset button, wait for the outdoor unit to power on and begin its startup sequence.
Powering Up the Carrier Outdoor Unit
With the reset process complete, it’s time to power up your Carrier outdoor unit. Follow these steps:
- Turn On the Circuit Breaker: Locate the circuit breaker you turned off earlier and switch it back to the “On” position.
- Turn On the Thermostat: Activate the thermostat, ensuring that it’s set to the “Cool” mode and the desired temperature is a few degrees lower than the current room temperature.
- Turn On the Power Switch: Locate the power switch connected to the outdoor unit and turn it to the “On” position.
Verifying the Reset
After powering up the Carrier outdoor unit, it’s essential to verify that the reset was successful. Follow these steps:
- Listen for Startup Sounds: As the outdoor unit powers on, listen for the familiar startup sounds, such as the compressor and fan motor engaging.
- Check for Airflow: Place your hand near the air vents of your indoor unit to feel the cool airflow, indicating that the system is functioning correctly.
- Monitor the Thermostat: Observe the thermostat to ensure that it’s accurately displaying the current room temperature and that the system is cooling as expected.
Troubleshooting and When to Call a Professional
If the reset process does not resolve the issue with your Carrier outdoor unit, or if you encounter any of the following problems, it’s best to call a qualified HVAC technician for assistance:
- Tripping Circuit Breaker: If the circuit breaker keeps tripping, it could indicate a loose connection or an exposed wire, which requires professional attention.
- Lack of Cooling: If the air conditioner still isn’t cooling your home or isn’t working at all, there may be a more complex issue that requires expert diagnosis and repair.
- Unusual Sounds or Odors: If the unit makes odd sounds or emits unpleasant odors, it could be a sign of a mechanical or electrical problem that needs professional intervention.
- Thermostat Inaccuracy: If the thermostat isn’t showing the correct temperature, it may need to be recalibrated or replaced.
- Water or Ice Around the Unit: The presence of water or ice around the outdoor unit could indicate a refrigerant leak or a problem with the drainage system, which requires professional attention.
By following the steps outlined in this comprehensive guide, you can effectively reset your Carrier outdoor unit and troubleshoot common issues. However, if you encounter any challenges or concerns, it’s always best to consult with a qualified HVAC technician to ensure the safety and proper functioning of your air conditioning system.