
In the world of modern HVAC systems, the Daikin air conditioner stands out as a reliable and efficient choice for maintaining a comfortable indoor environment. One of the key features of Daikin ACs is the “Auto” mode, which allows the system to automatically adjust its operation to maintain the desired temperature. This comprehensive guide will walk you through the step-by-step process of setting the auto mode in your Daikin AC, ensuring optimal performance and energy efficiency.
Ensure the Remote is Aimed at the Indoor Unit
The Daikin AC system relies on infrared communication between the remote control and the indoor unit. To ensure proper operation, it is crucial to always point the remote control directly at the indoor unit’s infrared receiver. This direct line of sight allows the remote’s signals to be accurately received and processed by the system.
Turn On the System
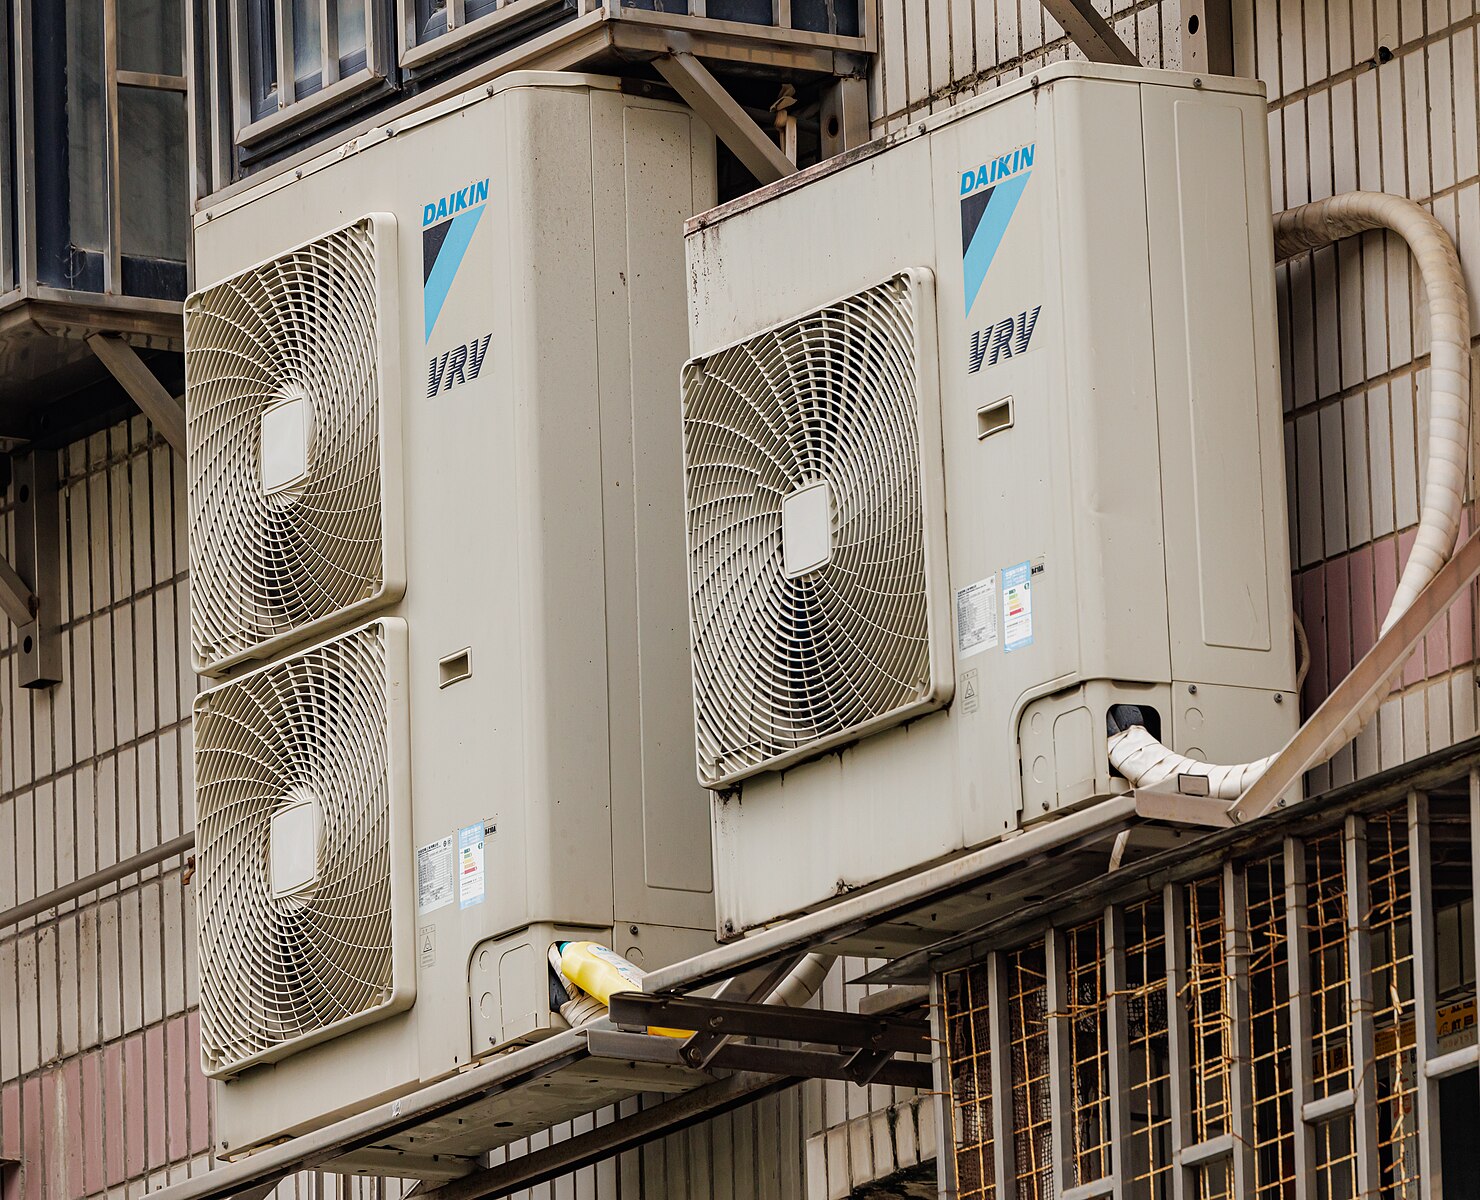 Image source: Daikin Air Conditioner Outdoor by Dinkun Chen
Begin by pressing the ON/OFF button on the remote control to power on the Daikin AC system. This will initiate the startup sequence and prepare the unit for further adjustments.
Select the Auto Mode
Locate the MODE button on the remote control and press it until the AUTO mode is displayed on the screen. This mode allows the Daikin AC to automatically switch between cooling and heating operations, depending on the room temperature and the desired setpoint.
Adjust the Temperature Setpoint
Use the Temperature up/down selection buttons on the remote control to set the desired temperature. The Daikin AC system will then automatically adjust its operation to maintain the selected temperature, seamlessly transitioning between cooling and heating modes as needed.
Customize the Fan Speed (Optional)
If desired, you can further optimize the air circulation by adjusting the fan speed. Press the FAN button on the remote control to cycle through the available fan speed settings, including the Quiet mode, which reduces the sound level of the indoor unit.
Understand the Auto Mode Operation
In the AUTO mode, the Daikin AC system continuously monitors the room temperature and automatically selects the appropriate mode (cooling or heating) to maintain the desired setpoint. This process is dynamic, with the system regularly reevaluating the conditions and making adjustments as necessary to ensure optimal comfort.
Advanced Settings and Features
Daikin ACs offer a range of advanced settings and features that can further enhance the user experience and energy efficiency. Some of these include:
Powerful Mode
Activate the POWERFUL button to initiate a rapid cooling or heating cycle, providing maximum output for 20 minutes. During this mode, the temperature and airflow settings are not adjustable.
Home Leave Mode
The HOME LEAVE mode allows you to set your preferred temperature and airflow settings, which the system will maintain even when you are away from the room. This feature can be useful for energy savings when the space is unoccupied.
Sensor Mode
The Sensor mode activates the Intelligent Eye feature, which detects human movement in the room. When no movement is detected for 20 minutes, the system will adjust the temperature setpoint by +/- 3.6°F to save energy, and then return to normal operation when movement is detected again.
Quiet Mode
The Quiet mode reduces the sound level of the outdoor unit by adjusting the frequency and fan speed, making it ideal for nighttime operation.
Timer Functions
The Daikin AC system offers timer functions, such as the OFF TIMER and ON TIMER, which allow you to automatically switch the unit on or off at specific times, such as in the morning or evening.
For more detailed information and a comprehensive understanding of all the features and functionalities of your Daikin AC system, refer to the Daikin AC Controller Quick User Guide or visit the Daikin support website.