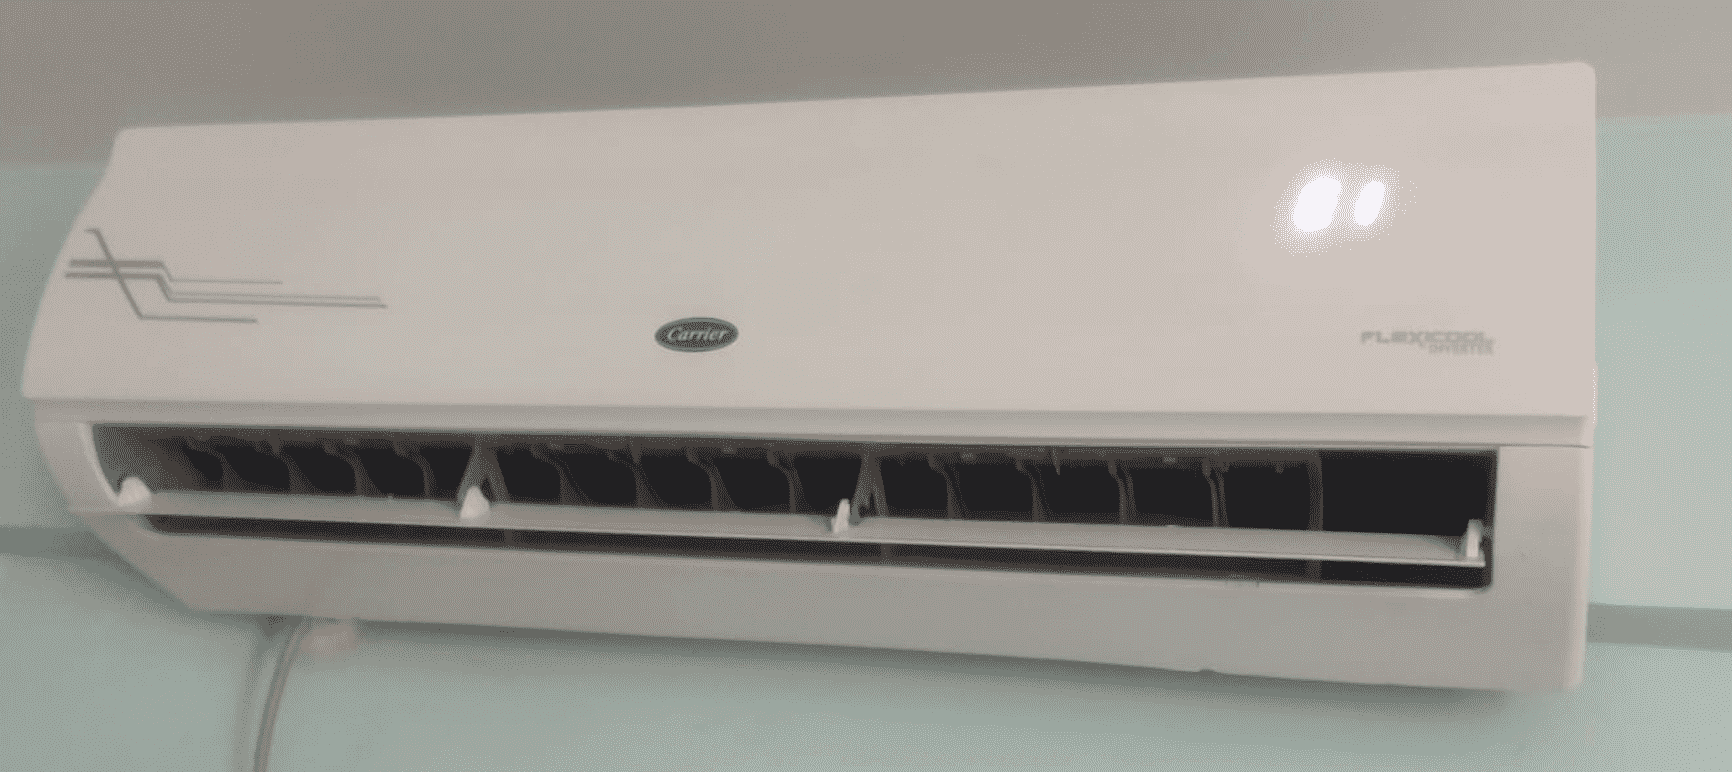
As a seasoned expert on HVAC systems, I understand the importance of properly testing and maintaining your Carrier fan motor. This comprehensive guide will walk you through the step-by-step process of testing a Carrier fan motor, providing advanced hands-on details and technical specifications to ensure your DIY troubleshooting is a success.
Safety First: Powering Down and Voltage Check
Before delving into the testing process, it’s crucial to prioritize safety. Begin by ensuring the power to the unit is turned off. Use a multimeter to check the voltage of the unit and confirm that it is indeed off. This step is essential to prevent any electrical hazards during the testing procedure.
Locating the Fan Motor: Identifying the Air Handler Unit

The Carrier fan motor is typically located within the air handler unit, which is commonly found in the attic, basement, or closet of your home. Familiarize yourself with the layout of your HVAC system to easily locate the fan motor for testing.
Checking the Capacitor: Verifying Capacitance Specifications
The capacitor is a crucial component in the fan motor’s operation, as it stores electrical energy. Use a multimeter to measure the capacitance of the capacitor. The capacitance should fall within the specifications listed in the Carrier manual. If the capacitance is outside the specified range, the capacitor may need to be replaced.
Capacitor Specifications for Carrier Fan Motors
| Model | Capacitance Range |
|---|---|
| Carrier 1/2 HP Fan Motor | 5-7 μF |
| Carrier 3/4 HP Fan Motor | 7-9 μF |
| Carrier 1 HP Fan Motor | 9-11 μF |
Checking the Windings: Measuring Resistance
Next, use a multimeter to measure the resistance of the windings within the fan motor. The resistance should be within the specifications provided in the Carrier manual. If the resistance is outside the specified range, the motor may need to be replaced.
Winding Resistance Specifications for Carrier Fan Motors
| Model | Winding Resistance Range |
|---|---|
| Carrier 1/2 HP Fan Motor | 4-6 Ω |
| Carrier 3/4 HP Fan Motor | 3-5 Ω |
| Carrier 1 HP Fan Motor | 2-4 Ω |
Checking the Continuity: Ensuring Proper Electrical Connections
Utilize your multimeter to check the continuity of the windings. The continuity should be present, and the resistance should fall within the specifications listed in the Carrier manual. If the continuity is not present or the resistance is outside the specified range, the motor may need to be replaced.
Testing the Motor: Observing Fan Blade Behavior
After verifying the capacitor and windings, you can test the motor by reconnecting the power and observing the fan blade. The fan blade should spin freely and quietly. If the fan blade does not spin or exhibits a grinding or squealing noise, the motor may require replacement.
Troubleshooting Tips
- If the capacitor or windings are outside the specified range, replace the corresponding component.
- Ensure all electrical connections are secure and free of corrosion.
- Check for any obstructions or debris that may be impeding the fan blade’s movement.
- Consider the age and overall condition of the fan motor when determining the need for replacement.
Conclusion
By following this comprehensive guide, you can effectively test your Carrier fan motor and identify any potential issues. Remember to prioritize safety, use the appropriate tools, and refer to the manufacturer’s specifications to ensure accurate troubleshooting. With this knowledge, you can confidently maintain the efficiency and longevity of your HVAC system.
