As a DIY enthusiast with advanced technical expertise, testing a Daikin inverter board can be a challenging yet rewarding task. This comprehensive guide will walk you through the step-by-step process of testing a Daikin inverter board, providing you with the necessary technical details and hands-on instructions to ensure a successful diagnosis.
Safety First: Discharging Capacitors
Before delving into the testing process, it is crucial to prioritize safety. Daikin inverter boards contain high-voltage capacitors that can pose a serious risk of electrical shock if not handled properly. Begin by ensuring that all capacitors are fully discharged. Use a multimeter to check the p and n terminals for any residual voltage. If voltage is present, discharge the capacitors by connecting a resistor across the terminals until the voltage reads zero. Once the capacitors are discharged, you can proceed with the testing process.
Inverter Board Testing: Checking the IGBTs
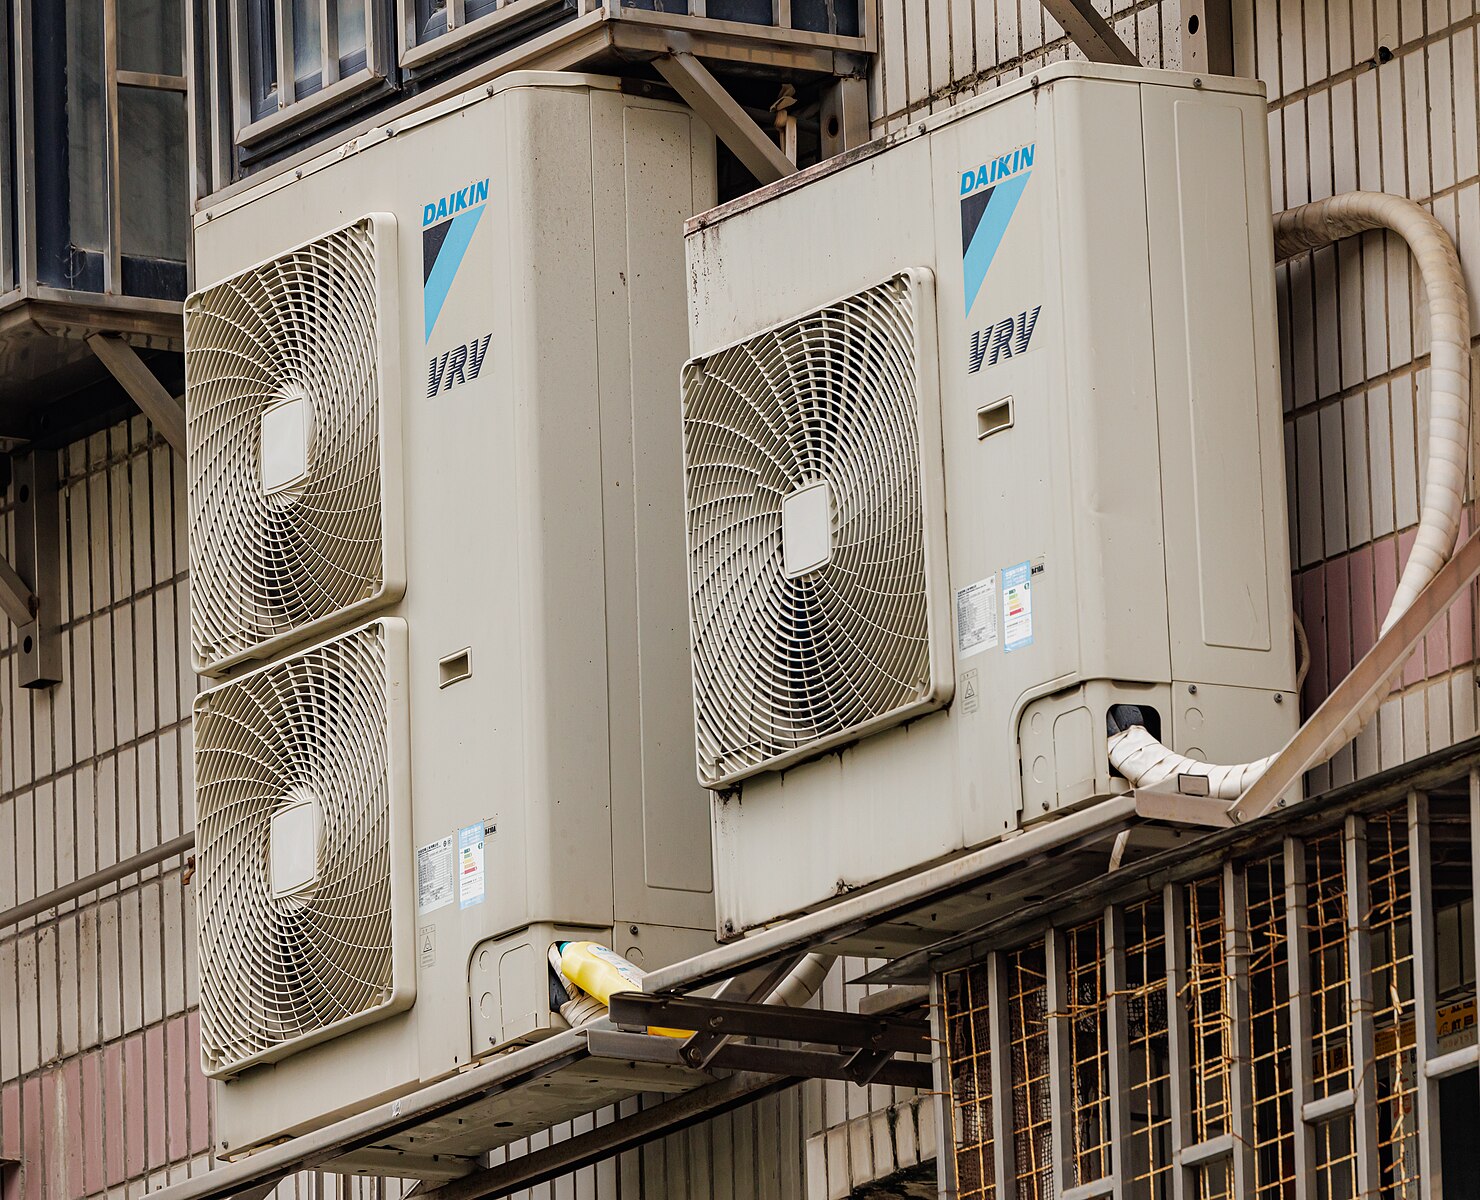
 Image source: Daikin Air Conditioner Outdoor by Dinkun Chen
The heart of the Daikin inverter board is the Insulated Gate Bipolar Transistors (IGBTs), which are responsible for controlling the motor’s operation. To test the inverter board, you need to check the functionality of these IGBTs. Use a multimeter to measure the resistance between the collector and emitter of each IGBT. The resistance should be in the range of a few ohms, indicating a healthy IGBT. If you encounter an open or short circuit, the IGBT may be faulty and will need to be replaced.
Testing the Main PCB: Voltage Regulator, Microcontroller, and Communication Ports
The main printed circuit board (PCB) of the Daikin inverter controls the operation of the IGBTs. To test the main PCB, you need to check the voltage regulator, the microcontroller, and the communication ports.
-
Voltage Regulator: Use a multimeter to measure the output voltage of the voltage regulator. The output voltage should be within the specified range, typically around 5V or 12V, depending on the design. If the voltage is out of range, the voltage regulator may be faulty and will need to be replaced.
-
Microcontroller: Locate the microcontroller on the main PCB and use a multimeter to check the power supply pins. Ensure that the microcontroller is receiving the correct voltage. Additionally, check the communication pins to verify that the microcontroller is communicating with the other components on the board.
-
Communication Ports: The Daikin inverter board communicates with other components through various communication ports, such as RS-485, CAN bus, or Modbus. Use a multimeter to check the continuity of these ports. Ensure that the communication is stable and there are no errors or short circuits.
Testing the Communication Ports: Ensuring Stable Communication
The communication ports on the Daikin inverter board are crucial for the proper functioning of the system. Use a multimeter to check the continuity of these ports, ensuring that the communication is stable and there are no errors or short circuits. If you encounter any issues, inspect the wiring and connections to identify and resolve the problem.
Testing the Capacitors: Checking Capacitance and ESR
The capacitors on the Daikin inverter board play a vital role in storing and releasing energy to the motor. Use a capacitance meter or an ESR (Equivalent Series Resistance) meter to test the capacitors. Check the capacitance value and the ESR of each capacitor. Replace any capacitor that has a high ESR or low capacitance, as this can affect the overall performance of the inverter board.
Testing the Relays: Checking Continuity and Switching
The Daikin inverter board uses relays to switch between different operating modes. Use a multimeter to check the continuity of the relays. Ensure that the relays are switching properly and that there are no issues with the contacts.
Testing the Sensors: Checking Resistance and Accuracy
The Daikin inverter board utilizes various sensors to monitor the operating conditions, such as temperature, pressure, and current. Use a multimeter to check the resistance of these sensors. Ensure that the sensors are providing accurate readings and that there are no issues with the sensor connections or wiring.
By following these comprehensive steps, you can thoroughly test the Daikin inverter board and identify any potential issues. Remember to always prioritize safety, use the appropriate tools and equipment, and refer to the manufacturer’s specifications and guidelines for optimal results.
