Troubleshooting a malfunctioning Panasonic fan motor can be a daunting task, but with the right approach and tools, you can diagnose and address the issue effectively. This comprehensive guide will walk you through the step-by-step process of testing a Panasonic fan motor, providing you with the technical expertise and practical knowledge to ensure your appliance is running smoothly.
Preparing for the Test
Before you begin testing the Panasonic fan motor, you’ll need to gather the necessary tools and equipment. The essential items you’ll require are:
- Multimeter: A digital multimeter is a must-have tool for testing electrical components. It can measure voltage, current, and resistance, which are crucial parameters for evaluating the fan motor’s performance.
- Screwdrivers: You’ll need a set of screwdrivers, both flathead and Phillips head, to access the fan motor and its wiring.
- Electrical tape: Electrical tape can be used to secure any loose connections or wires during the testing process.
- Replacement fan motor: If the existing fan motor is found to be faulty, you’ll need a compatible replacement part to restore your Panasonic appliance to full functionality.
Checking the Continuity of the Fan Motor Wires
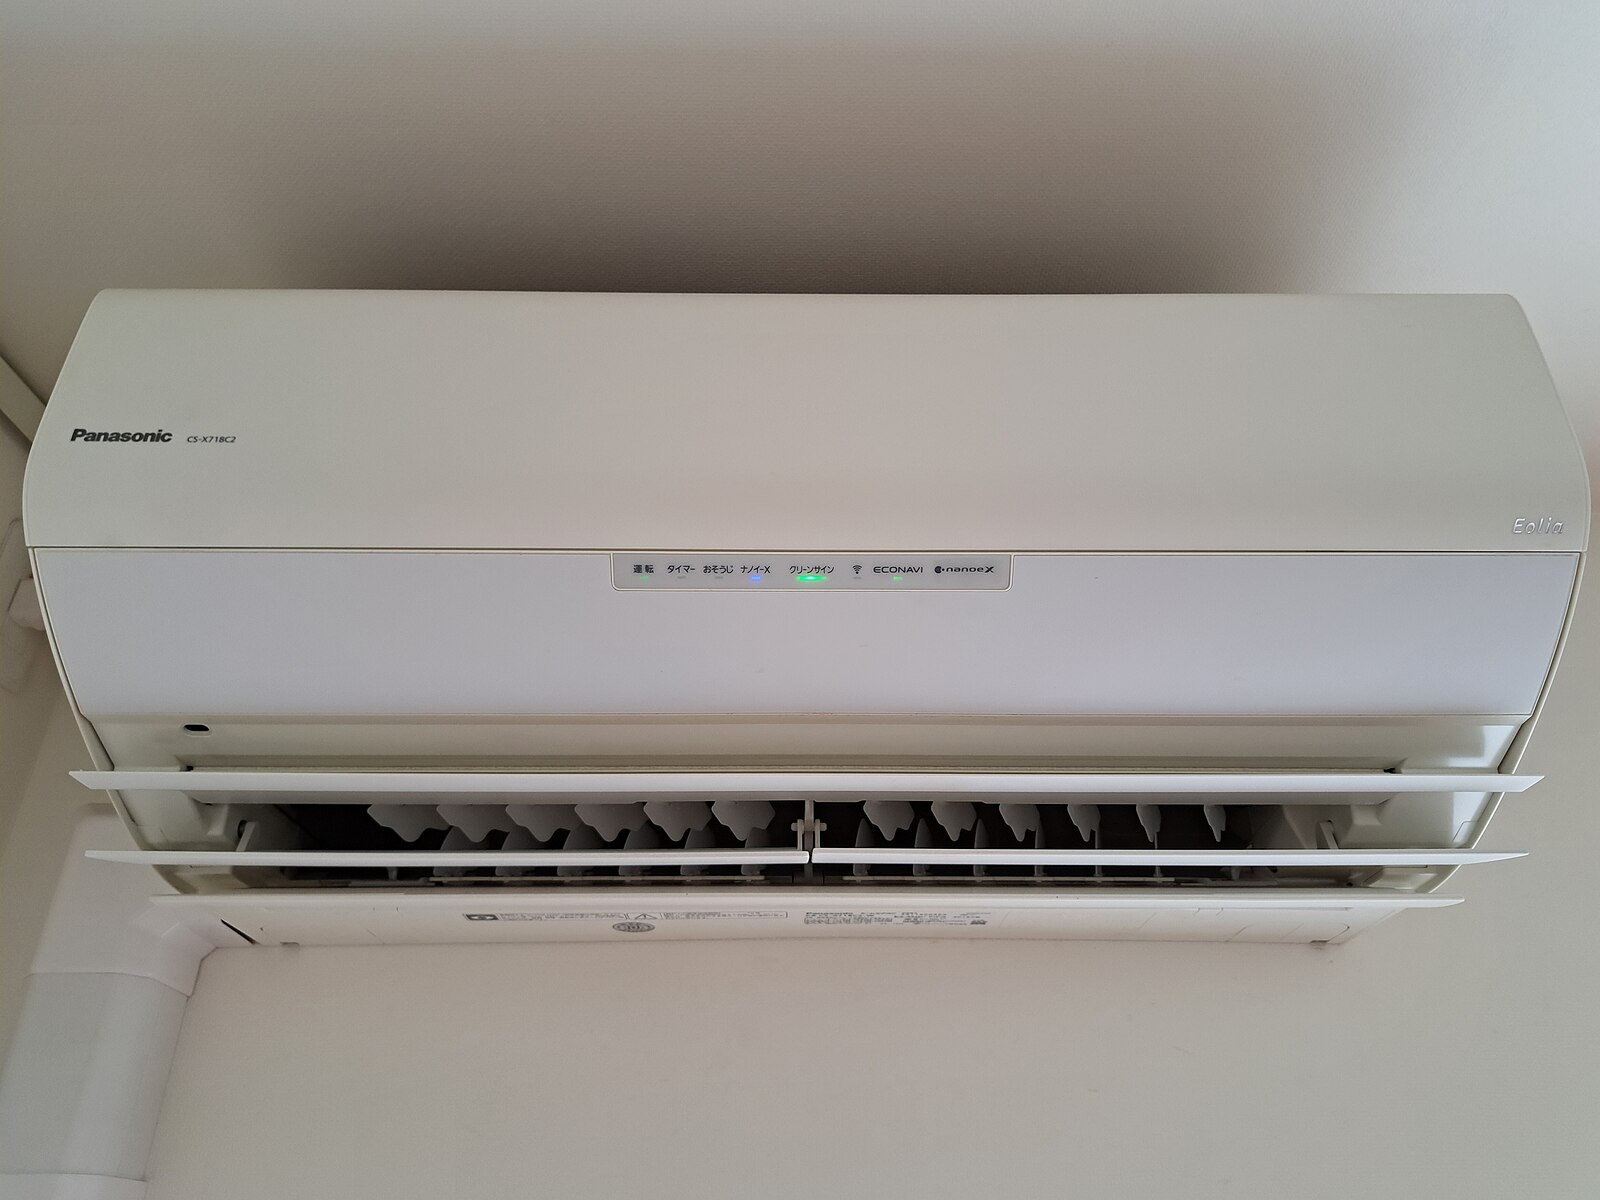
 Image source: Panasonic Ac by RuinDig
The first step in testing the Panasonic fan motor is to check the continuity of the motor wires. This process will help you determine if the motor is functioning correctly or if there is a break in the wiring.
- Set your multimeter to the continuity or resistance (Ω) setting.
- Locate the fan motor wires, which are typically color-coded (blue, red, and yellow).
- Touch the multimeter probes to any two points of the fan motor wires and note the reading.
- Repeat this process three times, connecting the probes to different wire combinations (blue-red, blue-yellow, and red-yellow).
- If the multimeter displays a reading of 0 Ω or close to it, the wires have continuity, and the motor is likely in working condition.
- If the multimeter shows no reading or an open circuit, the motor is faulty and will need to be replaced.
Checking for Short Circuits
The next step is to check for any short circuits in the fan motor wiring. A short circuit can indicate a serious issue with the motor and may require immediate attention.
- Set your multimeter to the continuity or resistance (Ω) setting.
- Connect one multimeter probe to each point of the fan motor wires (blue, red, and yellow).
- Take the second multimeter probe and touch it to the outdoor unit body or ground.
- Observe the readings on the multimeter:
- If the blue wire shows a reading of 0 Ω or a beep sound, the motor has a short circuit.
- Repeat the process with the red wire and the yellow wire, checking for the same 0 Ω or beep sound.
- If all three wire points show a reading of 0 Ω or a beep sound, the motor has a short circuit and will need to be replaced.
- If the readings for each wire point are not 0 Ω and there is no beep sound, the motor is in good condition and there is no short circuit in the winding.
Interpreting the Test Results
After completing the continuity and short circuit tests, you can interpret the results to determine the condition of your Panasonic fan motor.
Scenario 1: Continuity Test Passed, No Short Circuit
If the continuity test showed consistent readings across all wire points, and the short circuit test did not indicate any issues, the fan motor is likely in good working condition. You can proceed to reinstall the motor and test the appliance’s functionality.
Scenario 2: Continuity Test Failed, No Short Circuit
If the continuity test showed an open circuit or inconsistent readings, the fan motor is faulty and will need to be replaced. In this case, you should order a compatible replacement part and follow the manufacturer’s instructions for installation.
Scenario 3: Short Circuit Detected
If the short circuit test revealed a 0 Ω reading or a beep sound on any of the wire points, the fan motor has a short circuit and must be replaced. Additionally, if the original fan motor was shorted, it’s recommended to replace the main control board as well, as the short circuit may have caused damage to other components.
Remember, safety should be your top priority when testing electrical components. Ensure that the appliance is unplugged or the power is turned off before beginning any diagnostic work.
Conclusion
By following the steps outlined in this comprehensive guide, you can effectively test the Panasonic fan motor and determine its condition. Whether the motor is in good working order or requires replacement, this knowledge will empower you to troubleshoot and maintain your Panasonic appliance with confidence.
