
Connecting your Mitsubishi air conditioner (AC) to WiFi can provide you with remote control and monitoring capabilities, allowing you to manage your home’s climate from anywhere. To accomplish this, you’ll need a compatible WiFi Interface Adaptor that seamlessly integrates with your Mitsubishi AC unit. This comprehensive guide will walk you through the step-by-step process of connecting your Mitsubishi AC to WiFi, ensuring a smooth and efficient setup.
Purchase the Correct WiFi Interface Adaptor
The first step in connecting your Mitsubishi AC to WiFi is to purchase the appropriate WiFi Interface Adaptor. Mitsubishi offers a range of compatible adaptors designed to work with their various AC models. It’s crucial to select the correct adaptor that matches your specific Mitsubishi AC unit to ensure a successful integration.
To determine the compatible adaptor, you’ll need to identify the model number of your Mitsubishi AC. This information can typically be found on the unit itself or in the product documentation. Once you have the model number, you can refer to the Mitsubishi Electric website or consult with a local authorized dealer to identify the compatible WiFi Interface Adaptor.
Install the WiFi Interface Adaptor
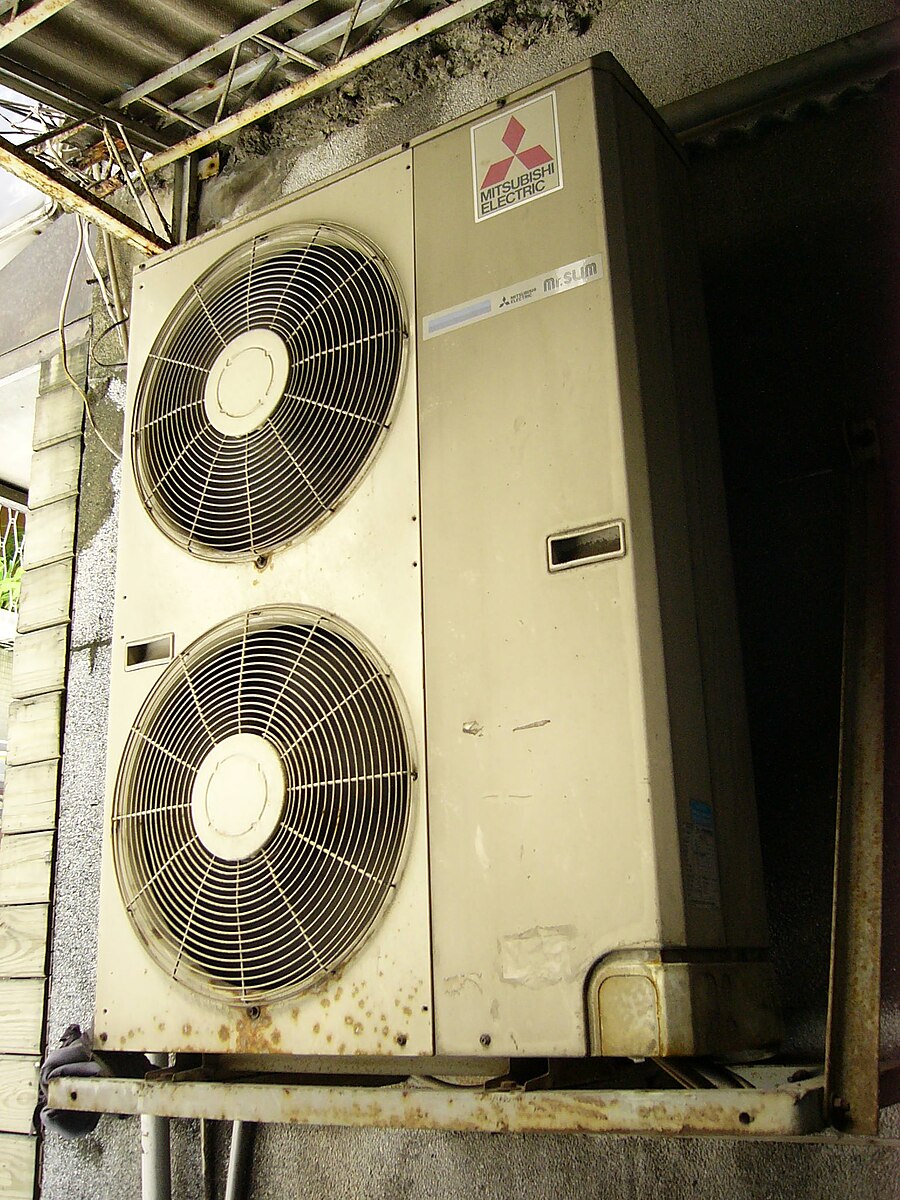 Image source: Mitsubishi ac By Solomon203
With the correct WiFi Interface Adaptor in hand, the next step is to install it properly. The installation process may vary slightly depending on the specific adaptor model, but generally, it involves the following steps:
-
Locate the AC Unit’s Control Board: Identify the control board within your Mitsubishi AC unit, which is typically located behind a removable panel or cover.
-
Connect the Adaptor to the Control Board: Follow the instructions provided with the WiFi Interface Adaptor to connect it to the AC unit’s control board. This may involve using specific connectors or terminals on the control board.
-
Power on the Adaptor: Once the adaptor is physically connected, ensure that it is powered on. This may require connecting the adaptor to a power source or ensuring that the AC unit is providing power to the adaptor.
-
Secure the Adaptor: Properly secure the WiFi Interface Adaptor within the AC unit’s housing to prevent any movement or disconnection during operation.
It’s important to note that the installation of the WiFi Interface Adaptor should be performed by a qualified HVAC technician or professional to ensure proper and safe integration with your Mitsubishi AC unit.
Connect the WiFi Interface Adaptor to Your Router
After installing the WiFi Interface Adaptor, the next step is to connect it to your home’s wireless router. This process typically involves the following steps:
-
Connect the Adaptor to Your Router: Use an Ethernet cable to physically connect the WiFi Interface Adaptor to your wireless router. This provides a wired connection between the two devices.
-
Configure the Adaptor’s WiFi Settings: Access the WiFi Interface Adaptor’s configuration settings, usually through a web-based interface or a mobile app. Here, you’ll need to enter the network name (SSID) and password of your home’s wireless network.
-
Verify the Connection: Ensure that the WiFi Interface Adaptor is successfully connected to your wireless network by checking the adaptor’s status indicators or the configuration interface.
It’s important to ensure that your home’s wireless router is WPS (Wi-Fi Protected Setup) enabled, as this feature simplifies the connection process between the WiFi Interface Adaptor and the router.
Download and Install the Mitsubishi Electric WiFi Control App
To control your Mitsubishi AC unit remotely, you’ll need to download and install the Mitsubishi Electric WiFi Control app on your mobile device. This app is available for both iOS and Android platforms and can be downloaded from the respective app stores.
-
Download the App: Search for the “Mitsubishi Electric WiFi Control” app in the App Store (for iOS) or Google Play Store (for Android) and download it to your mobile device.
-
Create an Account: Follow the in-app instructions to create a user account, which will be used to register and manage your Mitsubishi AC unit.
-
Connect the App to the WiFi Interface Adaptor: Within the app, follow the guided setup process to connect the app to the WiFi Interface Adaptor installed in your Mitsubishi AC unit. This may involve entering the adaptor’s unique identification information, such as a serial number or activation code.
Register Your Mitsubishi AC Unit
After connecting the WiFi Interface Adaptor to your home’s wireless network and the Mitsubishi Electric WiFi Control app, the next step is to register your Mitsubishi AC unit within the app.
-
Locate the AC Unit’s Serial Number: Identify the serial number of your Mitsubishi AC unit, which is typically located on the unit itself or in the product documentation.
-
Register the AC Unit in the App: Within the Mitsubishi Electric WiFi Control app, follow the instructions to register your AC unit. This may involve entering the serial number and other relevant information about your AC unit.
-
Verify the Registration: Ensure that the registration process is successful by checking the app’s interface to see if your Mitsubishi AC unit is now listed and connected.
Start Controlling Your Mitsubishi AC Unit
Once your Mitsubishi AC unit is registered in the Mitsubishi Electric WiFi Control app, you can begin remotely controlling and monitoring your home’s climate.
-
Turn the AC Unit On/Off: Use the app to turn your Mitsubishi AC unit on or off, allowing you to manage your home’s temperature and comfort level from anywhere.
-
Adjust Temperature Settings: Utilize the app to set the desired temperature, fan speed, and other operational modes for your Mitsubishi AC unit.
-
Set Schedules and Timers: Take advantage of the app’s scheduling and timer features to automate the operation of your Mitsubishi AC unit, ensuring optimal comfort and energy efficiency.
-
Monitor Energy Usage: The Mitsubishi Electric WiFi Control app may provide insights into your AC unit’s energy consumption, allowing you to make informed decisions about your home’s energy management.
Remember, the WiFi control function of your Mitsubishi AC unit is limited to basic operational controls and does not include advanced features like voice control or integration with smart home systems. For more information on the specific capabilities of your Mitsubishi AC unit’s WiFi connectivity, refer to the manufacturer’s documentation or consult with a local authorized dealer.
Conclusion
Connecting your Mitsubishi AC unit to WiFi can provide you with the convenience of remote control and monitoring, allowing you to manage your home’s climate from anywhere. By following the step-by-step guide outlined in this article, you can successfully integrate your Mitsubishi AC unit with your home’s wireless network and take advantage of the Mitsubishi Electric WiFi Control app’s features. Remember to consult with a qualified HVAC professional for the installation of the WiFi Interface Adaptor to ensure a safe and proper integration with your Mitsubishi AC unit.
Reference:
– Mitsubishi Electric WiFi Adaptor Installation Guide
– Mitsubishi Electric WiFi Control Adaptor Overview
– Mitsubishi Electric WiFi Control App Setup