
Maintaining the air filter of your Trane split AC system is crucial for ensuring optimal performance, energy efficiency, and indoor air quality. This comprehensive guide will walk you through the step-by-step process of cleaning your Trane split AC air filter, providing expert-level technical details and insights to help you achieve the best results.
Preparing for the Task
Before you begin, ensure that you have the following tools and materials ready:
- Vacuum cleaner with a brush attachment
- Mild detergent or filter cleaning solution
- Soft-bristled brush
- Clean, dry towels
- Rubber gloves (optional)
It’s also important to turn off the mini-split unit and disconnect it from the power source to prevent any accidents or injuries during the cleaning process.
Accessing the Air Filters
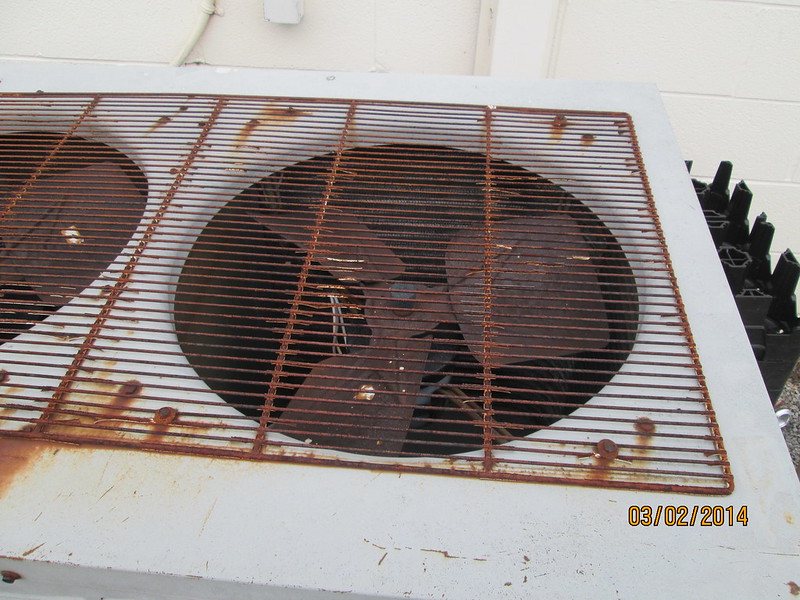
- Locate the access panel: Identify the access panel on your Trane split AC unit. This is typically located on the front or side of the indoor unit.
- Open the access panel: Gently lift or remove the access panel to expose the air filters.
Removing the Air Filters
- Identify the filter types: Your Trane split AC system may have two types of air filters: a larger primary filter and smaller enzyme filters. Carefully note the placement and orientation of each filter type.
- Gently remove the filters: Grasp the filters by the edges and carefully pull them out of the unit, taking care not to shake off any accumulated dust or debris.
Cleaning the Primary Air Filters
- Vacuum the filters: Using the brush attachment on your vacuum cleaner, gently brush and vacuum the surface of the primary air filters to remove any loose dust and debris.
- Rinse the filters: If the filters are still visibly dirty, you can rinse them under lukewarm running water. Avoid using hot water, as it may damage the filter material.
- Inspect for damage: Carefully inspect the filters for any tears, cracks, or other signs of damage. If the filters are damaged, they should be replaced.
- Dry the filters: Lay the filters flat on a clean, dry towel and allow them to air dry completely before reinstalling.
Cleaning the Enzyme Filters
- Unclip the enzyme filters: Gently unclip the smaller enzyme filters from the larger primary filters.
- Vacuum the enzyme filters: Use the vacuum cleaner’s brush attachment to remove any loose dust and debris from the enzyme filters.
- Do not wet the enzyme filters: Unlike the primary filters, the enzyme filters should not be exposed to water or other liquids, as this can damage their specialized coating.
- Reinstall the enzyme filters: Once the primary filters are dry, snap the enzyme filters back into their original positions.
Reinstalling the Air Filters
- Inspect the filter placement: Ensure that the filters are properly oriented and positioned within the unit.
- Secure the filters: Gently push the filters back into their designated slots, making sure they are securely in place.
- Close the access panel: Carefully close the access panel, ensuring a tight seal to maintain the unit’s efficiency.
Powering On and Verifying Operation
- Reconnect the power: Reconnect the mini-split unit to the power source and turn it on.
- Observe the unit’s operation: Monitor the unit’s performance to ensure it is running smoothly and efficiently.
Remember, it’s essential to follow the manufacturer’s recommendations and refer to your Trane split AC system’s owner’s manual for any specific instructions or guidelines. Regular maintenance and cleaning of the air filters can significantly improve the lifespan, energy efficiency, and indoor air quality of your Trane split AC system.