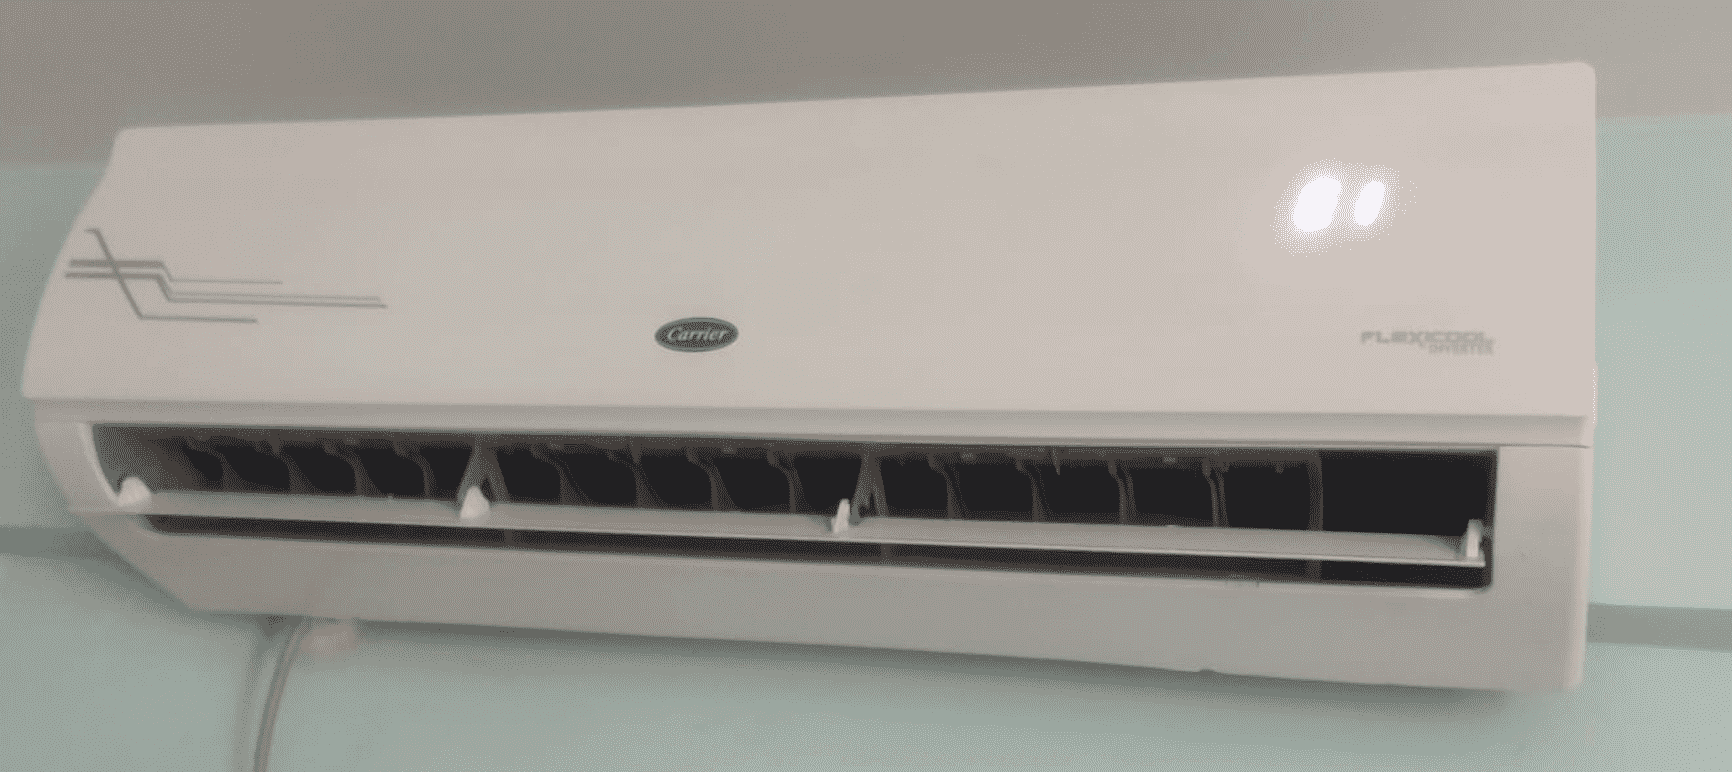
Maintaining the cleanliness of your Carrier mini split system is crucial for its optimal performance and longevity. One of the critical components that require regular attention is the blower wheel. This comprehensive guide will walk you through the step-by-step process of cleaning the blower wheel on your Carrier mini split, ensuring your system runs efficiently and effectively.
Preparing the Mini Split for Blower Wheel Cleaning
- Shut Off Power: Before beginning any maintenance work, ensure that the power to the mini split system is turned off at the circuit breaker or disconnect switch. This is a crucial safety precaution to prevent any electrical hazards.
- Remove Air Filters: Lift up the shroud and carefully remove the air filters from both sides of the air handler. This will provide better access to the internal components of the unit.
- Remove Front Cover: Take off the front cover of the mini split unit entirely. This may require removing plastic clips on the bottom to expose the Phillips-head screws underneath.
- Remove Directional Vanes: Slide the horizontal vanes out from the bottom of the unit by pressing down on the tabs.
- Remove Face of the Unit: Slide the bottom of the face out and remove the entire face. Depending on the model, you may need to release some clips in the top or press down on them from the inside.
- Release Drain Pan: Carefully slide the drain pan assembly out of the way, ensuring that all electrical power is turned off before doing so. Make sure to remove any water from the pan before moving it.
Accessing the Blower Wheel

- Locate the Blower Wheel: Once the face of the unit is removed, you will be able to see the blower wheel assembly.
- Remove Set Screw: Locate the set screw that secures the blower wheel to the motor shaft and remove it using the appropriate tool.
- Remove Screws: Remove the screws along the side of the unit to move the coil out of the way, providing better access to the blower wheel.
- Pull Out the Blower Wheel: Gently pull the blower wheel out of the unit, taking care not to damage any of the components.
Cleaning the Blower Wheel
- Inspect the Blower Wheel: Carefully inspect the blower wheel for any debris, dust, or buildup. This will help you determine the appropriate cleaning method.
- Prepare Cleaning Solution: If the blower wheel is heavily soiled, use a mild, safe cleaner like Refrigeration Technologies Viper EVAP+ to help remove any stubborn dirt or grime.
- Clean the Blower Wheel: Use a garden hose or a soft-bristled brush to gently clean the blower wheel. Avoid using high-pressure water, as this can damage the delicate components.
- Dry the Blower Wheel: Ensure that the blower wheel is completely dry before reassembling the unit. You can use a clean, dry cloth or allow it to air dry.
Reassembling the Mini Split
- Insert the Blower Wheel: Carefully insert the cleaned and dried blower wheel back into the unit, ensuring that it is properly aligned and secured.
- Reinstall the Coil: Replace the screws along the side of the unit to secure the coil back into its original position.
- Reattach the Drain Pan: Slide the drain pan assembly back into its original position, making sure that it is properly seated.
- Reinstall the Face: Carefully reattach the face of the unit, ensuring that all clips and screws are properly secured.
- Reinstall the Directional Vanes: Slide the horizontal vanes back into their original position, making sure they are properly aligned.
- Reinstall the Air Filters: Replace the air filters on both sides of the air handler, ensuring that they are properly seated.
- Restore Power: Turn the power back on at the circuit breaker or disconnect switch, and ensure that the mini split system is functioning correctly.
Maintaining Optimal Performance
Regular cleaning of the blower wheel is essential for maintaining the optimal performance of your Carrier mini split system. Depending on the usage and environmental conditions, it is recommended to clean the blower wheel every 6 to 12 months.
Additionally, using high-quality cleaning tools and solutions, such as the Turbo Tank by Nu-Calgon and the Viper Coil Cleaner by Refrigeration Technologies, can significantly improve the efficiency and effectiveness of the cleaning process.
By following this comprehensive guide, you can ensure that your Carrier mini split system continues to operate at its best, providing you with reliable and energy-efficient cooling or heating for years to come.
