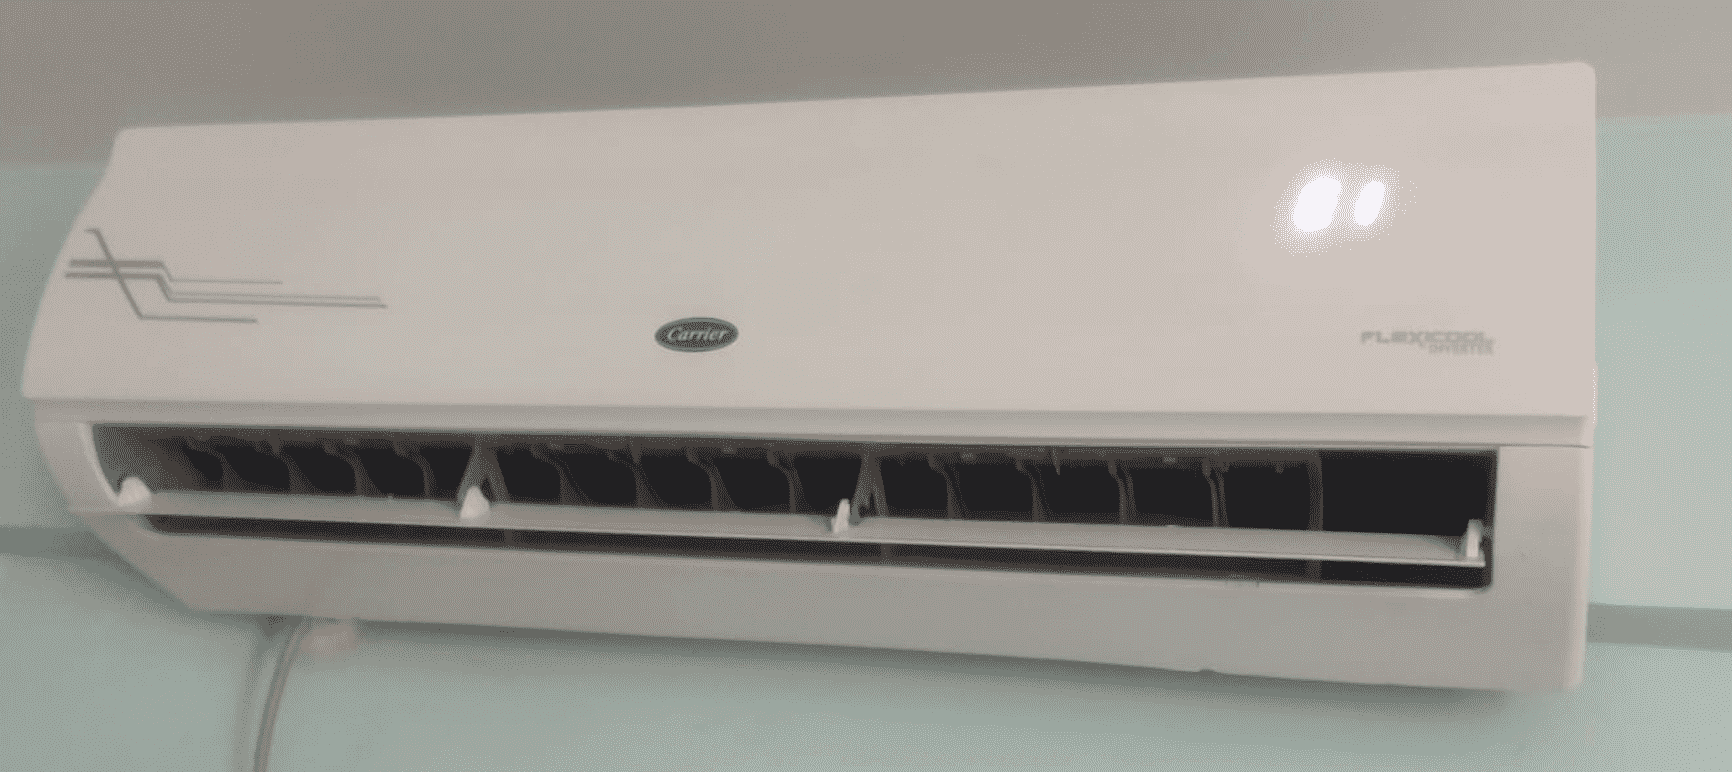
Removing the blower wheel from a Carrier mini split air conditioning unit can be a straightforward task, but it requires attention to detail and a methodical approach to ensure the process is carried out safely and effectively. This comprehensive guide will walk you through the step-by-step process, providing technical insights and expert-level advice to help you successfully remove and maintain the blower wheel in your Carrier mini split.
Disconnect Power and Prepare the Unit
- Disconnect Power: Before beginning any work on the Carrier mini split, it is crucial to ensure the unit is turned off and disconnected from the power source. This step is essential to prevent any electrical hazards and ensure your safety during the process.
- Locate the Front Cover: Identify the screws located at the bottom of the unit that secure the front cover in place. Using the appropriate tools, carefully remove these screws to detach the front cover, providing access to the internal components.
- Lower the Drain Pan: The drain pan in the Carrier mini split is not physically attached but is held in place by tabs. Gently lower the drain pan to gain better access to the blower wheel and its surrounding parts.
Accessing the Blower Wheel

- Locate the Set Screw: On the far right side of the blower wheel, you will find a set screw. Spin the wheel until you find an opening where you can insert your screwdriver and loosen the set screw.
- Remove the Evaporator Coil Screws: Locate the three screws on the left side of the evaporator coil. Using the appropriate screwdriver, remove these screws, which will allow you to lift the coil out towards you and access the blower wheel.
Removing the Blower Wheel
- Carefully Extract the Blower Wheel: With the evaporator coil removed, you can now safely grasp the blower wheel and pull it out from the unit. Exercise caution during this step to avoid damaging any surrounding components.
- Inspect the Bearing: On the left side of the blower wheel, you will find a bearing. Be mindful not to lose this critical component during the removal process, as it plays a crucial role in the proper functioning of the blower wheel.
Cleaning the Blower Wheel
- Avoid Harsh Chemicals: When cleaning the blower wheel, it is recommended to use water instead of harsh chemicals. Chemicals can potentially damage the delicate components of the blower wheel and the surrounding areas.
- Gently Clean the Blower Wheel: Use a soft-bristled brush or a clean, damp cloth to carefully remove any accumulated dust, debris, or buildup on the blower wheel. Avoid applying excessive force, as this could lead to damage.
- Inspect the Set Screw: Examine the set screw that holds the blower wheel in place on the blower motor. This set screw does not have a dedicated spot or flat spot, which can simplify the reassembly process, as you don’t need to worry about its specific alignment.
Reassembling the Carrier Mini Split
- Reverse the Removal Process: To reassemble the Carrier mini split, simply follow the steps you took to remove the blower wheel, but in reverse order. Ensure all components are properly aligned and secured in place.
- Verify Proper Functioning: After reassembling the unit, turn on the Carrier mini split and observe its operation. Ensure the blower wheel is spinning freely and that there are no unusual noises or vibrations.
By following this comprehensive guide, you can successfully remove, clean, and reinstall the blower wheel in your Carrier mini split air conditioning unit. Remember to always prioritize safety, use the appropriate tools, and take your time to ensure a successful and efficient repair process.
