Cleaning the blower wheel on a Lennox mini split is a crucial maintenance task to ensure optimal performance and efficiency of your HVAC system. Unlike traditional split systems, the Lennox mini split’s unique design presents some challenges when it comes to accessing and cleaning the blower wheel. However, with the right approach and tools, you can effectively clean the blower wheel and maintain your Lennox mini split in top condition.
Preparing the Cleaning Solution
Before you begin the cleaning process, it’s essential to prepare the right cleaning solution. For this task, you’ll want to use a suitable evaporator coil cleaner, which is specifically formulated to dissolve and remove dirt, debris, and buildup from HVAC components.
When mixing the cleaning solution, be sure to follow the manufacturer’s instructions carefully. Typically, you’ll need to dilute the evaporator coil cleaner with water in a specific ratio, such as 1 part cleaner to 4 parts water. This dilution ratio is crucial to ensure the cleaning solution is effective without being too harsh on the delicate components of your Lennox mini split.
Accessing the Blower Wheel
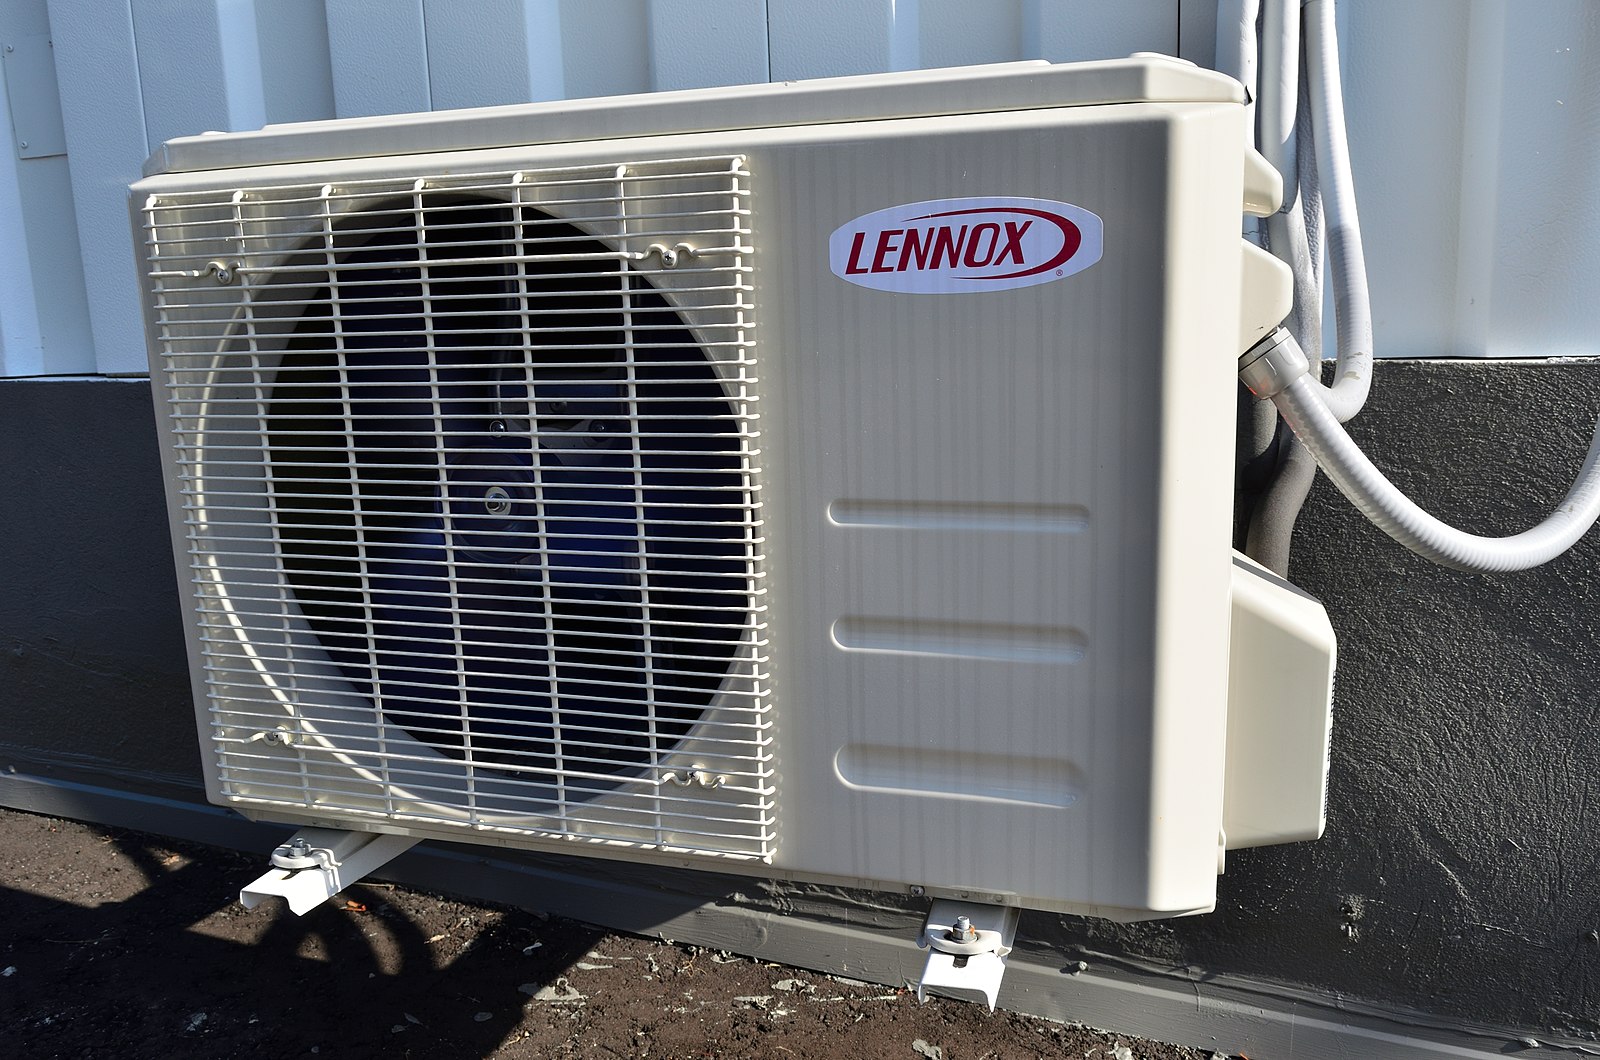
 Image source: Lennox Ac by Raysonho
Gaining access to the blower wheel on a Lennox mini split can be a bit tricky, as the fan wheel is attached directly to the fan motor, making it impossible to remove without disassembling the entire unit. However, you can still clean the blower wheel in place by following these steps:
-
Disconnect the Power: Before attempting any maintenance or cleaning, ensure that the power to the Lennox mini split is turned off and disconnected at the circuit breaker. This is a crucial safety step to prevent any risk of electric shock.
-
Remove the Control Board Wiring: Carefully remove the control board wiring and any other components that may be obstructing your access to the blower wheel. Take note of the wiring connections to ensure proper reassembly later.
-
Locate the Blower Wheel: Identify the location of the blower wheel within the indoor unit. It is typically situated behind the air filter and evaporator coil, so you may need to remove these components to gain a clear view of the blower wheel.
-
Inspect the Blower Wheel: Closely examine the blower wheel for any visible signs of dirt, debris, or buildup. This will help you determine the extent of cleaning required and the appropriate cleaning method to use.
Cleaning the Blower Wheel
With the blower wheel accessible, you can now proceed with the cleaning process. There are two main methods you can use to clean the blower wheel on your Lennox mini split:
Method 1: Soft Bristle Toothbrush Cleaning
-
Apply the Cleaning Solution: Spray the prepared cleaning solution directly onto the blower wheel, ensuring that it covers the entire surface.
-
Scrub with a Soft Bristle Toothbrush: Using a soft-bristle toothbrush, gently scrub the blower wheel to dislodge and remove any dirt, debris, or buildup. Be careful not to apply too much pressure, as this could damage the delicate fan blades.
-
Wipe Away Excess Solution: Use a clean, dry cloth to wipe away any excess cleaning solution from the blower wheel and the surrounding area.
Method 2: Hydro Jet Cleaning
-
Prepare the Hydro Jet Cleaning Tool: Attach a hydro jet cleaning tool to a garden hose or other water source. This tool will allow you to direct a high-pressure stream of water at the blower wheel.
-
Protect the Surrounding Area: Place a bib or other protective barrier around the indoor unit to prevent the high-pressure water from spraying onto nearby surfaces or components.
-
Spray the Blower Wheel: Carefully direct the hydro jet cleaning tool at the blower wheel, using a sweeping motion to thoroughly clean the entire surface.
-
Wipe Away Excess Water: Use a clean, dry cloth to wipe away any excess water from the blower wheel and the surrounding area.
Rinsing and Drying
Regardless of the cleaning method you choose, it’s essential to thoroughly rinse the blower wheel with clean water to remove any remaining cleaning solution or debris. Once the blower wheel is rinsed, allow it to dry completely before reassembling the Lennox mini split.
Reassembly and Final Inspection
After the blower wheel has dried, carefully reassemble the Lennox mini split, ensuring that all components are properly reinstalled and all wiring connections are secure. Once the unit is fully reassembled, turn the power back on and perform a final inspection to ensure the blower wheel is operating smoothly and quietly.
Remember, cleaning the blower wheel is just one part of a comprehensive maintenance routine for your Lennox mini split. It’s also important to regularly clean the evaporator coil, check the refrigerant levels, and perform other recommended maintenance tasks to keep your HVAC system running at its best.
By following the steps outlined in this guide, you can effectively clean the blower wheel on your Lennox mini split and maintain the optimal performance and efficiency of your HVAC system.
