Maintaining the cleanliness of your Mitsubishi mini-split’s blower wheel is crucial for optimal performance, energy efficiency, and prolonged lifespan of the unit. This comprehensive guide will walk you through the step-by-step process of cleaning the blower wheel, ensuring your mini-split operates at its best.
Preparing for the Cleaning Process
-
Safety First: Before beginning the cleaning process, ensure the unit is turned off and unplugged from the power source to prevent any accidents or electrical hazards.
-
Gather the Necessary Tools: Assemble the required tools, including a Phillips-head screwdriver, a set of pliers, a hose or water source, and a mild, safe cleaner like Refrigeration Technologies Viper EVAP+.
-
Protect the Work Area: Cover the surrounding area with a drop cloth or towel to catch any water or debris that may fall during the cleaning process.
Accessing the Blower Wheel
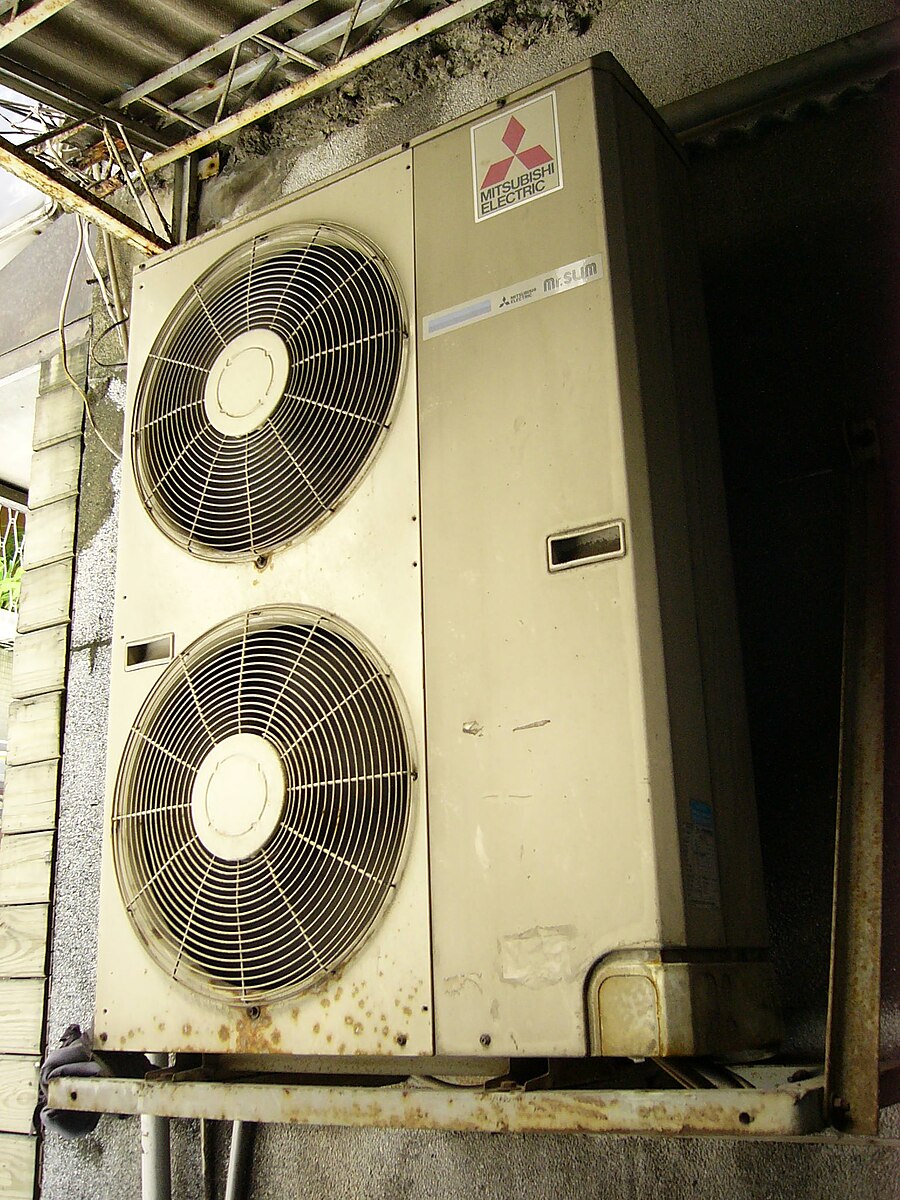
 Image source: Mitsubishi ac By Solomon203
-
Remove the Air Filters: Gently pull out the air filters on both sides of the air handler to expose the internal components.
-
Detach the Horizontal Vanes: On the bottom of the mini-split, locate the horizontal vanes with three tabs on the inside. Slide the tabs to the right, and the vanes should pop off easily.
-
Expose the Blower Wheel: To access the blower wheel, you need to remove the face of the unit. Start by removing the plastic clips on the bottom, which will expose the Phillips-head screws. Once the screws are removed, you can detach the face of the unit.
-
Release the Drain Pan: Carefully release the drain pan and angle it downward to provide better access to the blower wheel. Ensure any remaining water in the pan is drained beforehand.
Removing the Blower Wheel
-
Locate the Set Screw: Identify the set screw that secures the blower wheel in place. Use a screwdriver or Allen wrench to loosen and remove the set screw.
-
Move the Coil: To fully remove the blower wheel, you’ll need to remove the screws along the side that hold the coil in place. Gently move the coil out of the way, taking care not to damage any of the delicate components.
-
Extract the Blower Wheel: With the set screw and coil removed, you can now carefully pull the blower wheel out of the unit.
Cleaning the Blower Wheel
-
Inspect the Blower Wheel: Closely examine the blower wheel for any visible dirt, debris, or buildup. This will help you determine the appropriate cleaning method.
-
Rinse the Blower Wheel: Using a hose or water source, thoroughly rinse the blower wheel to remove any loose dirt or debris. Avoid using high-pressure water, as it may damage the delicate components.
-
Use a Mild Cleaner (Optional): For more stubborn buildup, you can use a mild, safe cleaner like Refrigeration Technologies Viper EVAP+. Apply the cleaner to the blower wheel and let it sit for a few minutes before rinsing.
-
Dry the Blower Wheel: Ensure the blower wheel is completely dry before reassembling the unit. You can use a clean, dry cloth or allow it to air dry.
Reassembling the Unit
-
Reinstall the Blower Wheel: Carefully reinsert the blower wheel back into the unit, ensuring it is properly aligned and secured with the set screw.
-
Reattach the Coil: Carefully move the coil back into its original position and secure it with the screws you removed earlier.
-
Reinstall the Drain Pan: Gently lift the drain pan back into its original position, making sure it is properly aligned and secured.
-
Reattach the Horizontal Vanes: Slide the horizontal vanes back into their respective slots, ensuring the tabs are properly engaged.
-
Replace the Air Filters: Carefully reinsert the air filters on both sides of the air handler.
-
Reassemble the Unit: Reattach the face of the unit, securing it with the Phillips-head screws and plastic clips.
Advanced Cleaning Techniques
For a more thorough cleaning, consider using specialized tools like the Turbo Tank by Nu-Calgon or the Viper Coil Cleaner by Refrigeration Technologies. These tools can help enhance the cleaning process and ensure a more efficient and effective result.
Remember to always follow the manufacturer’s instructions and safety guidelines when using any cleaning products or tools. Proper maintenance and cleaning of your Mitsubishi mini-split’s blower wheel will help ensure optimal performance, energy efficiency, and a longer lifespan for your unit.
References
- Mitsubishi Mini-Split Blower Wheel Cleaning Video
- Reddit Thread on Removing Mini-Split Blower Wheel
- HVAC-Talk Forum Discussion on Cleaning Mitsubishi Mini-Split Blower Wheel
- HVAC-R School Guide on Cleaning Mitsubishi Mini-Split Blower Wheel
- Additional Mitsubishi Mini-Split Blower Wheel Cleaning Video
