
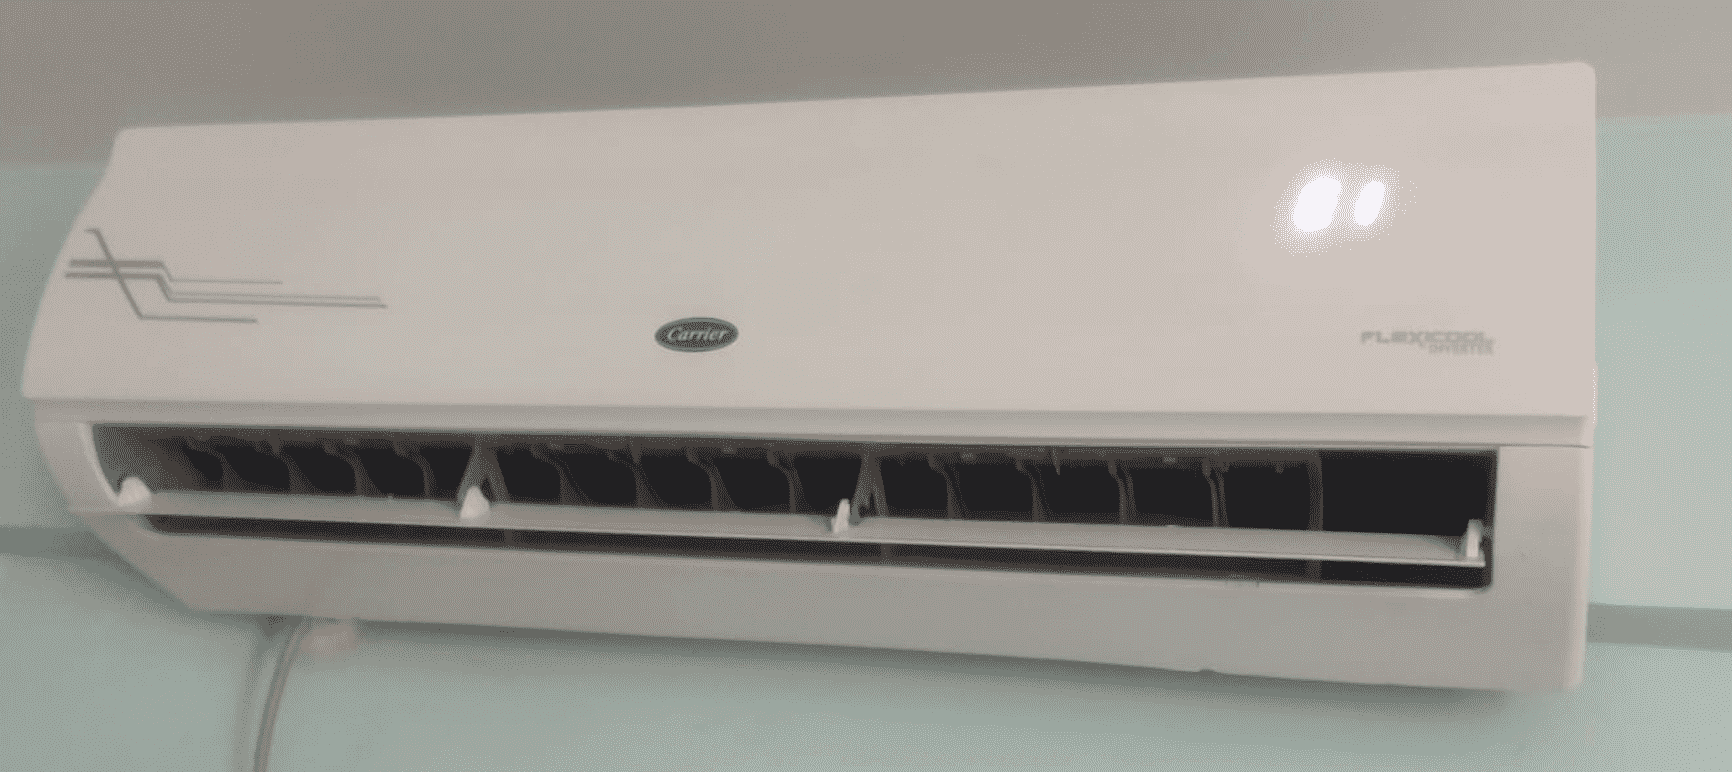
Maintaining the cleanliness of your Carrier AC indoor unit is crucial for its efficient operation, energy-saving performance, and extended lifespan. This comprehensive guide will walk you through the step-by-step process of cleaning your Carrier AC indoor unit, covering everything from turning off the power to reassembling the unit, with a focus on providing highly technical and advanced details for each step.
Turn Off the Power
Before you begin the cleaning process, it is essential to turn off the power to the indoor unit. This can be done at the thermostat or the breaker box. Ensure that the power is completely disconnected to avoid any accidents or electrical hazards during the cleaning procedure.
Remove the Access Panel
Locate the screws or clips that secure the access panel in place and carefully remove them. This will provide you with direct access to the indoor unit’s coils and other internal components, allowing you to thoroughly clean and maintain them.
Clean the Coils
The coils are a critical component of the indoor unit, responsible for heat exchange and efficient cooling. To clean the coils, follow these steps:
- Vacuum Cleaning: Use a soft brush attachment on a vacuum cleaner to gently remove any dust or debris from the coils. Be extremely careful not to bend or damage the delicate coil fins, as this can restrict airflow and affect the unit’s performance.
- Coil Cleaning Solution: If the coils are heavily soiled, you may need to use a specialized coil cleaning solution. Carefully follow the manufacturer’s instructions for the proper application and dilution of the cleaning solution. Avoid using high-pressure water, as it can damage the coil fins.
- Low-Pressure Sprayer: For stubborn dirt and grime, use a low-pressure sprayer to apply the coil cleaning solution and gently rinse the coils. Ensure that the water pressure is not too high, as it can cause further damage to the coil fins.
- Drying: After cleaning, allow the coils to dry completely before reassembling the unit. You can use a clean, dry cloth or a low-powered fan to assist in the drying process.
Clean the Drain Pan and Condensate Drain Line
The drain pan and condensate drain line can become clogged with algae, mold, and other debris over time, leading to water leaks and potential damage to the indoor unit. Follow these steps to clean these components:
- Drain Pan Cleaning: Mix a solution of water and bleach (approximately 1 part bleach to 10 parts water) and use a soft-bristled brush or cloth to scrub the drain pan clean. Ensure that the drain pan is thoroughly rinsed and dried before reassembly.
- Drain Line Cleaning: Use a flexible drain line cleaning tool or a small, stiff-bristled brush to remove any blockages or debris from the condensate drain line. Flush the line with clean water to ensure it is flowing freely.
Clean the Blower Fan and Housing
The blower fan and housing can accumulate dust and debris over time, which can affect the airflow and overall efficiency of the indoor unit. Follow these steps to clean these components:
- Vacuum Cleaning: Use a vacuum cleaner with a soft brush attachment to remove any visible dust or debris from the blower fan and housing.
- Blower Fan Cleaning: Carefully clean the blower fan blades with a soft-bristled brush or a clean, dry cloth. Avoid using water or cleaning solutions, as this can damage the fan motor.
Replace the Air Filter
The air filter is a crucial component of the indoor unit, responsible for trapping airborne particles and maintaining indoor air quality. Follow the manufacturer’s recommendations for your specific Carrier model to determine the appropriate air filter size and replacement schedule.
- Filter Inspection: Regularly inspect the air filter for signs of dirt, dust, or damage. If the filter appears heavily soiled, it should be replaced.
- Filter Replacement: Carefully remove the old air filter and replace it with a new one, ensuring a proper fit and seal to maintain optimal airflow.
Reassemble the Unit
Once you have completed all the cleaning tasks, carefully replace the access panel and secure it in place with the screws or clips. Restore power to the indoor unit at the thermostat or breaker box, and ensure that the unit is functioning properly.
Remember, while some of these cleaning tasks can be performed by a DIY user with advanced hands-on skills, others may require the expertise of a licensed HVAC technician, particularly when it comes to cleaning the evaporator coil or addressing more complex issues. Always prioritize safety and follow the manufacturer’s instructions to ensure the proper and effective cleaning of your Carrier AC indoor unit.
References: