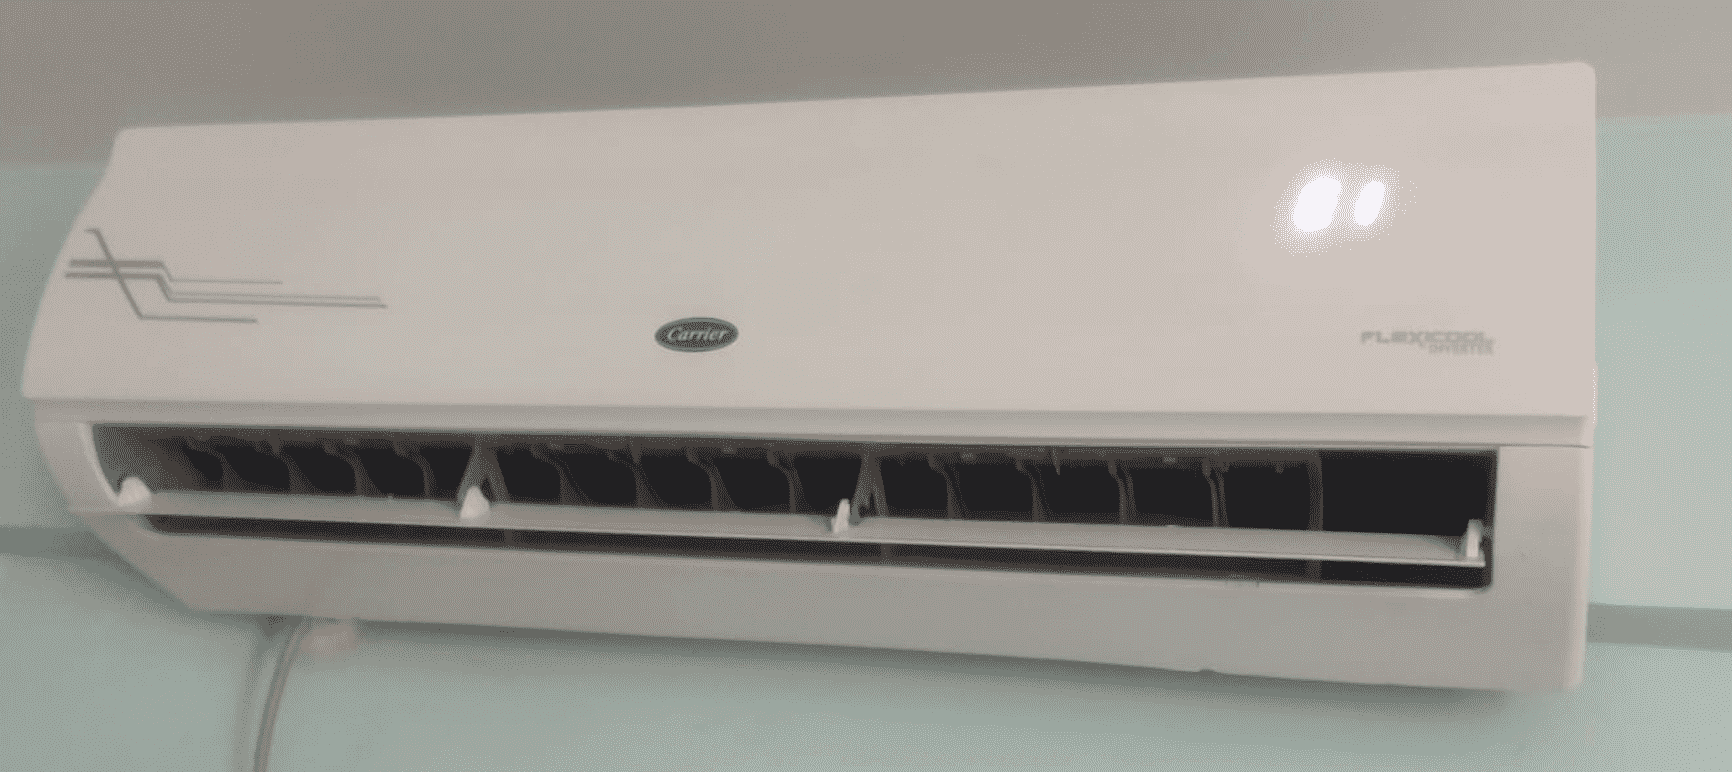
Removing the fan blade on a Carrier mini split air conditioning unit can be a straightforward task, but it requires attention to detail and proper safety precautions. This comprehensive guide will walk you through the step-by-step process of removing the fan blade, providing technical insights and expert-level advice to ensure a successful and safe DIY project.
Disconnect the Power
Before you begin, it is crucial to disconnect the power supply to the Carrier mini split unit. This is a critical safety step to prevent any risk of electrical shock or injury. Locate the circuit breaker that controls the power to the mini split and turn it off. Verify that the power is disconnected by checking the indoor unit’s display or attempting to power on the system.
Access the Fan Blade

- Remove the Indoor Unit Cover: Begin by removing the cover of the indoor unit. This is typically done by unscrewing the screws that hold the cover in place. Carefully lift the cover and set it aside, ensuring that you do not damage any of the internal components.
- Locate the Fan Blade: Once the cover is removed, you should be able to clearly see the fan blade and the motor that drives it. Familiarize yourself with the layout and orientation of these components.
Disconnect the Electrical Connectors
- Identify the Electrical Connectors: Locate the electrical connectors that are attached to the fan motor and the blower motor. These connectors are typically color-coded, with the blower motor connector being blue and the fan motor connector being white.
- Disconnect the Connectors: Using your fingers or a pair of needle-nose pliers, gently disconnect the blue connector for the blower motor and the white connector for the fan motor. Take care not to damage the connectors or the wiring.
Unfasten the Fan Blade
- Locate the Set Screw: On the shaft of the fan motor, you should see a set screw that is holding the fan blade in place. This set screw is typically a small, Allen-type screw.
- Loosen and Remove the Set Screw: Using the appropriate Allen wrench or hex key, slowly and carefully loosen the set screw by turning it counterclockwise. Continue turning until the set screw is completely removed.
Remove the Fan Blade
- Carefully Lift the Fan Blade: With the set screw removed, you should now be able to carefully lift the fan blade off the motor shaft. Avoid applying excessive force, as the blade may be tightly fitted.
- Inspect the Fan Blade: Take this opportunity to inspect the fan blade for any signs of damage, such as cracks, bends, or imbalances. If the blade appears to be in good condition, you can proceed with the reinstallation process.
Reinstall the Fan Blade
- Align the Fan Blade: When reinstalling the fan blade, ensure that it is properly aligned with the motor shaft. The blade should fit snugly and securely on the shaft.
- Secure the Set Screw: Reinsert the set screw and tighten it clockwise using the appropriate Allen wrench or hex key. Ensure that the set screw is tightened securely to prevent the fan blade from becoming loose during operation.
- Reconnect the Electrical Connectors: Carefully reconnect the blue connector for the blower motor and the white connector for the fan motor, ensuring a secure connection.
- Reinstall the Indoor Unit Cover: Replace the indoor unit cover and secure it with the screws you removed earlier.
- Restore Power and Test the Unit: Turn the circuit breaker back on to restore power to the Carrier mini split unit. Verify that the fan is operating correctly by turning on the system and observing the fan’s rotation.
Remember, if you encounter any difficulties or have concerns about the process, it is always best to consult a professional HVAC technician for assistance.
