
Maintaining the cleanliness of your Trane AC indoor unit is crucial for its efficient operation and longevity. This comprehensive guide will walk you through the step-by-step process of cleaning your Trane AC indoor unit, ensuring optimal performance and energy savings.
Preparation: Disconnect and Expose
-
Disconnect Power: Before beginning any cleaning work, it is essential to disconnect the power supply to the Trane AC indoor unit. This can be done by locating the circuit breaker or disconnect switch and turning it off.
-
Remove Access Panel: Locate the access panel on the indoor unit and carefully remove it. This will expose the internal components, including the coils, that need to be cleaned.
-
Cover Electrical Controls: To protect the electrical components from water damage, cover them with a plastic sheet or tarp. This will prevent any cleaning solution or water from entering and potentially causing issues.
Washing from the Inside Out
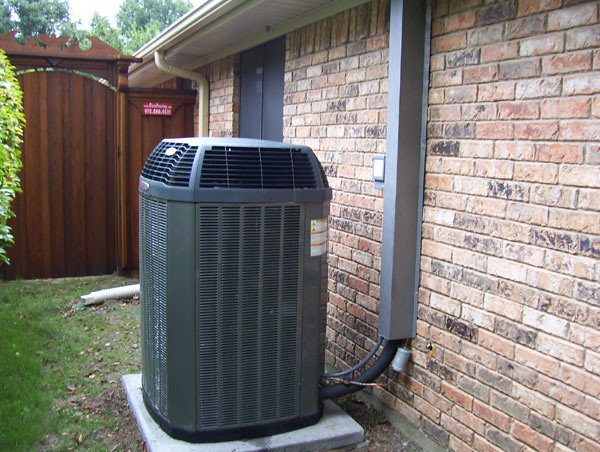 Image source: Flickr by Jackie Bese
-
Coil Orientation: Trane’s spine fin coils are designed to be cleaned from the inside out. This approach ensures that the dirt and debris are pushed outwards, rather than being trapped within the coil.
-
Downwash Technique: For the best results, use the downwash technique to clean the coils. Aim the water spray at a slightly over 45-degree angle, starting from the top of the coil and working your way down. This method helps to dislodge and flush out any accumulated dirt and debris.
-
Fan Removal: After the initial downwash, remove the fan to gain better access to the coils. This will allow you to clean the coils more thoroughly from the inside out.
-
Repeat Downwash: Once the fan is removed, repeat the downwash process to ensure that all cleaning solution and debris are flushed out of the coils.
Cleaning Solution Application
-
Coil Cleaning Solution: Use a coil cleaning solution that is specifically formulated for Trane AC units. Dilute the cleaning solution with water according to the manufacturer’s instructions.
-
Spray Application: Carefully spray the diluted cleaning solution onto the coils, making sure to cover all areas of the coil surface. Allow the solution to sit for a few minutes to help loosen any stubborn dirt and debris.
-
Foaming Cleaners: In some cases, a foaming coil cleaner may be used. However, the effectiveness of this method is still being debated, and it should be used with caution.
Thorough Rinsing
-
Start from the Inside: Begin rinsing the coils from the inside, working your way outwards. This approach helps to flush out any remaining cleaning solution and dislodged dirt and debris.
-
Rinse Thoroughly: Continue rinsing the coils until the water runs clear, indicating that all the cleaning solution and debris have been removed.
Reassembly and Inspection
-
Reinstall Components: Once the coils are clean, replace the fan and any other components that were removed during the cleaning process.
-
Inspect for Damage: Carefully inspect the coils and other components for any signs of damage or wear. If any issues are found, address them before reassembling the unit.
-
Replace Access Panel: Securely replace the access panel, ensuring that it is properly sealed to maintain the unit’s efficiency.
-
Restore Power: Finally, restore power to the Trane AC indoor unit by turning the circuit breaker or disconnect switch back on.
By following these detailed steps, you can effectively clean your Trane AC indoor unit and ensure its optimal performance. Remember, cleaning AC coils can be hazardous, and it is recommended to have a licensed HVAC technician handle this task if you are not comfortable with the process.
Reference:
– Cleaning Trane Spine Fin Coil
– How to Clean a Trane Air Conditioner
– How to Clean Trane Heat Pump Spiny Outdoor Coils
– Trane Maintenance Tips: Coils
– Trane AC Coil Cleaning Video