
Removing the fan blade on a Trane mini split air conditioning unit can be a straightforward task, but it requires attention to detail and the right tools. This comprehensive guide will walk you through the process step-by-step, ensuring you have all the necessary information to complete the job safely and effectively.
Preparing for the Task
Before you begin, it’s crucial to ensure the power to the unit is turned off. Locate the circuit breaker or disconnect switch that supplies power to the mini split and switch it to the “off” position. This will prevent any accidental electrical shocks or damage to the unit during the removal process.
Next, gather the necessary tools:
– Screwdrivers (flathead and Phillips head)
– Hex wrench set
– Pliers
– Gloves
– Flashlight (optional)
Ensure you have a clean, well-lit work area to perform the task. This will make it easier to see the components and work efficiently.
Accessing the Indoor Unit
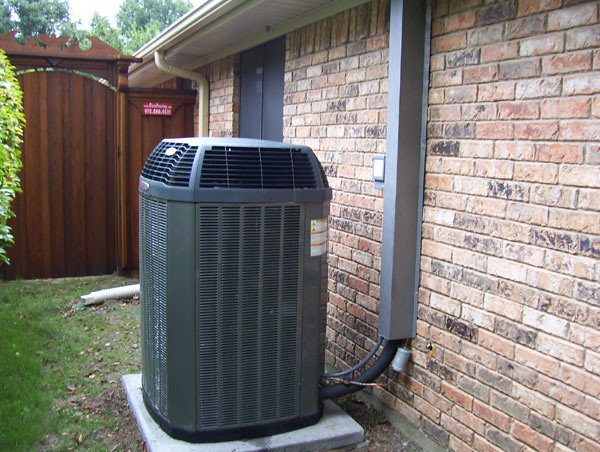 Image source: Flickr by Jackie Bese
-
Remove the Front Cover: Begin by removing the front cover of the indoor unit. This is typically done by unscrewing the screws located at the bottom of the cover. Carefully lift the cover and set it aside.
-
Lower the Drain Pan: Locate the drain pan, which is usually situated at the bottom of the indoor unit. Gently lower or remove the drain pan to gain better access to the blower wheel and its surrounding components.
Locating the Set Screw
-
Identify the Blower Wheel: Locate the blower wheel, which is the large fan-like component responsible for circulating air through the indoor unit.
-
Find the Set Screw: On the far right side of the blower wheel, you will find a set screw that secures the wheel to the blower motor shaft. This set screw will need to be loosened to remove the blower wheel.
-
Access the Set Screw: Spin the blower wheel slowly until you find an opening where you can insert your screwdriver or hex wrench to access the set screw.
Removing the Blower Wheel
-
Loosen the Set Screw: Using the appropriate screwdriver or hex wrench, carefully loosen the set screw that holds the blower wheel in place. Turn the screw counterclockwise until it is completely loosened.
-
Remove the Screws: Locate the three screws on the left side of the evaporator coil. Remove these screws, which will allow you to lift the coil out towards you.
-
Extract the Blower Wheel: With the coil lifted, gently grab the blower wheel and pull it out of the indoor unit. Be careful not to damage the bearing located on the left side of the wheel.
Cleaning and Reassembly
-
Clean the Blower Wheel: When cleaning the blower wheel, avoid using harsh chemicals. Instead, use a soft-bristled brush and water to gently remove any dirt, dust, or debris. Ensure the wheel is completely dry before reassembling.
-
Reassemble the Unit: To reassemble the unit, simply reverse the steps you took to remove the blower wheel. Carefully insert the wheel back into its housing, ensuring the bearing is properly aligned. Reattach the evaporator coil, secure the screws, and replace the drain pan. Finally, replace the front cover of the indoor unit.
-
Restore Power: Once the reassembly is complete, restore power to the mini split by switching the circuit breaker or disconnect switch back to the “on” position.
Safety Considerations
- Always ensure the power is turned off before starting any work on the mini split unit.
- Use appropriate tools and follow safety guidelines to avoid damaging the unit or injuring yourself.
- If you are not comfortable performing this task yourself, consider hiring a professional HVAC technician.
Conclusion
Removing the fan blade on a Trane mini split air conditioning unit can be a straightforward process when you have the right tools and follow the proper steps. By adhering to the guidelines outlined in this comprehensive guide, you can safely and effectively complete the task, ensuring your mini split continues to operate at its best.