
Removing the blower wheel from a Mitsubishi mini split air conditioning unit can be a crucial maintenance task to ensure optimal performance and efficiency. This comprehensive guide will walk you through the step-by-step process, providing detailed technical information and expert insights to help you successfully complete this DIY project.
Preparing the Unit
-
Power Down the Unit: Before beginning any work, it is essential to ensure the Mitsubishi mini split is completely powered off. Locate the main power switch or circuit breaker and turn off the power supply to the unit. This will prevent any accidental activation of the blower wheel or other moving components, ensuring your safety during the removal process.
-
Gather the Necessary Tools: Assemble the following tools to make the blower wheel removal process smoother:
- Phillips-head screwdriver
- Flathead screwdriver
- Pliers or needle-nose pliers
- Flashlight or work light (optional, but recommended for better visibility)
Removing the Front Cover
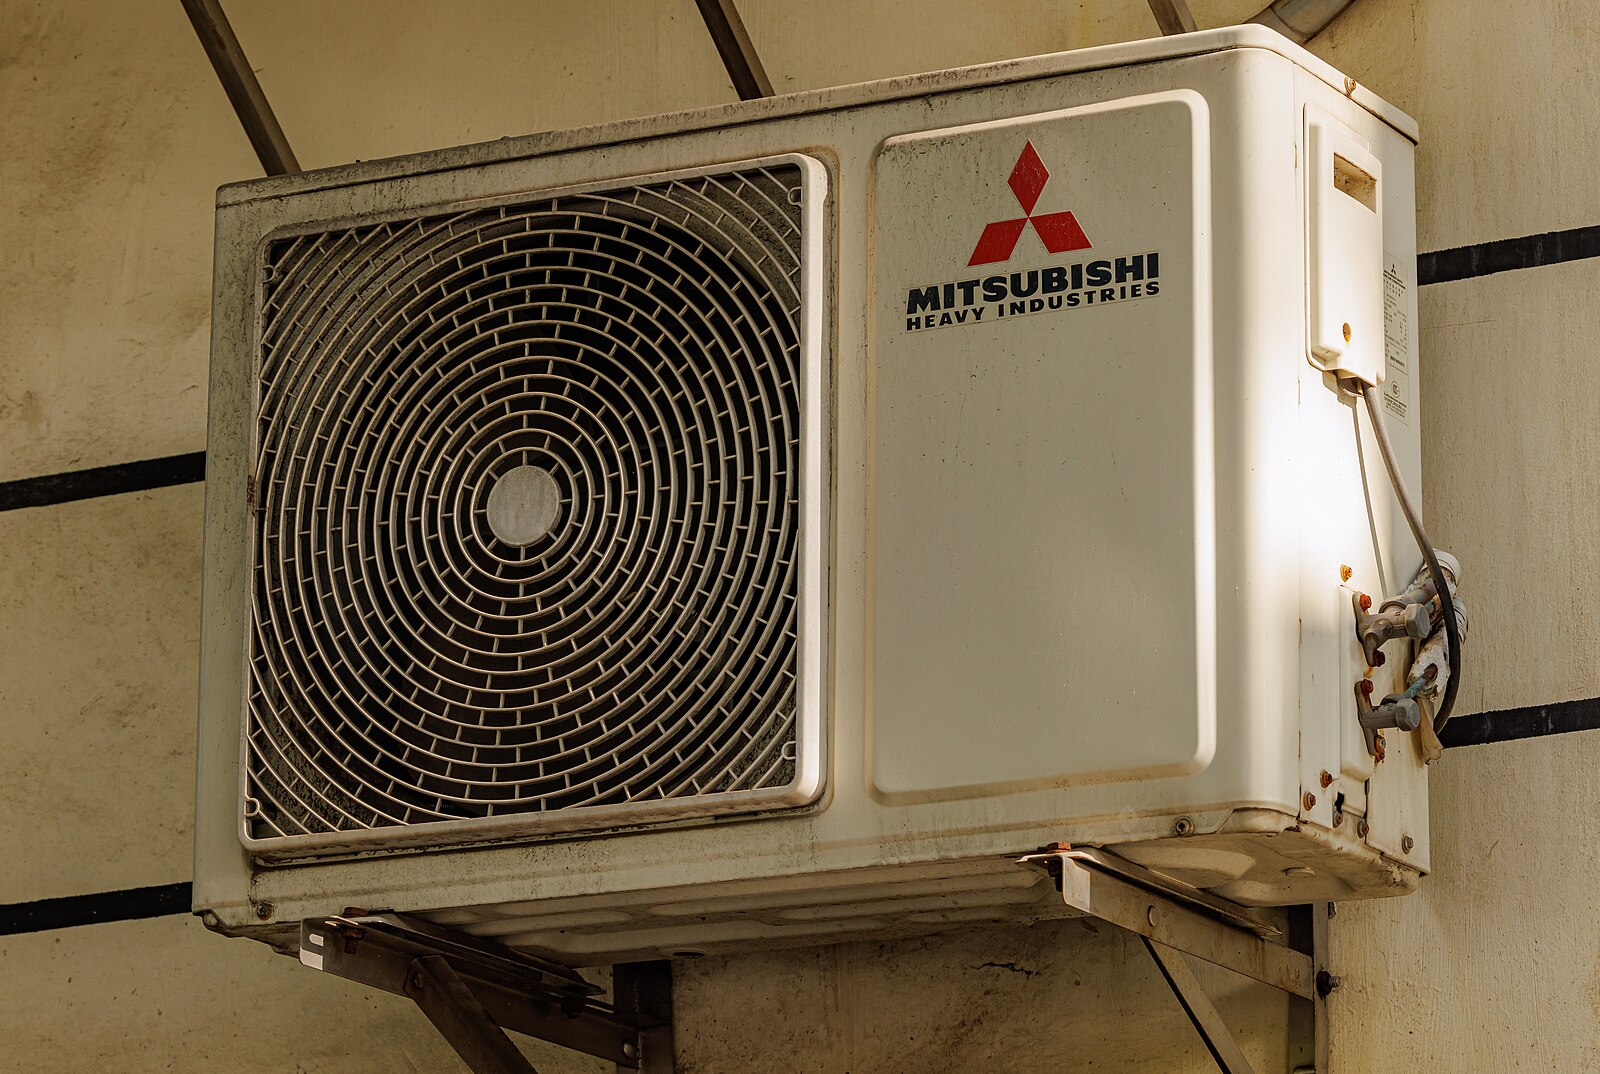 Image source: Mitsubishi ac By Dinkun Chen
-
Locate the Front Cover Screws: Examine the bottom of the Mitsubishi mini split unit and identify the screws that secure the front cover in place. These screws are typically located along the bottom edge of the unit.
-
Remove the Front Cover Screws: Using a Phillips-head screwdriver, carefully remove all the screws that hold the front cover in place. Make sure to keep the screws organized and stored in a safe place to ensure easy reassembly later.
-
Detach the Front Cover: Gently pull the front cover away from the unit, taking care not to damage any of the internal components or wiring. Set the front cover aside in a safe location.
Accessing the Blower Wheel
-
Identify the Drain Pan: Locate the drain pan, which is typically situated at the bottom of the indoor unit. The drain pan is not physically attached to the unit but is held in place by tabs.
-
Lower the Drain Pan: Carefully disengage the tabs holding the drain pan in place and lower it down to gain better access to the blower wheel and its surrounding components.
-
Locate the Blower Wheel: With the drain pan lowered, you should now have a clear view of the blower wheel, which is typically located at the center of the indoor unit.
Loosening the Set Screw
-
Identify the Set Screw: On the far right side of the blower wheel, you will find a set screw that secures the wheel to the blower motor shaft.
-
Loosen the Set Screw: Using a Phillips-head screwdriver, carefully loosen the set screw by turning it counterclockwise. Be cautious not to remove the set screw completely, as you will need it for the reassembly process.
Removing the Evaporator Coil
-
Locate the Evaporator Coil Screws: On the left side of the evaporator coil, you will find three screws that secure the coil in place.
-
Remove the Evaporator Coil Screws: Using a Phillips-head screwdriver, remove the three screws that hold the evaporator coil in place.
-
Lift the Evaporator Coil: Gently lift the evaporator coil out towards you, taking care not to damage any of the delicate fins or tubing.
-
Access the Blower Wheel: With the evaporator coil removed, you should now have clear access to the blower wheel, allowing you to safely remove it.
Extracting the Blower Wheel
-
Grasp the Blower Wheel: Firmly grasp the blower wheel and pull it straight out from the blower motor shaft.
-
Inspect the Bearing: Carefully examine the bearing located on the left side of the blower wheel. Ensure that it is in good condition and properly lubricated.
-
Clean the Blower Wheel: Use a soft-bristled brush or a clean, damp cloth to gently clean the blower wheel, removing any accumulated dust, debris, or buildup. Avoid using harsh chemicals or solvents, as they may damage the wheel or its components.
Reassembly and Reinstallation
-
Reattach the Evaporator Coil: Carefully place the evaporator coil back into its original position and secure it with the three screws you removed earlier.
-
Reinstall the Blower Wheel: Slide the blower wheel back onto the blower motor shaft, ensuring that the set screw is properly aligned.
-
Tighten the Set Screw: Using a Phillips-head screwdriver, tighten the set screw on the far right side of the blower wheel, securing it in place.
-
Raise the Drain Pan: Lift the drain pan back into its original position, ensuring that the tabs are properly engaged.
-
Reinstall the Front Cover: Align the front cover with the unit and secure it in place using the screws you removed earlier.
-
Restore Power: Turn the power back on to the Mitsubishi mini split unit, and verify that the blower wheel is functioning correctly.
By following this comprehensive guide, you can successfully remove the blower wheel from your Mitsubishi mini split air conditioning unit, perform any necessary maintenance or cleaning, and reassemble the unit with confidence. Remember to always prioritize safety and consult the manufacturer’s instructions if you have any doubts or concerns during the process.