
Resetting a Mitsubishi outdoor unit can be a crucial step in troubleshooting and maintaining your air conditioning system. Whether you’re dealing with an error code or simply want to reset the system, this comprehensive guide will walk you through the process step-by-step, providing technical details and expert insights to ensure a successful reset.
Accessing the Self-Diagnosis Mode
-
Locate the Outdoor Unit: The first step is to identify the location of your Mitsubishi outdoor unit. This is typically installed outside your home, often on the side or roof.
-
Identify the “TEMP” Buttons: On the outdoor unit, locate the “TEMP” buttons, which are typically labeled with up and down arrows. These buttons will be used to access the self-diagnosis mode.
-
Enter Self-Diagnosis Mode: Press the “TEMP” buttons on the outdoor unit to select the desired number or address. The number (address) should change between 01 and 50. Once selected, the refrigerant address will begin to blink, and the self-diagnosis process will start.
-
Technical Insight: The self-diagnosis mode allows the system to perform a comprehensive check of its components, identifying any potential issues or error codes. This mode is crucial for troubleshooting and resetting the outdoor unit.
-
Observe the Diagnosis Result: During the self-diagnosis process, the system will display the refrigerant address and any error codes that have been recorded. This information will be shown on the diagnosis result display screen.
-
Expert Tip: If you’re unsure how to interpret the error codes, refer to the Mitsubishi service manual or contact a qualified HVAC technician for assistance.
Resetting the Error History
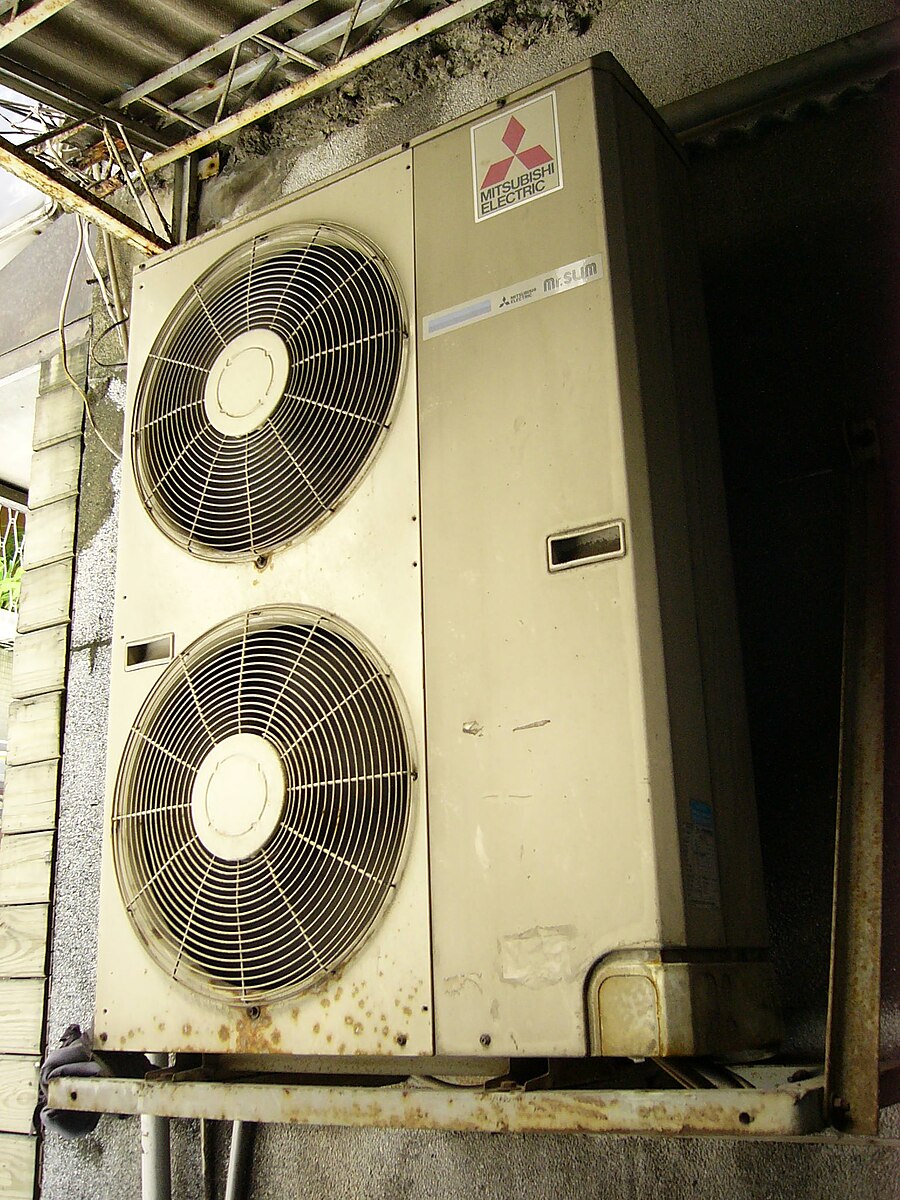 Image source: Mitsubishi ac By Solomon203
-
Locate the Error History: If there is an error code history displayed in the diagnosis result screen, this indicates that the system has encountered previous issues.
-
Reset the Error History: To reset the error history, press the button on the outdoor unit. This will clear the recorded error codes and allow the system to start fresh.
-
Technical Explanation: Resetting the error history is important to ensure that the system is not constantly reporting the same issues, which could lead to unnecessary troubleshooting or service calls.
-
Verify the Reset: After pressing the button, observe the diagnosis result display screen to confirm that the error history has been successfully cleared.
-
Expert Tip: If the error history persists or the issue continues to occur, there may be a more complex underlying problem that requires further investigation by a qualified HVAC technician.
Canceling the Self-Diagnosis Mode
-
Identify the “CHECK” Button: Locate the “CHECK” button on the outdoor unit, which is typically used to initiate and cancel the self-diagnosis mode.
-
Cancel the Self-Diagnosis: To cancel the self-diagnosis mode, press the “CHECK” button twice within 3 seconds. Alternatively, you can press the “ON/OFF” button to exit the self-diagnosis mode.
-
Technical Insight: Canceling the self-diagnosis mode is important to ensure that the system returns to normal operation and does not continue to perform unnecessary diagnostic checks.
-
Verify the Cancellation: Observe the outdoor unit to confirm that the self-diagnosis mode has been successfully canceled and the system has returned to normal operation.
-
Expert Tip: If you encounter any issues during the cancellation process, refer to the Mitsubishi service manual or contact a qualified HVAC technician for further assistance.
Checking for Abnormalities
-
Monitor the System: After resetting the error history and canceling the self-diagnosis mode, closely monitor the operation of your Mitsubishi outdoor unit to ensure that it is functioning properly.
-
Identify Abnormalities: If there are any abnormalities, such as the indoor and outdoor units stopping or the remote controller displaying an error code, take note of the issue.
-
Technical Explanation: Abnormalities in the system’s operation may indicate a more complex problem that requires further troubleshooting or professional service.
-
Seek Professional Assistance: If you encounter any persistent issues or are unable to resolve the problem through the reset process, it is recommended to contact a qualified HVAC technician for further assistance.
-
Expert Tip: Attempting to diagnose and repair complex issues without proper training and equipment can be dangerous and may result in further damage to the system.
By following this comprehensive guide, you’ll be able to effectively reset your Mitsubishi outdoor unit and troubleshoot any issues that may arise. Remember to always refer to the manufacturer’s service manual and seek professional help if needed to ensure the safe and proper operation of your air conditioning system.