Setting the timer on a Mitsubishi air conditioner remote control is a straightforward process that allows you to automate your cooling or heating schedule. This comprehensive guide will walk you through the step-by-step instructions, providing technical details and expert insights to ensure you can confidently set the timer on your Mitsubishi AC remote.
Preparing the Remote Control
- Ensure Correct Time Setting: Before setting the timer, make sure the current time displayed on the remote control is accurate. If not, follow the instructions in your user manual to adjust the time.
- Familiarize with Remote Buttons: Locate the various buttons on your Mitsubishi AC remote, such as the power button, mode button, timer on/off buttons, and increase/decrease buttons. Understanding the function of each button is crucial for the timer setup process.
- Consult User Manual: Refer to your Mitsubishi AC’s user manual for model-specific instructions, as button labels and functions may vary slightly between different models.
Setting the ON Timer
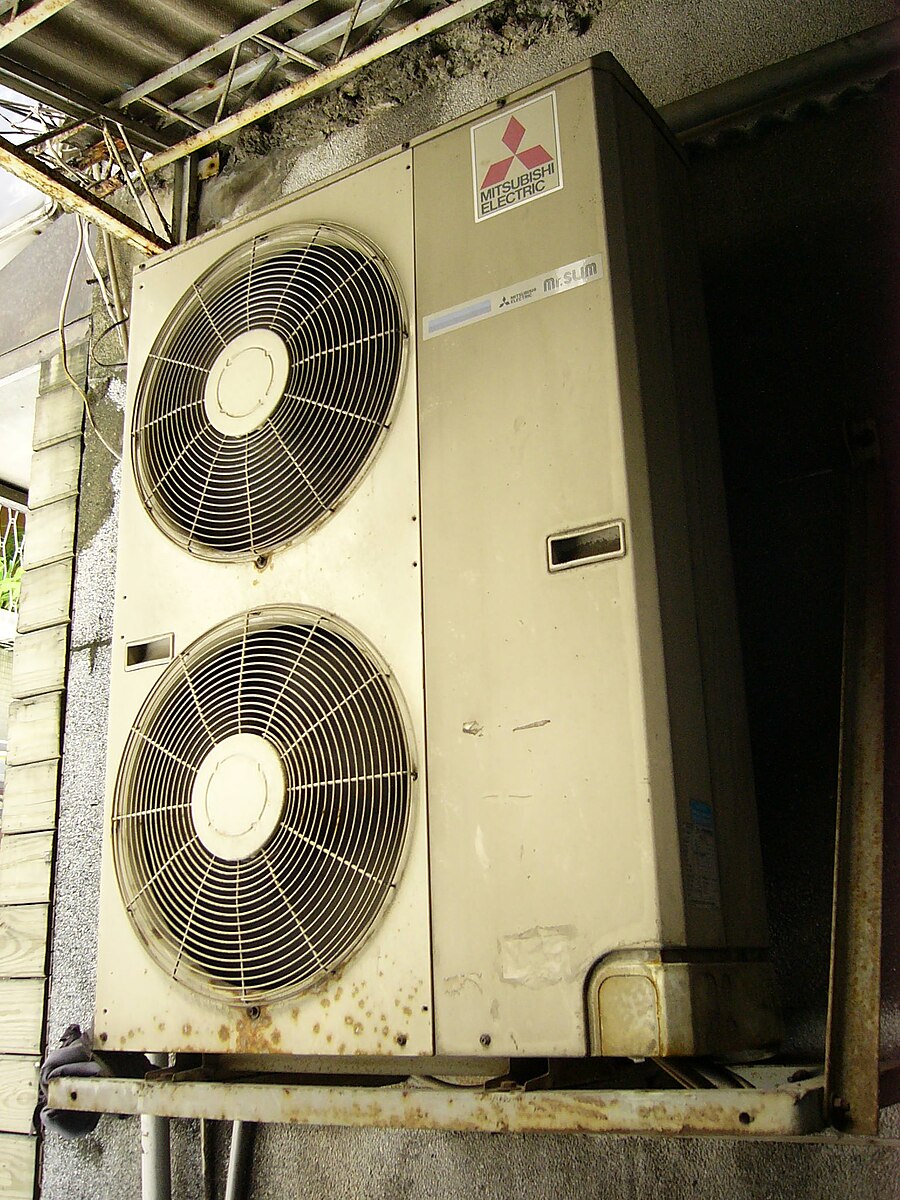
 Image source: Mitsubishi ac By Solomon203
- Turn on the Air Conditioner: Press the power button to turn on the Mitsubishi air conditioner.
- Select the Desired Mode: Use the mode button to choose the operating mode (auto, cool, dry, heat, or fan) that best suits your needs.
- Set the ON Timer: Press the “Timer On” button on the remote control. The timer on symbol will start flashing on the display.
- Adjust the ON Time: Use the increase and decrease buttons to set the desired time for the air conditioner to turn on. Note that the time is displayed in a 24-hour format.
- Save the Settings: Wait for 10 seconds, and the timer on symbol will stop flashing, indicating that the ON timer has been successfully set.
Setting the OFF Timer (Optional)
- Access the OFF Timer Setting: Press the “Timer Off” button on the remote control. The timer off symbol will start flashing on the display.
- Adjust the OFF Time: Use the increase and decrease buttons to set the desired time for the air conditioner to turn off.
- Save the Settings: Wait for 10 seconds, and the timer off symbol will stop flashing, indicating that the OFF timer has been successfully set.
Canceling the Timer
- Cancel the ON Timer: To cancel the ON timer, press the “Timer On” button once. The display will revert to the current time, and you can operate the air conditioner manually.
- Cancel the OFF Timer: To cancel the OFF timer, press the “Timer Off” button once. The display will revert to the current time, and you can operate the air conditioner manually.
Troubleshooting and Additional Tips
- Verify Remote Control Batteries: Ensure the batteries in your Mitsubishi AC remote control are in good condition and properly installed.
- Check Remote Control Range: Make sure the remote control is within the recommended range and line of sight of the air conditioner’s receiver.
- Refer to User Manual: Consult your Mitsubishi AC’s user manual for any model-specific instructions or troubleshooting steps.
- Consider Professional Assistance: If you encounter any persistent issues or have concerns about the proper operation of your Mitsubishi air conditioner, it’s recommended to seek assistance from a qualified HVAC technician.
By following the detailed instructions and technical guidance provided in this comprehensive guide, you can confidently set the timer on your Mitsubishi AC remote and enjoy the convenience of automated cooling or heating schedules.
