
Table of Contents
Key Takeaways
- 1. Turn off the gas supply: Before attempting to remove the thermocouple from your water heater, it is crucial to turn off the gas supply to ensure safety.
- 2. Locate the thermocouple: The thermocouple is a small copper tube that is connected to the gas control valve on your water heater. It is usually located near the pilot light.
- 3. Disconnect the thermocouple: Use a wrench to loosen the nut that connects the thermocouple to the gas control valve. Once the nut is loose, you can easily disconnect the thermocouple from the valve.
- 4. Remove the thermocouple from the pilot assembly: The other end of the thermocouple is connected to the pilot assembly. You may need to remove a bracket or clip to access the thermocouple. Once you have access, carefully remove the thermocouple from the pilot assembly.
- 5. Install a new thermocouple (if necessary): If you are removing the thermocouple because it is faulty or not functioning properly, it is recommended to install a new one. Follow the reverse steps to install the new thermocouple, ensuring it is securely connected to both the gas control valve and the pilot assembly.
- 6. Test the water heater: After removing or replacing the thermocouple, it is important to test the water heater to ensure it is functioning correctly. Turn on the gas supply and relight the pilot light. If the pilot light stays lit and the water heater operates as expected, then the thermocouple removal was successful.
- Remember, if you are unsure or uncomfortable with removing the thermocouple yourself, it is always best to consult a professional plumber or technician to avoid any potential hazards or damage to your water heater.
Thermocouple in a Water Heater
Unleash your inner plumber and tackle the common task of removing a thermocouple from a water heater! This critical component of the pilot light system detects if the flame is lit. If it’s faulty or damaged, replace it for proper functioning of the water heater.
Here are the steps to remove and replace the thermocouple:
- Locate the manifold cover on the water heater. Take caution when handling any gas-connected components and consider consulting a pro if unsure. Unfasten any screws or fasteners and lift off the cover.
- Now you have access to the pilot light and thermocouple assembly. Note how they’re positioned and connected before attempting to remove them. Detach the thermocouple from its bracket or connection point.
- Take a look at the old thermocouple for signs of damage or wear. Clean any debris or buildup with soapy water or a soft cloth. When installing a new one, use one compatible with your water heater. Connect all necessary fittings and attachments, following manufacturer instructions.
- Securely attach the manifold cover and fasten it with screws or fasteners. Double check that all connections are tight. Re-ignite the pilot light.
Pro Tip: Before starting any repair work, always turn off the gas supply near the water heater’s base. Safety first!
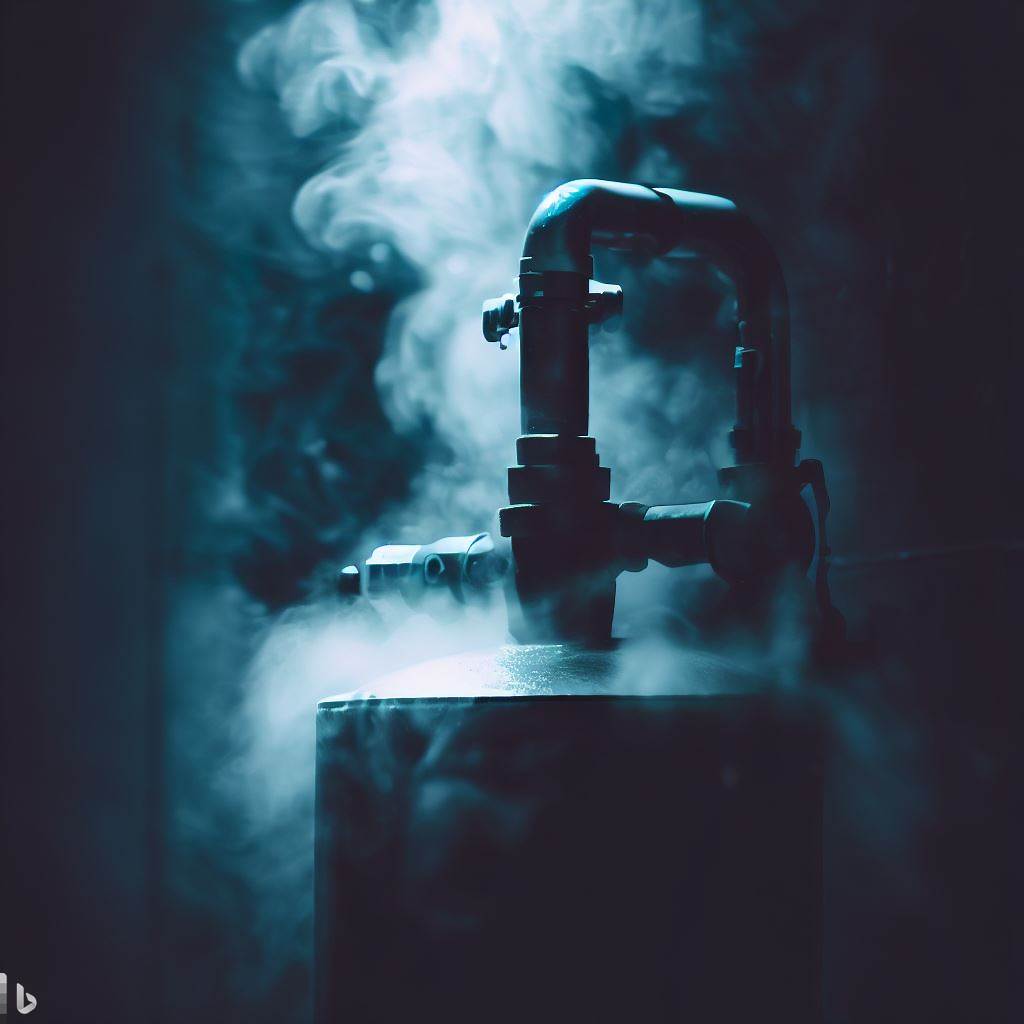
Image of a water heater
Understanding the Thermocouple in a Water Heater
A thermocouple is a must-have in water heaters. It keeps the pilot light lit and checks gas flow for safety. Here’s an insight into the thermocouple.
Function: It produces electricity when heated, allowing it to sense if the pilot’s on.
Location: Near the burner assembly.
Composition: Two metals joined together, forming an electrical circuit.
Maintenance: May get dirty or corroded, so it needs replacing.
To replace it, switch off the gas. Then, locate the manifold cover plate. Disconnect the old thermocouple from the valve. Connect the new one and fix with screws. Reassemble the parts, and switch on the gas.
It’s best to seek help from a professional plumber for any plumbing-related issues. Don’t forget to switch off the gas before starting – or you might create an unexpected water feature!
Safety Precautions before Removing the Thermocouple
Before you go near your water heater, it’s essential to practice safety. Here are some important measures to take:
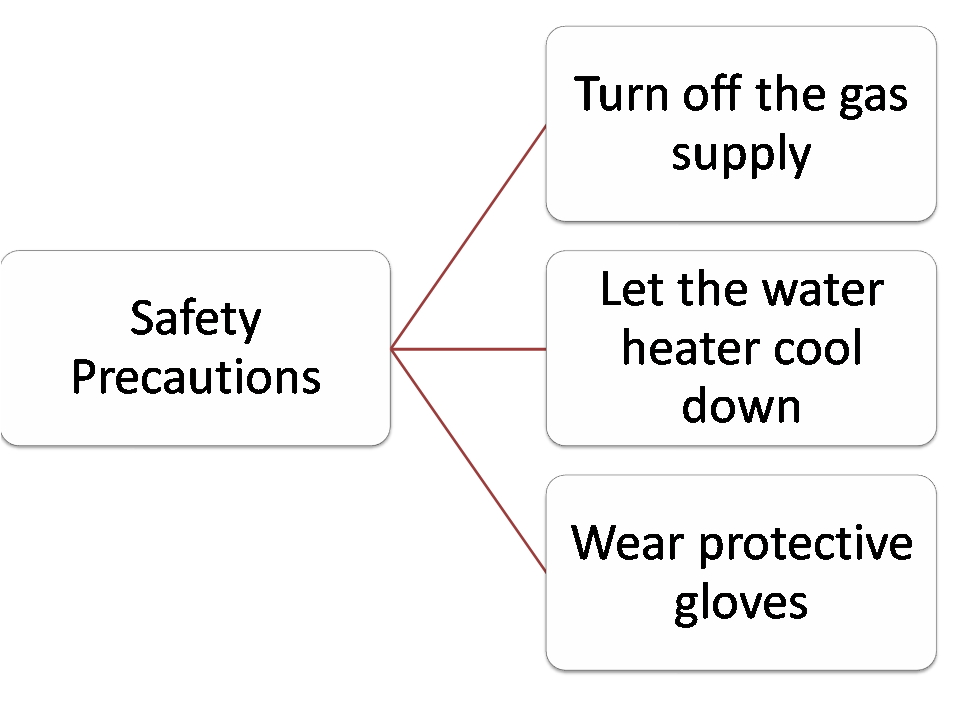
- Turn off the gas supply. Locate the gas valve and shut it off properly.
- Let the water heater cool down. Hot components can cause injury.
- Wear protective gloves and goggles. This will safeguard you from potential harm.
- If unsure, call a professional. They will ensure the job is done safely and efficiently.
Once you’ve taken the necessary precautions, you can confidently remove the thermocouple. Prioritize your safety above all else when working on home improvement projects. Don’t be afraid to ask for professional help if needed. Stay safe and enjoy a worry-free experience!
Step 1: Turn off the Gas Supply to the Water Heater
To safely remove the thermocouple from your water heater, turn off the gas supply. Here’s a quick guide:
- Shut off the gas valve. Locate it near the bottom of the water heater and turn it clockwise until it’s fully closed.
- Find the rectangular cover plate on the front of your water heater. It protects the burner assembly and should be removed to access the thermocouple.
- Remove the cover plate. Use a screwdriver or wrench to take out any screws or fasteners. Put them aside, you’ll need them later.
- Access the thermocouple. Inside you’ll see several components, including the burner and pilot light assembly. The thermocouple is a small copper tube that connects to the gas control valve and pilot light.
- Disconnect the thermocouple. Loosen fittings or connections that secure it to both ends – the gas control valve and pilot light assembly. Note how these connections are made for later reference.
- Remove the old thermocouple. Gently pull it out from its mounting bracket or holder, being careful not to damage any other parts.
Remember, professional assistance is recommended if you’re unfamiliar with gas appliances or unsure about safety precautions. Safety should always come first.
In short, turn off gas supply before removing and replacing the thermocouple. Always consider proper maintenance to avoid larger issues in the future.
Step 2: Remove the Manifold Cover Plate of Water Heater
To take off the manifold cover plate on your water heater, do this:
- Close the gas valve to shut off the gas supply.
- Unscrew the screws with a screwdriver.
- Lift the plate off and put it aside. Now you can see the inside parts.
Different models of water heaters have different instructions for removing the plate. Read the user manual or ask a pro if you have problems. Rheem, a top water heater maker, says regular upkeep and inspection can help extend the life of your water heater. Finding a needle in a haystack is simpler than finding a thermocouple in a water heater.
Step 3: Locate the Thermocouple in Water Heater
It’s time to find the thermocouple in your water heater! It senses if the pilot light is on and ensures proper gas flow. Here’s how:
- Turn off the gas supply – safety first!
- Locate the manifold cover on the front of the water heater – held in place by screws or fasteners.
- Remove the cover plate and look for a small copper tube connected to the gas control valve.
- Search for a metal rod protruding into the combustion chamber – that’s the thermocouple!
To get the thermocouple functioning properly, the tip must be positioned properly – close enough to the pilot flame, but not too close to cause any damage. In the past, finding and replacing the thermocouple was more challenging. However, modern advances have made it much easier.
Ready to move on? Let’s cut the connection and replace your water heater’s thermocouple!
Step 4: Disconnect the Thermocouple from the Gas Control Valve
Disconnecting the thermocouple from the gas control valve is essential when replacing or repairing a water heater. Here’s how to do it right:
- Start by turning off the gas supply. Find the shut-off valve and turn it clockwise until it’s fully closed. This prevents any gas leaks.
- Then, locate the manifold cover on the front of the water heater. Use a screwdriver or wrench to remove the screws. Put the screws in a safe spot for later.
- After that, you’ll be able to see the inner components, including the gas control valve. Look for where the thermocouple is connected.
- Disconnect one end of the thermocouple from the connection point on the gas control valve. This may require a wrench or pliers.
- With one end free, pull the thermocouple out from any clips or holders.
Remember to check your appliance’s manufacturer guidelines first. And, an average water heater should last 10-15 years before needing replacement or major repairs. Disconnecting the thermocouple is tricky, so be prepared!
Step 5: Remove the Thermocouple from the Pilot Assembly
- Turn off the gas supply near the bottom of the unit.
- Unscrew the fasteners or bolts that hold the cover plate in place and set aside.
- Locate the thermocouple, a metal rod in the pilot assembly, connected to the gas control valve and held in place by a nut.
- Use a wrench to loosen and remove the nut.
- Carefully pull out the thermocouple.
- Make sure to have a new thermocouple ready before removing the old one.
- Check your water heater’s manual or contact a plumber for guidance.
- It may vary depending on your water heater model and brand, so refer to manufacturer instructions.
- Replacing a faulty thermocouple can help restore proper functioning and efficient heating performance – like a heart transplant without the music and masks!
Step 6: Install the New Thermocouple in The Water Heater
Installing a new thermocouple in your water heater is key for proper functioning. To avoid complications and safety hazards, follow this step-by-step guide:
- Shut off the gas supply by finding the gas control valve and turning it clockwise until fully closed.
- Locate the manifold cover plate and remove it with tools like a screwdriver or wrench.
- Disconnect and remove the old thermocouple from the gas control valve and combustion chamber.
- Insert one end of the new thermocouple into the pilot supply tube and connect the other to the gas control valve.
- Reattach any parts, double-check connections, and turn on the gas supply at the gas control valve.
- Relight the pilot light and check if it stays lit without any issues.
It’s important to note that installation mistakes can cause gas leaks or other safety hazards. If you’re unsure, seek professional assistance. With accurate installation, you can enjoy the benefits of a properly functioning water heater.
True history: many would attempt to replace their thermocouples without proper knowledge, often leading to further damage or accidents. Now, with access to guides and professionals, more are able to install new thermocouples themselves safely and successfully.
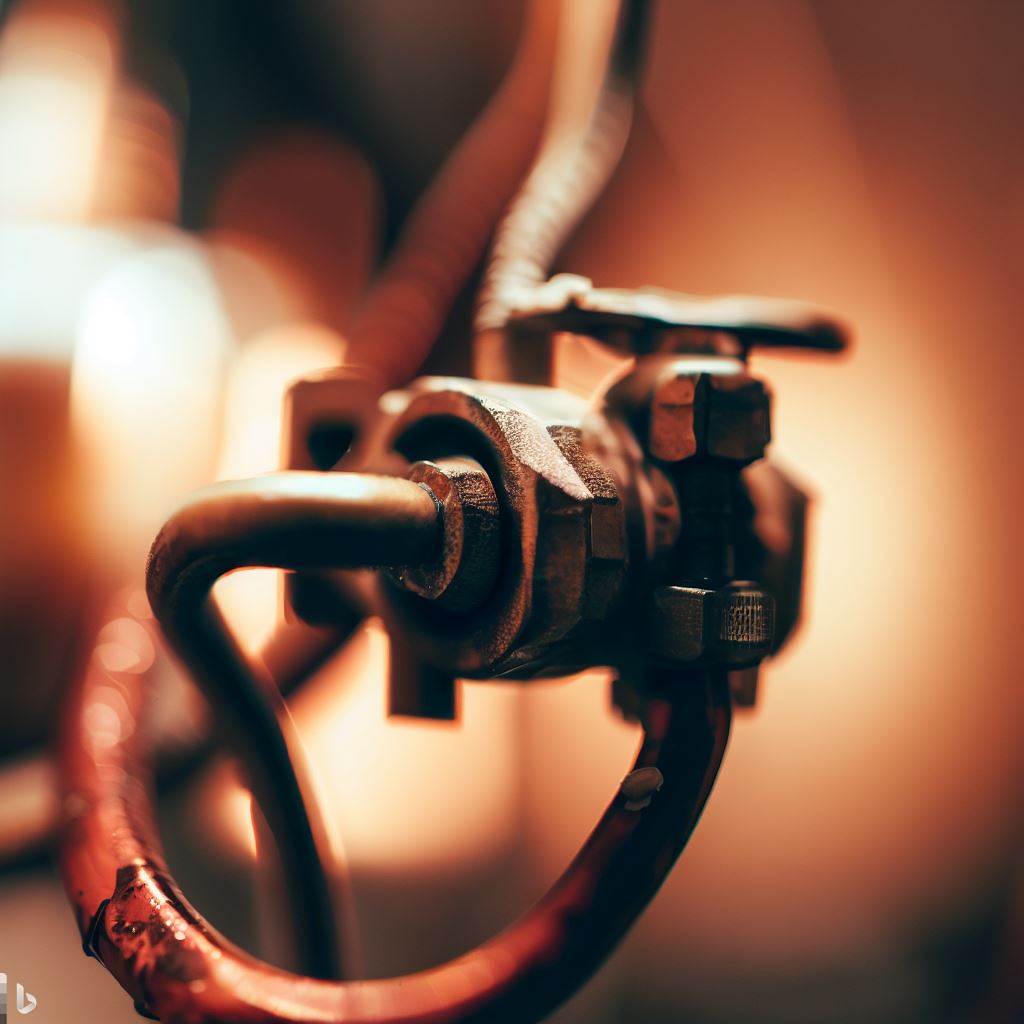
Image of a thermocouple of water heater
Step 7: Reassemble of Thermocouple with the Water Heater Components
- Reassemble the water heater components by first inserting the new thermocouple into the pilot assembly, properly aligned and secure.
- Attach the manifold cover plate to the burner assembly using the screws provided.
- Lastly, reconnect the pilot supply tube to the gas control valve and tighten any connections.
Carry out a double check to make sure all connections are correct and no parts are loose. Turn on the gas supply and relight the pilot flame. If the flame is a steady, blue colour then everything is functioning correctly.
Now you can enjoy hot showers and clean dishes. Take action today to reassemble your water heater components and avoid any ‘flame’-boyant disasters!
Frequently Asked Questions
Q1: How do I remove the thermocouple from a water heater?
A1: To remove the thermocouple from a water heater, start by turning off the gas supply. Then, disconnect the thermocouple from the gas control valve by unscrewing it. Finally, remove any screws or fasteners securing the thermocouple to the burner assembly and carefully pull it out.
Q2: How do I replace the thermocouple on a Rheem water heater?
A2: To replace the thermocouple on a Rheem water heater, follow the same steps mentioned earlier to remove the old thermocouple. Then, insert the new thermocouple into the burner assembly and secure it with the screws or fasteners. Finally, reconnect the thermocouple to the gas control valve.
Q3: Can I replace the thermocouple on a GE water heater myself?
A3: Yes, you can replace the thermocouple on a GE water heater yourself. Just make sure to follow the proper safety precautions and carefully follow the instructions provided by the manufacturer.
Q4: How do I replace the thermocouple on a Honeywell water heater?
A4: To replace the thermocouple on a Honeywell water heater, start by turning off the gas supply. Then, remove the manifold cover plate to access the thermocouple. Disconnect the old thermocouple from the gas control valve and burner assembly. Install the new thermocouple following the reverse steps and ensure it is securely connected.
Q5: What is the process of replacing a thermocouple on a Richmond water heater?
A5: To replace the thermocouple on a Richmond water heater, turn off the gas supply first. Remove any screws or fasteners securing the old thermocouple to the burner supply tube and gas control valve. Disconnect the old thermocouple and install the new one by reversing the steps. Make sure the thermocouple is properly connected and securely fastened.
Q6: Should I hire a professional to replace the thermocouple on my water heater?
A6: If you are not confident in your abilities or unfamiliar with the process, it is recommended to hire a professional plumber to replace the thermocouple on your water heater. They have the expertise and knowledge to ensure the task is completed safely and correctly.
Conclusion
The thermocouple is key to a water heater. To remove it, take care and follow the recommended steps. Get a thermocouple that fits your water heater model.
- Turn off the gas and pilot light.
- Find and take out the cover plate that gives access to the thermocouple.
- Unscrew any fasteners.
- Disconnect the old thermocouple from its connections.
Be aware of any debris or sediment in the combustion chamber. Clean out any buildup with a soft brush or compressed air.
Replacing a thermocouple can be tough if you’re not familiar with plumbing. It’s best to get help from a professional plumber. They can handle it and keep it safe.
Pro Tip: Before installing a new thermocouple, use soapy water on connections to check for gas leaks. If bubbles form, fix the leak before installation.
By following these steps and getting help when needed, you can successfully remove and replace a faulty thermocouple in your water heater. This will make sure it runs properly.